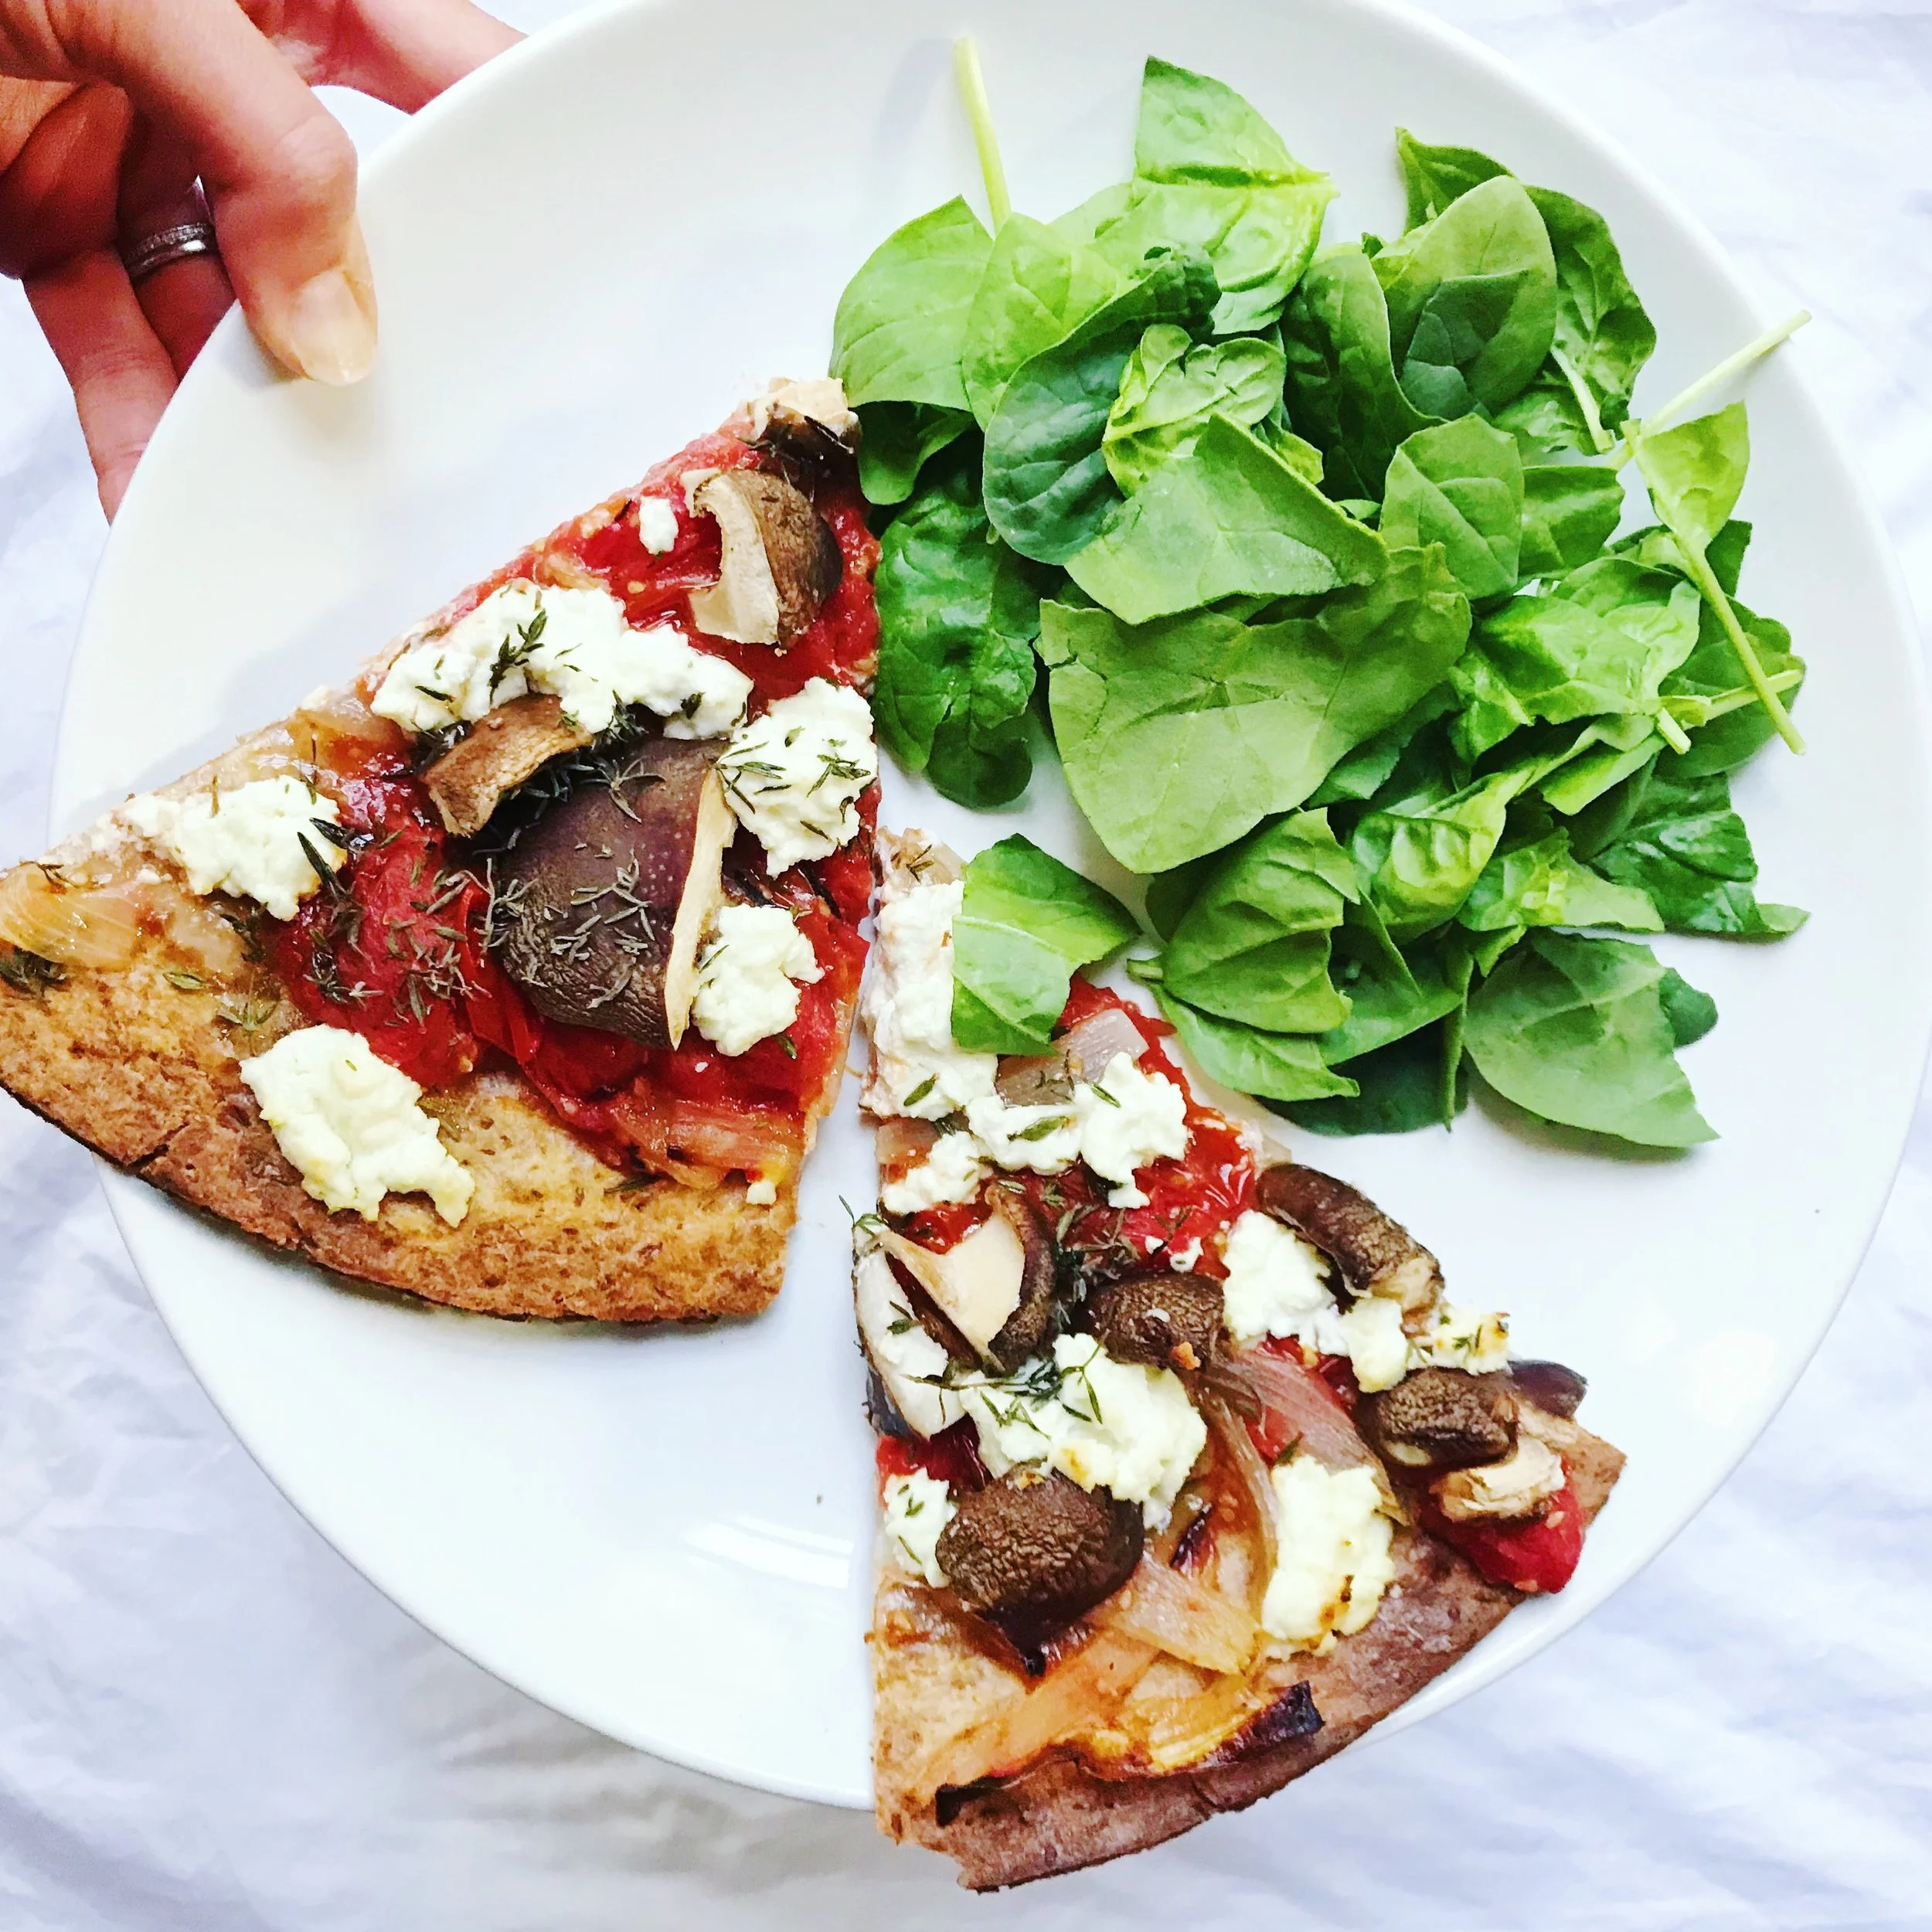
Who's ready for summer tomatoes???? I know I am. I remember when I was a kid coming home from camp in the summers and my mom would slice up red juicy tomatoes for me sprinkled with fresh herbs and seasonings and we would enjoy them together. Maybe it’s the nostalgia or maybe it’s the fact that I’m just a summer girl at heart but now I get so excited when tomato season approaches. It signals the start of all things summer:
Balsamic Roasted Portobellos
I am such a fan of portobello mushrooms. They add a meatiness to dishes, they bring out the flavor of other ingredients in dishes, and, I think, you can really add any flavors to them that you want to them. They are so easy to roast and they can be stored in the refrigerator to incorporate in dishes later throughout the week. You can stuff them, add them to pasta sauces, make them a burger if you don’t eat meat and so much more. The other day I decided that I needed something more for my kale caesar salad and pretty quickly these portobellos came to mind. I’m sharing this super simple recipe with you guys today so that you can throw these together for an easy side dish, salad topping, entree and more any night of the week!
Happy Fueling!
Taylor
Simple Balsamic Roasted Portobello Mushrooms
Makes 2 mushrooms
Ingredients:
2 large portobello mushrooms
1 1/2 teaspoons olive oil
1 1/2 teaspoons balsamic vinegar
Directions
Preheat the oven to 350 degrees F.
Line a small baking sheet with foil or parchment paper.
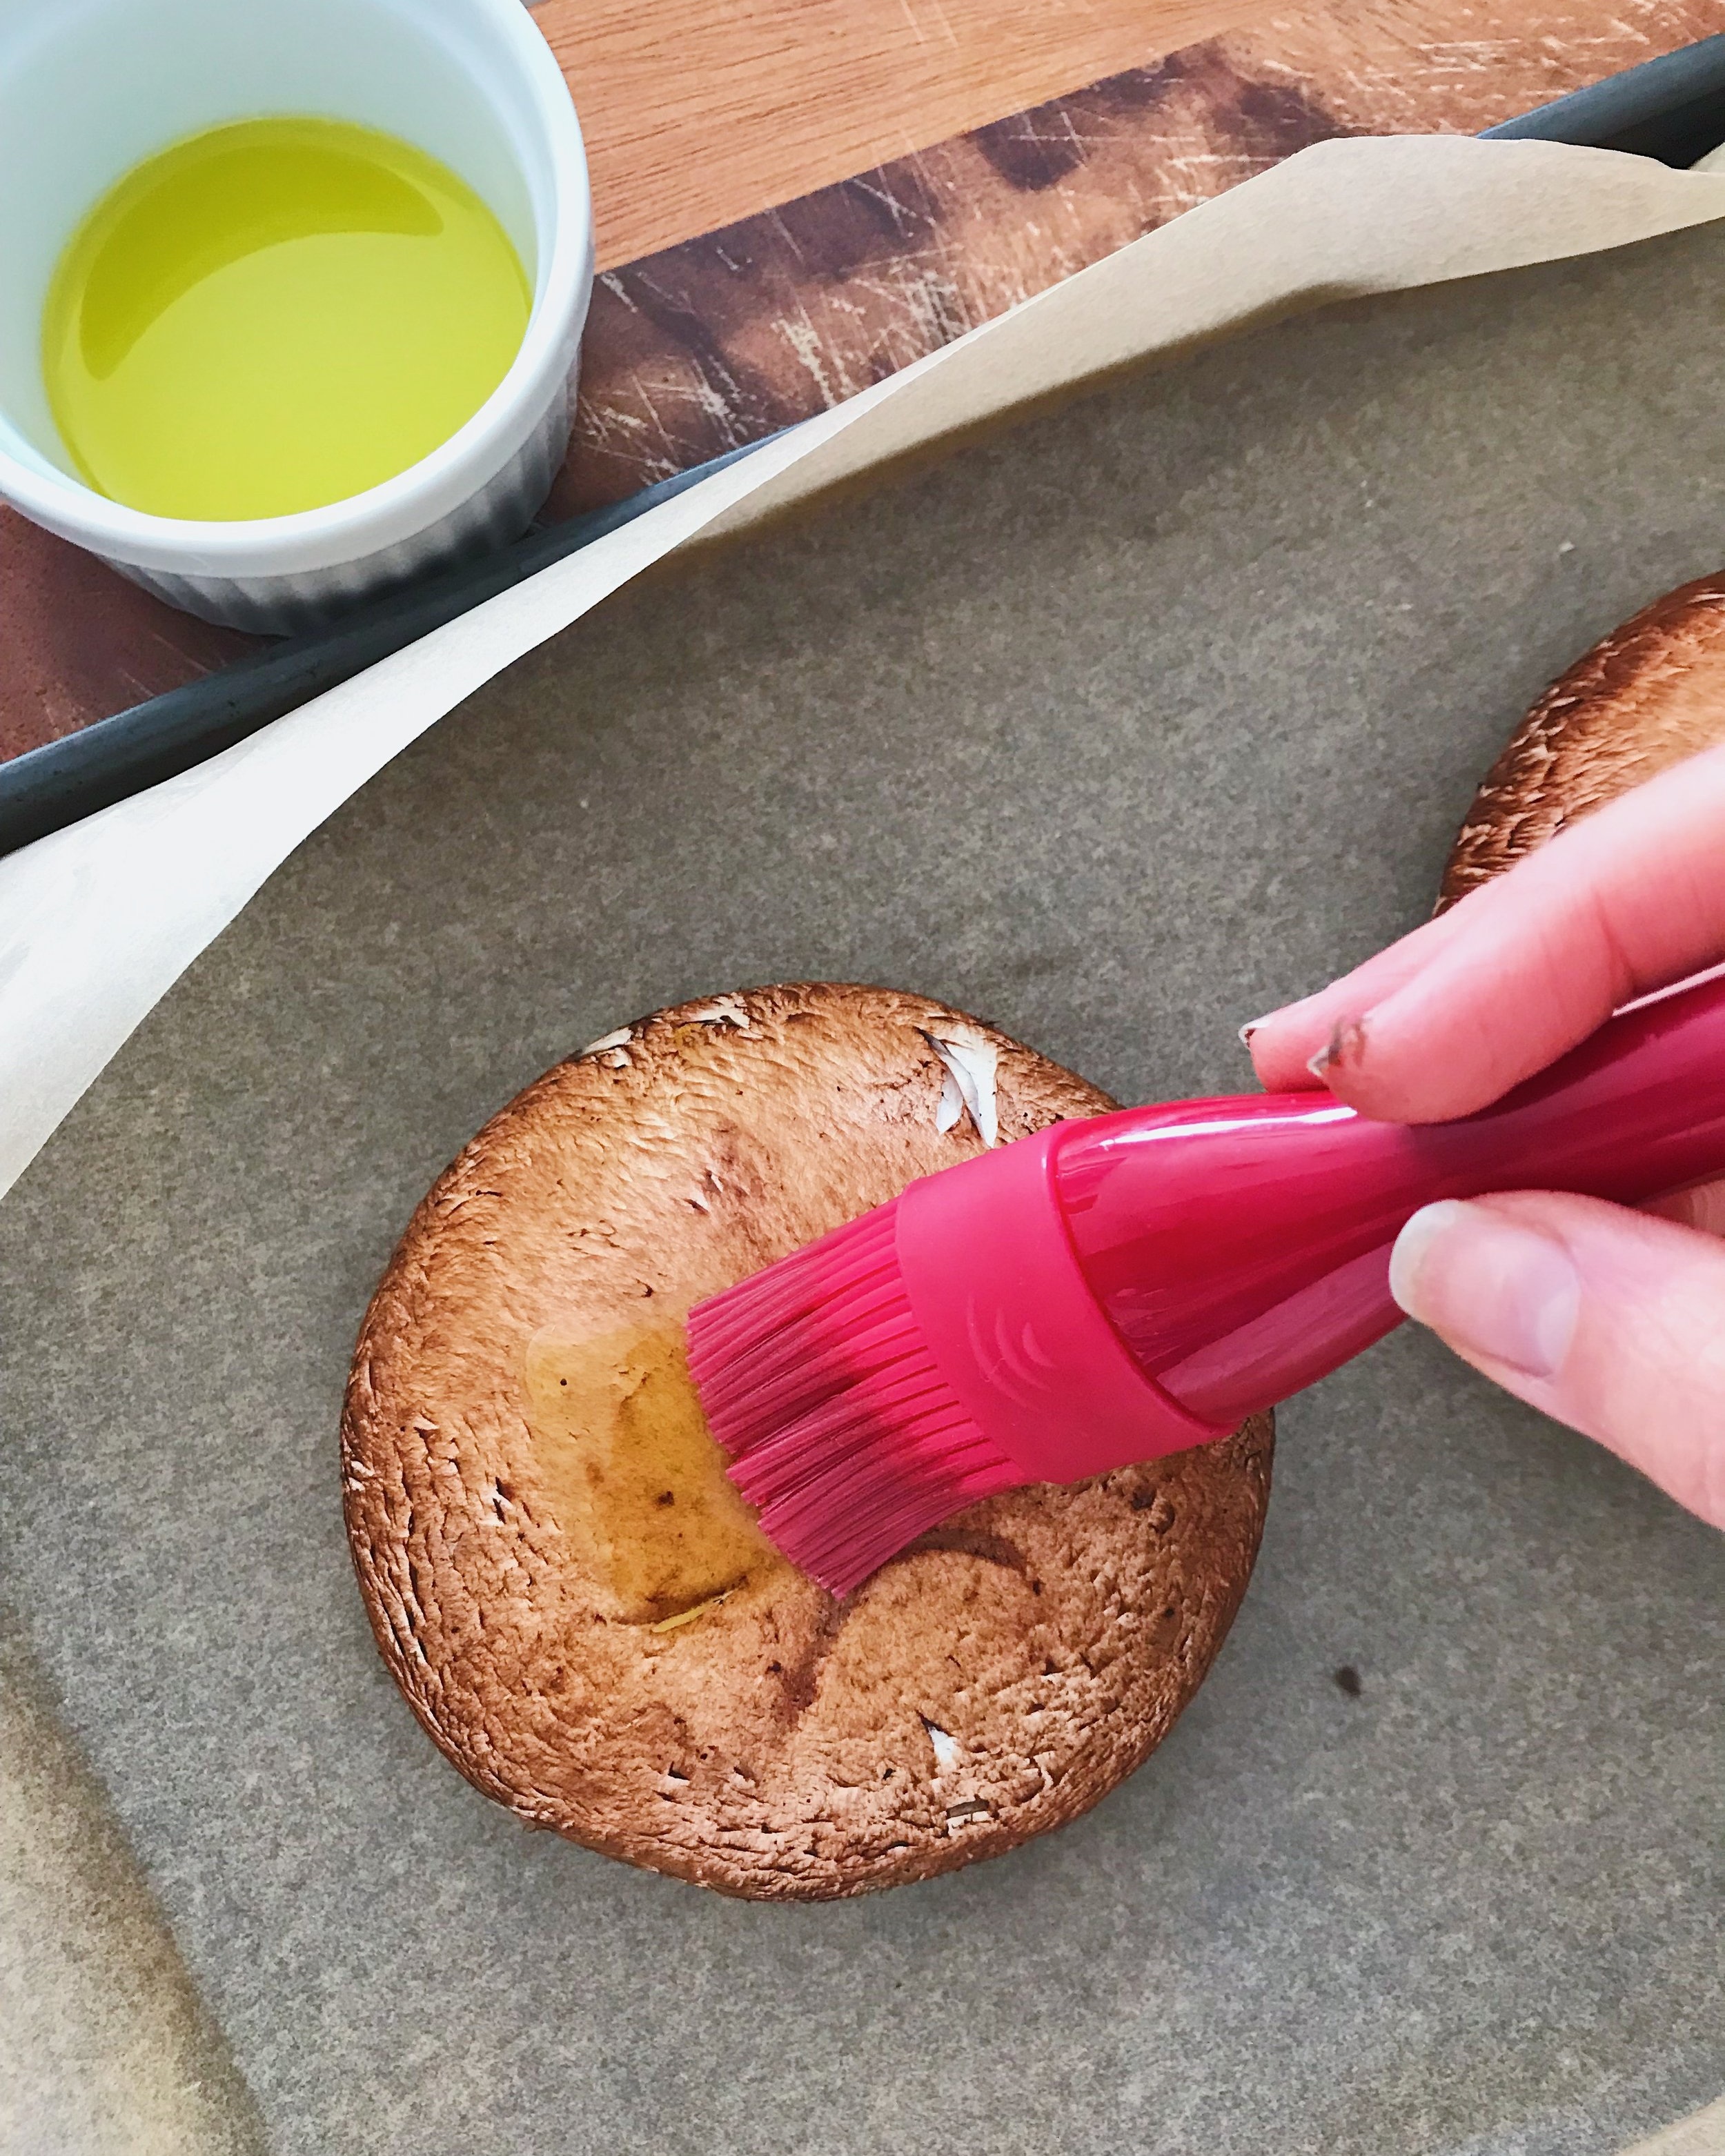
Using a basting brush (I love my silicone one that we got as part of a wedding gift), lightly brush the olive oil on both sides of both mushrooms. You don’t have to use all of the olive oil.
Using the same basting brush, brush the balsamic vinegar on both sides of the mushrooms. Use as much of the balsamic as you can. I try to make sure it gets in the ridges (or gills) of the underside of the mushroom.
Now place the mushrooms gill-side-up on the lined baking sheet.
Bake in the oven for about 15 to 20 minutes, until the mushrooms are tender.
There will be liquid in the well of the mushroom. I just pour that out into the sink. If you are adding the to a pasta or other dish, add that liquid into what you are cooking for extra flavor!
Leave the mushrooms whole or dice them to add to sides, salads, pastas and more.
Enjoy!
NUTRITION NOTES:
Mushrooms are great for their meatiness and their ability to bring out the flavors of foods they are paired with. They are also packed with nutrients like niacin & riboflavin (B vitamins that help the body make energy), selenium, phosphorus, copper and potassium, which are all important nutrients in helping our body function properly.
Jazzed Up Mac & Cheese Cups
Hello! How is everyone’s week going? Mine has been quite packed, but the good kind of packed that keeps you on your toes and keeps you thinking. So much going on in January in the world of Wellness and I’m also staying pretty busy with sports nutrition items as well.
Today, however, oh my gosh, I’m excited to finally get to share with you one of my newer recipes, these jazzed up mac and cheese cups.. This is one of my favorite recipes yet. It’s so savory and cheesy and easy to eat. It’s basically mac & cheese with a few surprise ingredients in a cup! And a bonus - made with milk and cheese, each cup packs in some calcium, which we know everyone needs, especially the young growing athlete. I actually created these about a year ago, but it took me a few times to get the recipe just the way I wanted it and then I, of course, had to have friends and family give them a try and earn their stamp of approval. You can prep these ahead and then store them in the fridge until you are ready to bake which, if you know my recipes, you know I love. They also store and reheat nicely, which is great because the recipe makes 12. I store them in a big airtight container or wrap them individually in plastic wrap and store in the fridge. They can be an easy option to take to school or work or enjoy as a late night dinner or post-practice snack. What makes them jazzed up? Well, I substitute some of the pasta for roasted cauliflower and add in sun dried tomatoes, which gives it a whole new level of deliciousness. And, honestly, you may not even realize it’s cauliflower in there if you are not paying attention. I seriously love these and I hope you do to! So, here you go, the recipe for my Jazzed Up Mac & Cheese Cups.
Happy Fueling!
Taylor
JAZZED UP MAC & CHEESE CUPS
Makes 12 cups
INGREDIENTS:
1 head of cauliflower, chopped
1/2 tablespoon olive oil
1/8 - 1/4 teaspoon salt
1 cup macaroni noodles (will use 1 1/2 cups cooked)
Cooking Spray
1/2 cup grated Parmesan cheese
1/2 tablespoon butter
1 teaspoon flour
1 1/4 cup 1% milk
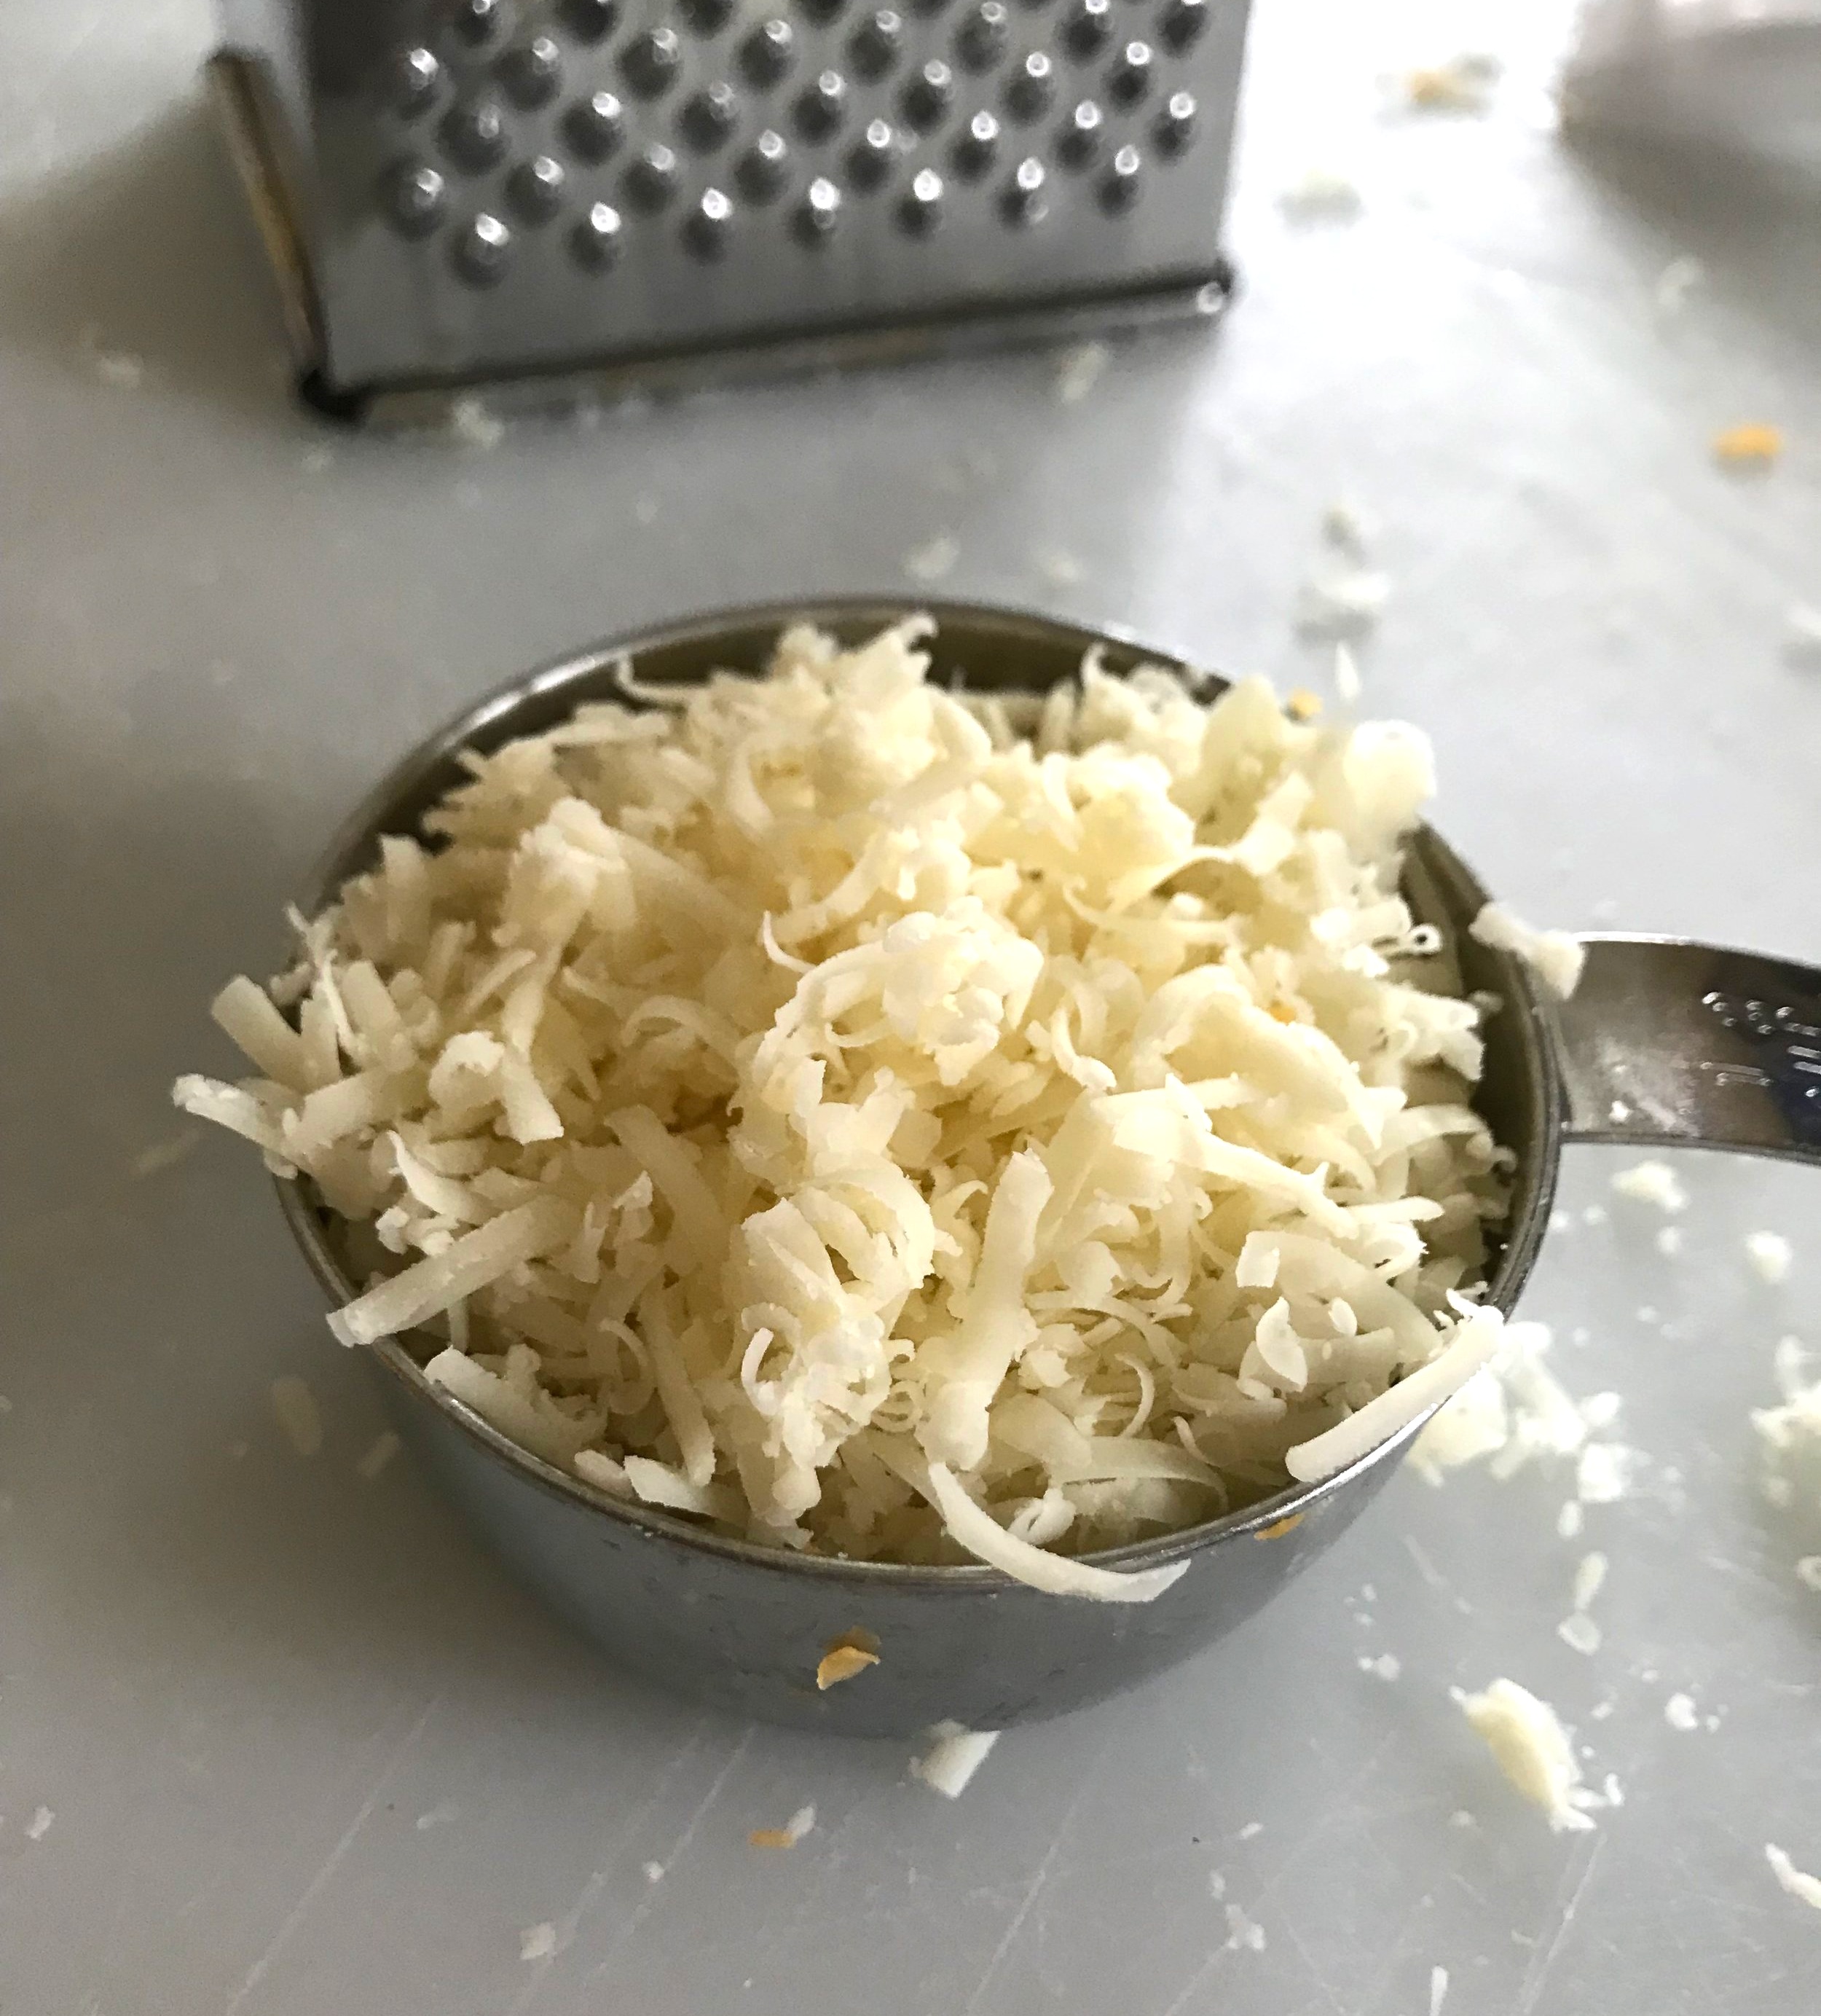
1 1/2 cup shredded extra sharp cheddar cheese
1/2 cup shredded Gruyere cheese
1 1/2 tablespoon creamy Dijon mustard
1 whole egg, whisked
1/2 cup rehydrated (according to package directions) and chopped sun dried tomatoes
DIRECTIONS:
Preheat oven to 400 degrees F.
Line a baking sheet with parchment paper or foil.
In a large mixing bowl, toss the chopped cauliflower with the olive oil and salt.
Spread cauliflower on lined baking sheet.
Roast cauliflower in preheated oven for 15 minutes, stir the cauliflower, and roast for 15 minutes more.
While the cauliflower cooks, bring a large pot of water to a boil and, once boiling, add the macaroni, cooking about 7 to 8 minutes until tender. When done, drain the cooked macaroni into a large colander and set aside.
Once the cauliflower is cooked, remove from the oven and set aside.
Now, increase the heat of the oven to 425 degrees F.
Prep a 12-muffin tin (or two 6-muffin tins) by spraying lightly with cooking spray and then, using about 1/4 of the Parmesan cheese, sprinkle on the bottom of each muffin tin.
Heat the same large pot you used to cook the noodles in to medium heat and add 1/2 tablespoon of butter and 1 teaspoon of flour. Whisk for about 3 to 4 minutes, allowing the flour to cook and start to brown.
Add the milk, whisking slowly as you pour it in, and continue to cook, whisking occasionally, until the milk begins to warm almost coming to a simmer.
Add the cheese to the warm milk and whisk in until the cheese melts into the milk and the mix is smooth.
Take pot off the heat and add the Dijon and egg and stir to incorporate all ingredients together.
Add 1 1/2 cup of the cooked macaroni, the sun dried tomatoes, and the cauliflower to the pot and fold it into the cheese sauce.
Spoon mac and cheese mixture into each muffin tin (about 1/4 cup mix per tin).
Bake in a preheated oven for about 15 to 20 minutes.
Remove cooked mac and cheese cups from the oven, sprinkle tops of each with remaining 1/4 cup grated Parmesan cheese divided equally between every cup.
Turn oven to a broil and broil on low for about 1 to 2 minutes until the tops start to brown and crisp a little.
Remove cups from the oven.
Allow to cool about 10 minutes so that the cups will keep their shape when you take them out of your tins. After they cool a little, I run a knife around the edges of each muffin tin to help get each mac and cheese cup out smoothly.
Serve immediately or store to enjoy later in the week!
Serve It Again!
As I mentioned earlier. Wrap each individually in foil or plastic wrap to pull out and take with you as a part of lunch. Or reheat them as an easy side with dinner another night of the week. OR grab one after an afternoon or evening practice as an easy source of protein, quality carbohydrate and calcium!


