entree

Tender Juicy Oven - Baked Chicken Breasts

IMG_4108.JPG

Raise your hand if you're too familiar with dry bland cooked chicken breasts.  Taking it a step further, who instantly associates "baked chicken" with "tough" or "flavorless"?  I was absolutely one of those people!  Even some of my chicken salads with all of the dressing and mix-ins would end up dry.  That chicken would absorb any moisture in a 10 foot radius before I even had a chance to put it in the fridge!

Well, one weekend last month, I decided enough was enough.  I did a little online searching, comparing different blogs and websites and came up with this method of baking my chicken breasts.  It was still pretty quick prep and to my excitement, it came out of the oven so tender and juicy.  Even better, it stayed fairly tender and moist the following days, whether I shredded it and incorporated it over a spinach salad, added it to tacos or a flatbread, or mixed it with a dressing and turned it into a fun chicken salad!

I love this method because it acts as a base from which you can add whatever flavors you want, from herbs and spices to a variety of vinegars, and you still have a moist, tender chicken dish.  Or you can keep it simple, adding only a little salt and pepper, to incorporate in various dishes throughout the week!  Keep reading for this short and simple trick to Tender, Juicy Oven - Baked Chicken!

Happy Fueling!

Taylor


TENDER JUICY OVEN-BAKED CHICKEN

Makes 2 Chicken Breasts

IMG_4114.JPG

INGREDIENTS:

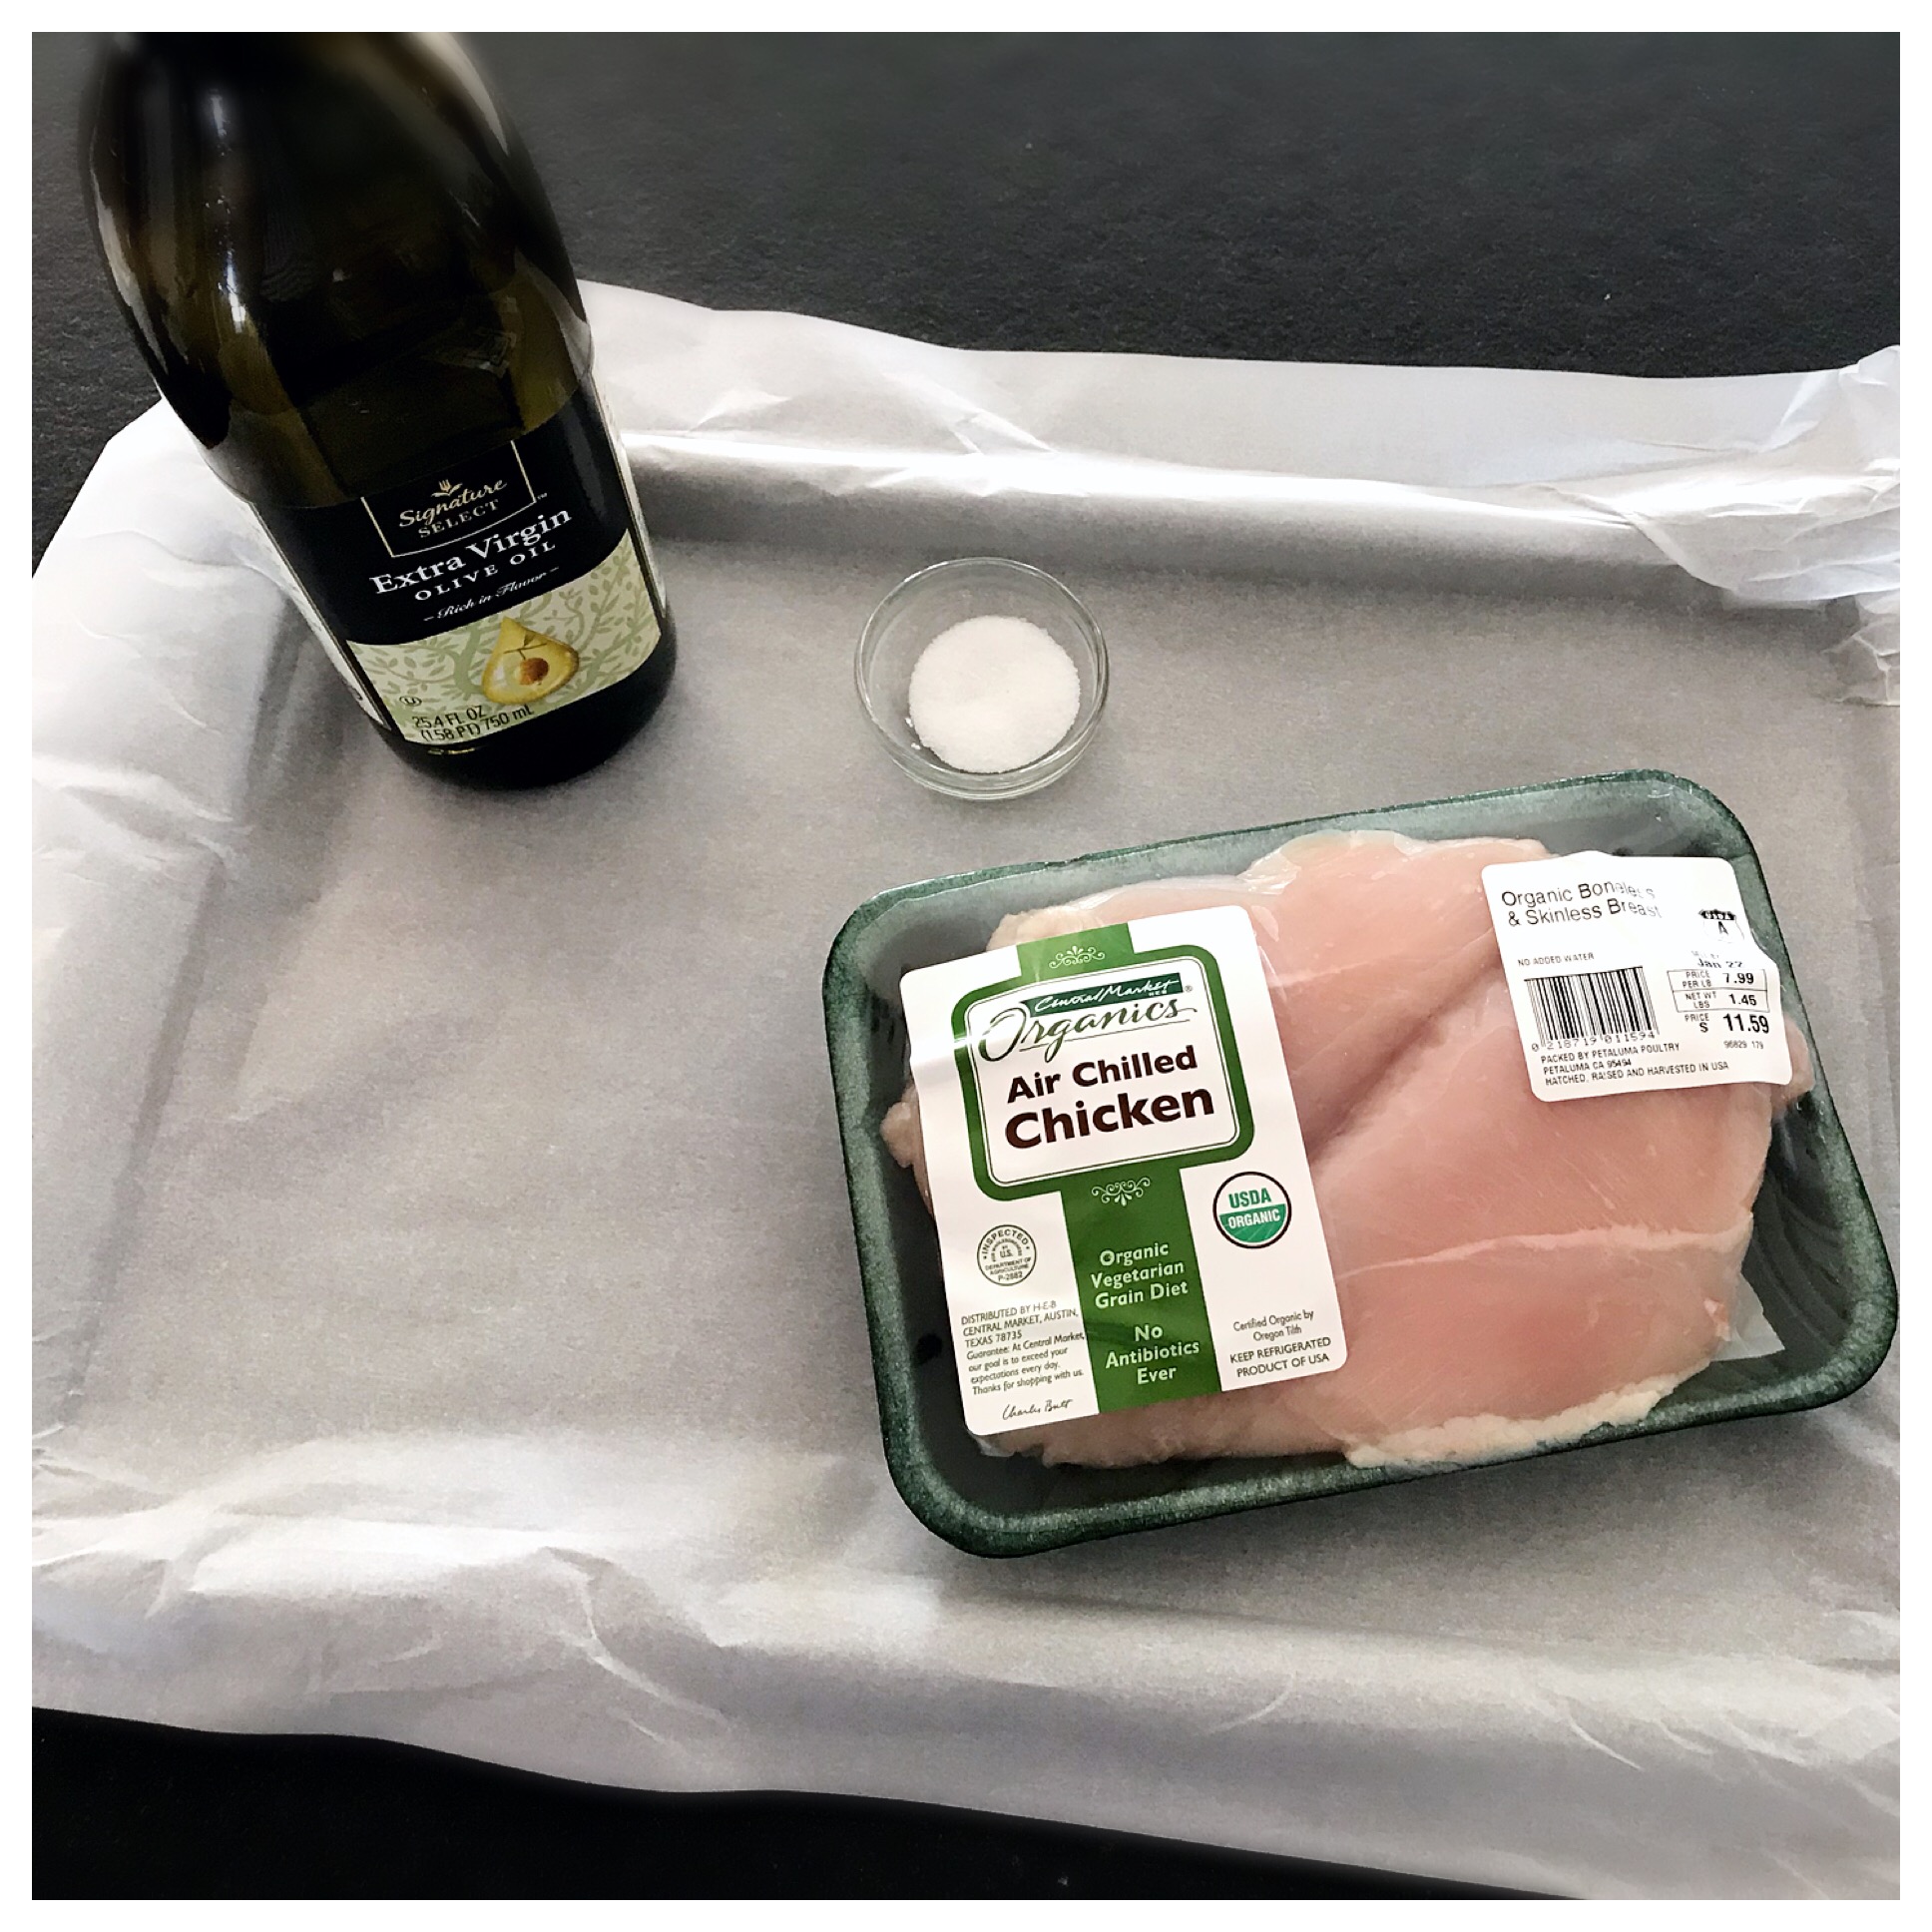
  • 1 - 1.5 pounds raw boneless skinless chicken breast

  • 1/2 teaspoon olive oil

  • 1/8 or less teaspoon salt

  • 1/2 of a whole lemon, cut into quarters

  • 1/2 tablespoon butter (or less) or cooking spray, to grease one side of parchment paper that goes over the chicken.


DIRECTIONS:

IMG_4113.JPG

1. Preheat oven to 350 degrees F.

2. Line a baking sheet with parchment paper.

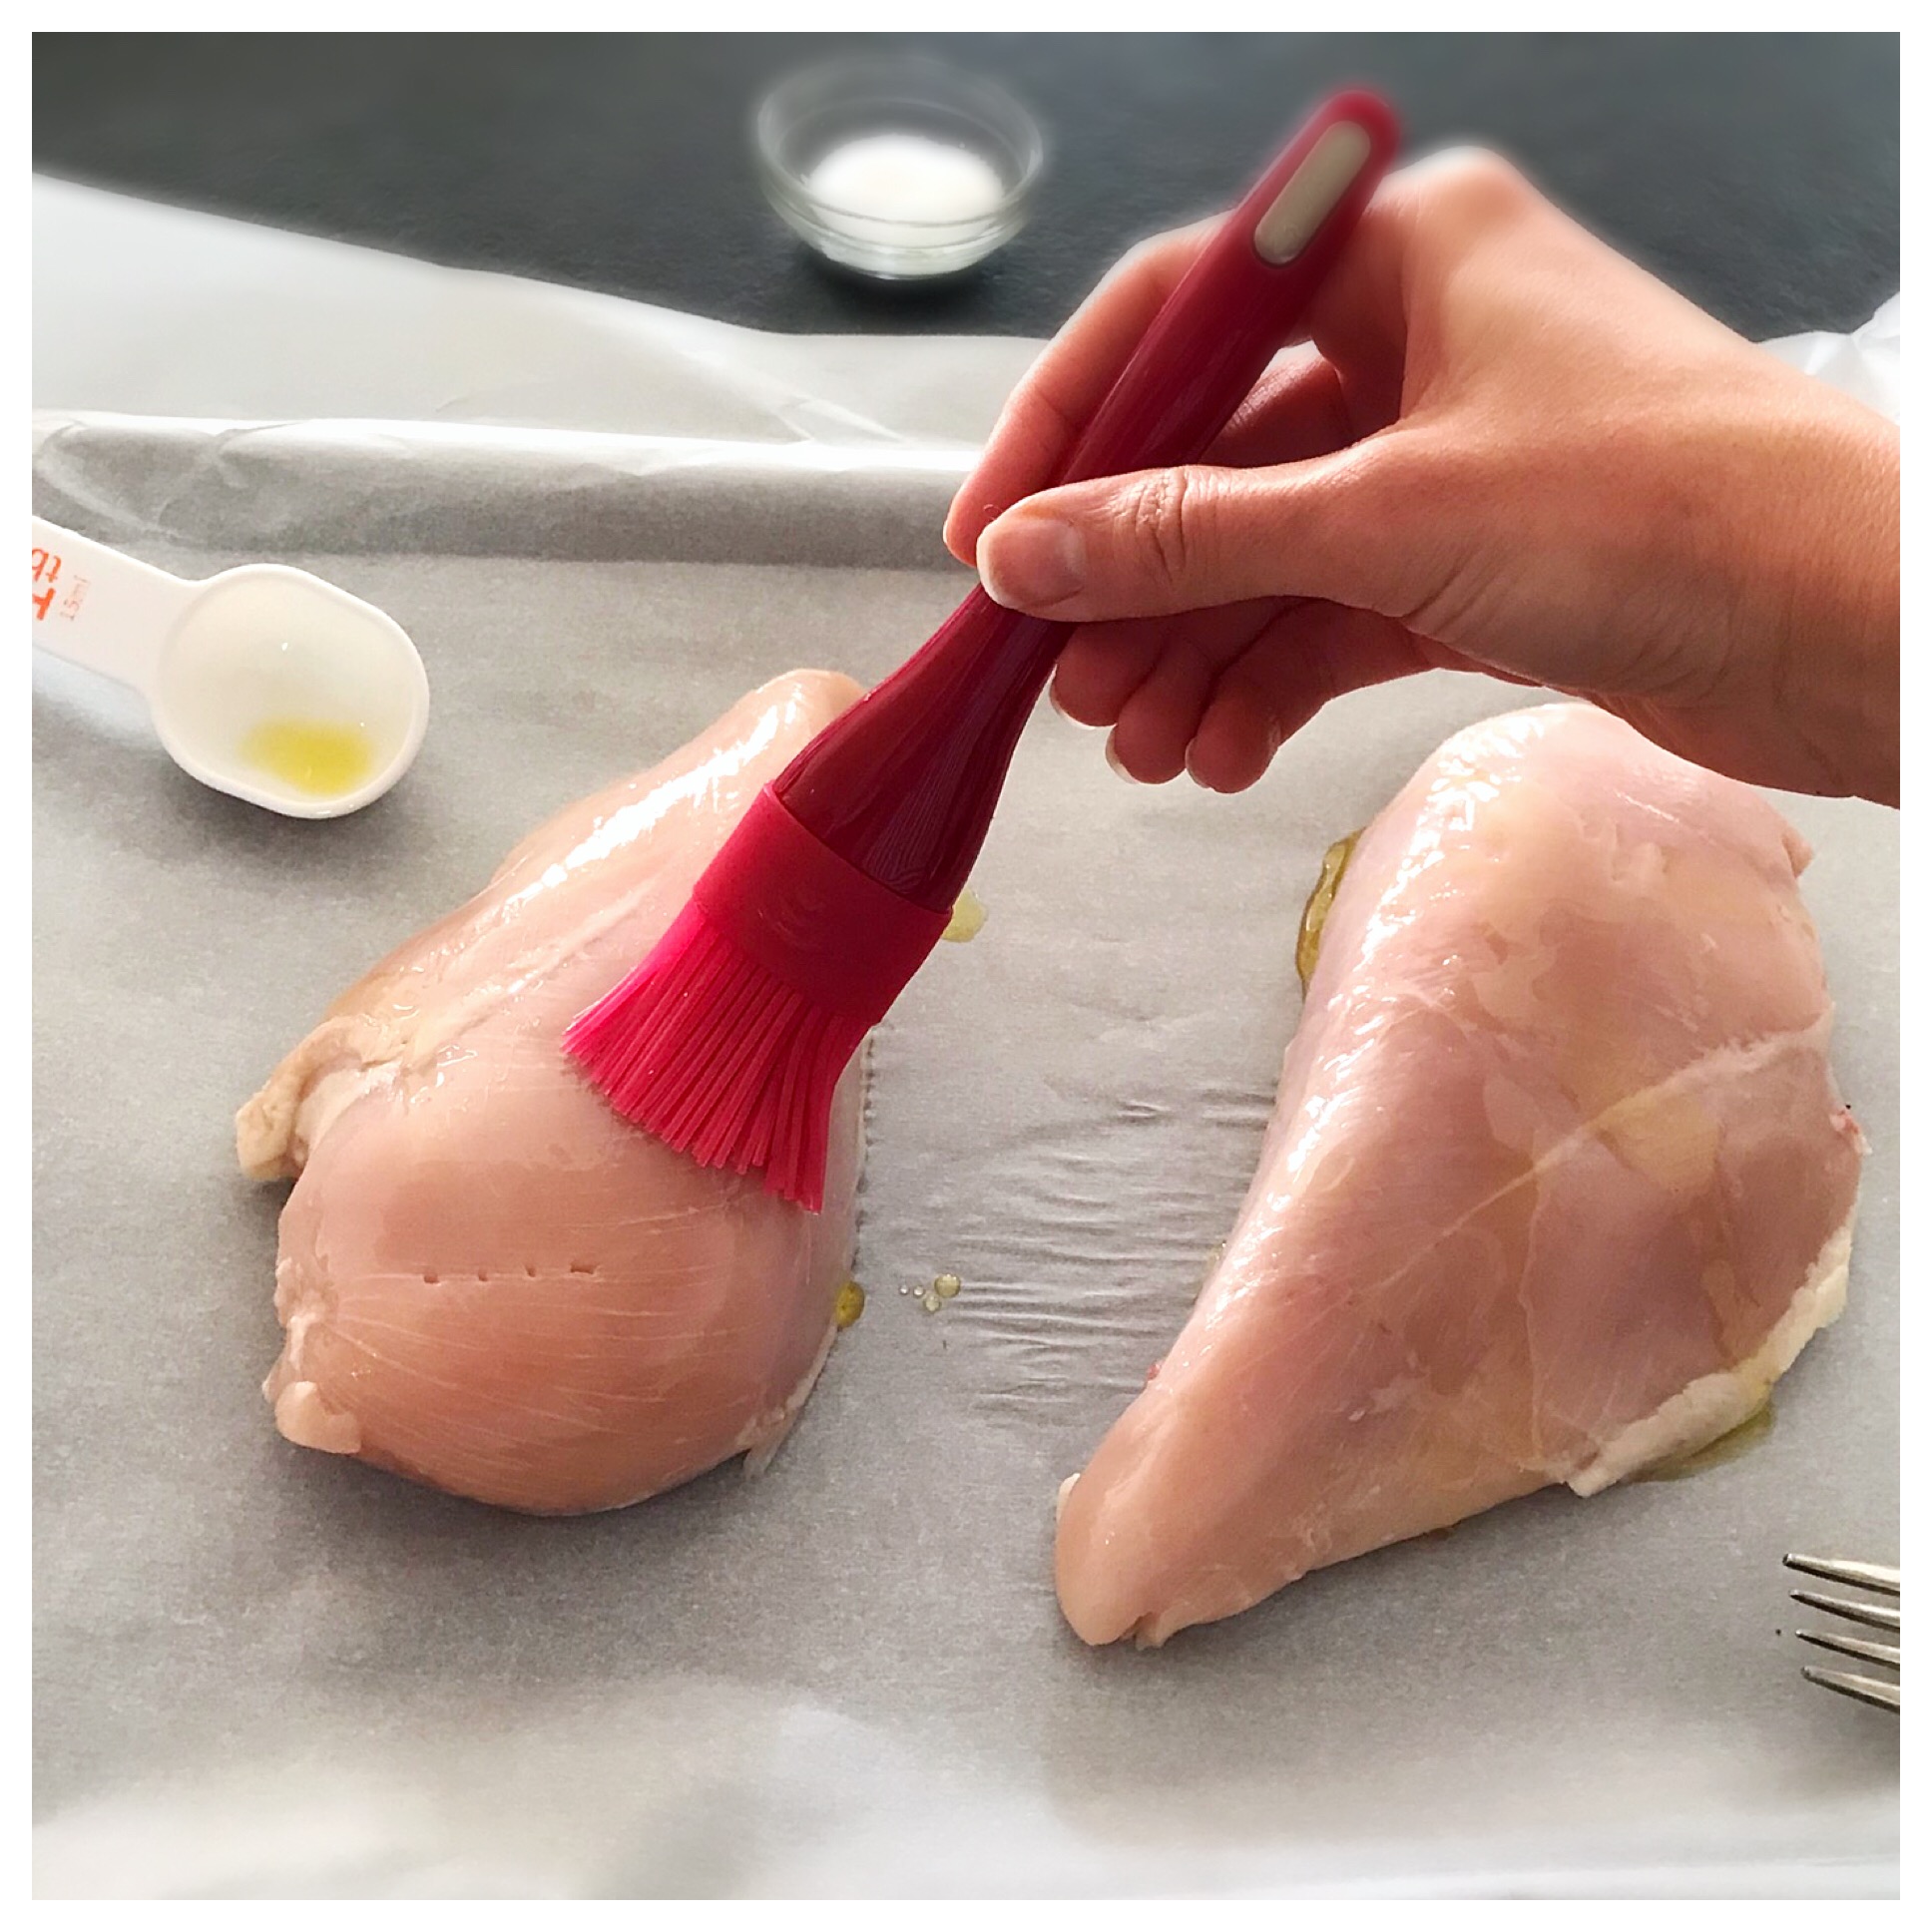
3. Place chicken breasts on the parchment paper and brush chicken breasts with the olive oil.

4. Sprinkle chicken with the salt.

5. Place the 4 pieces of lemon on the baking sheet with the chicken.

IMG_4110.JPG

6. Butter or spray with vegetable spray a second piece of parchment paper that is big enough to fit over the baking sheet and seal in the chicken and lemon wedges (I usually just take a stick of butter and run it over the surface of the parchment paper until the paper is pretty coated with a thin layer) .

IMG_4112.JPG

7. Place that second sheet of parchment paper butter / oil - side - down over the chicken and lemon wedges and seal around the sides of the baking sheet.

IMG_4108.JPG

8. Bake the chicken in the preheated oven for 30 to 35 minutes.

IMG_4106.JPG

9. Your final product should be super easy to slice with a knife, or shred with two forks and no longer pink in the middle. If you have a meat thermometer, the internal temperature of the thickest part of the chicken should read 165 degrees F.

10. Serve right away or save for meals later in the week!

NUTRITION NOTES:

Chicken provides us with protein, niacin, vitamin B6, among other nutrients.

1 ounce of cooked chicken has about 7 grams of protein.

Garlic Sage Garden Gnocchi

I. love. gnocchi.  Not sure exactly what it is about it but I love it.  I think it has something to do with the delicate texture, the versatile taste (you can pair it with so many different flavors and sauces) and, of course, the ease of cooking and preparing it.  To me gnocchi is one of those foods that looks and sounds so fancy but that is actually SO SIMPLE to make!  All you do is drop the prepared gnocchi in boiling water and wait about 5 minutes or less until it starts to float to the top and voila - it's ready!  I know, I know, you're probably thinking, "she's not actually making gnocchi- she's just boiling it".  Kind of like when I was a little girl, around 6, and the kids got to contribute to our church cookbook.  I believe one of mine was lasagna, and it went something like "take the lasagna box out of the freezer, remove lasagna from box and bake in preheated oven until bubbling."  Don't get me wrong;  My mom and dad both made some excellent homemade dinners, but we did love a good Stouffer's frozen lasagna. One day I would love to make gnocchi from scratch.  However, in reality, I just flat out don't have the time for that.  So buying it prepared and ready to cook is the way to go for me!  

finished closer aerial.JPG

WHERE TO FIND IT

If you're curious where to find it, I usually get mine at Central Market, either in their shelf stable pasta aisle or in their freshly made pasta section over by the meats and the fresh spreads and olive bar.  I have also found it at Tom Thumb and am fairly certain it's at most groceries.  The gnocchi I purchased for this recipe was in the refrigerated fresh pasta section.  I had a Central Market helper assist me and she assured me this was better than the air-packed gnocchi you find in the pasta aisle.  I had my doubts but, after cooking it, confirmed that there absolutely is a difference!  It's much more tender with a softer bite than the air-packed variety.  Of course, either will do (I have used both) but this definitely feels a smidge more elegant.  And, always a bonus, it reheats for a quick dinner leftover the next night.

THE INSPIRATION

I got this idea while in Memphis for Christmas and New Years.  The guys were off hunting and I had the house and time to myself.  Usually when this happens, when I find myself alone with my thoughts and a little free time, my brain starts to run wild and new ideas start to take shape.  These ideas can be anything from how to add a new feature to my website to new flavors to pair together for a recipe to a new nutrition topic I want to talk about on my blog.  On this particular occasion ideas started churning when I was at the Memphis Whole Foods and passed by a refrigerated case of featured fresh pastas and two varieties of gnocchi - a sweet potato and a spinach variety.  I passed it up this trip because I had no real plan for these guys and I'm trying to keep my grocery bill somewhat under control (gulp).  But as I continued to wander through the store and check items off my list (I'm a perpetual list maker if you were unaware) my brain kept wandering back to the gnocchi.  And the wheels were still spinning long into the evening.  I knew I wanted to create a recipe with gnocchi and I wanted to try one with this sweet potato variety.  Since I knew the gnocchi would have a bit of a sweeter taste, I decided I wanted the sauce to be savory.  I recently saw a recipe with sage and remembered how much I love it and, yet, how little I use it.  From trial and error in previous gnocchi recipes, I decided I wanted a bit of a creamier sauce, something that would be light but would also really stick to the gnocchi.  So I spent the next evening whisking up this new creamy sage and garlic sauce, roasting broccolini, sauteeing mushrooms, and combining it all for a rewarding and  satisfying dinner.  The final product was very tasty; However, the two thoughts I had as I finished were:  (1) "I bet it would be better with a little more sauce" and (2) "the sweet potato gnocchi is good but I bet this dish would be on a whole separate level if I kept it simple with a classic white potato gnocchi". 

Now, fast-forward to this past week where I am back in Dallas and kicking of 2018.  With a much more concrete plan in mind I got home after work with my ingredients and began to quickly rinse and chop the broccolini, mushrooms, sage and garlic.  I roasted the broccoli, sauteed the mushrooms and then whisked up my sauce again - this time using a little bit more of my ingredients to yield more sauce.  While letting the sauce simmer and the flavors come together, I boiled a pot of water, added the gnocchi and about 3 or 4 minutes later, just as I could smell all of the flavors come together in my sauce, those gnocchi all popped to the top.  Perfect!  Using a slotted spoon, I gently spooned them from the water straight into the sauce.  I gently mixed it all together and could already see the sauce begin to thicken due to the starch from the potato in the gnocchi.  Then I added my broccolini and mushrooms, gently stirred again and topped it all with some grated Parmesan cheese.  Wow.  This is a dish that smells incredibly complicated while actually being incredibly fast and relatively easy to put together!  What allowed it to be so quick and simple to put together?  I say it's because I incorporated one of my main cooking principles that I cook by to keep things simple and balanced.  That principle is: use different cooking methods in a meal.

Now, enough talking.  I want to share with you the recipe.  I hope you enjoy it and serve it as much as I plan to!

Happy Fueling!

Taylor


THE RECIPE!  

GARLIC SAGE GARDEN GNOCCHI

Serves 2 - 4

INGREDIENTS:

  • 1 bunch (about 2 - 3 cups raw) broccolini, stems removed

  • 8 oz. container baby bella mushrooms, quartered & stems removed

  • 3 teaspoons canola oil, divided

  • 18 oz. container prepared gnocchi (should be about 3 cups uncooked)

  • 1 tablespoon olive oil

  • 1 tablespoon butter

  • 1 1/2 cloves chopped garlic

  • 2 1/2 tablespoons chopped fresh sage

  • 3/4 cup 1% milk

  • 2 tablespoons whole milk

  • 1/8 teaspoon salt

  • 2 tablespoons grated Parmesan cheese, + more for serving


DIRECTIONS:

Roast broccolini.JPG

1. Preheat oven to 350 degrees F and line a large baking sheet with parchment paper.

2. In a large mixing bowl combine the broccolini with 2 teaspoons of canola oil and a pinch of salt (about 1/16th teaspoon).

3. Spread broccolini out onto parchment - lined baking sheet and place in the oven. Roast for 20 minutes, mixing with a rubber spatula halfway through for even cooking. Once broccolini is done cooking, set aside.

4.  While the broccolini cooks, heat remaining 1 teaspoon of canola oil in a large deep skillet on medium - low to medium heat.

5.  Add the mushrooms to the pan and cook for about 6 - 10 minutes until mushrooms begin to soften and release their water.  Once cooked, transfer mushrooms to a small bowl and set aside.  You can leave some of the remaining juices from the mushrooms in the bowl.

brown butter and EVOO + garlic.JPG

6. In the same skillet that you cooked the mushrooms in, heat 1 tablespoon of olive oil and one tablespoon of butter at medium - low to medium heat.

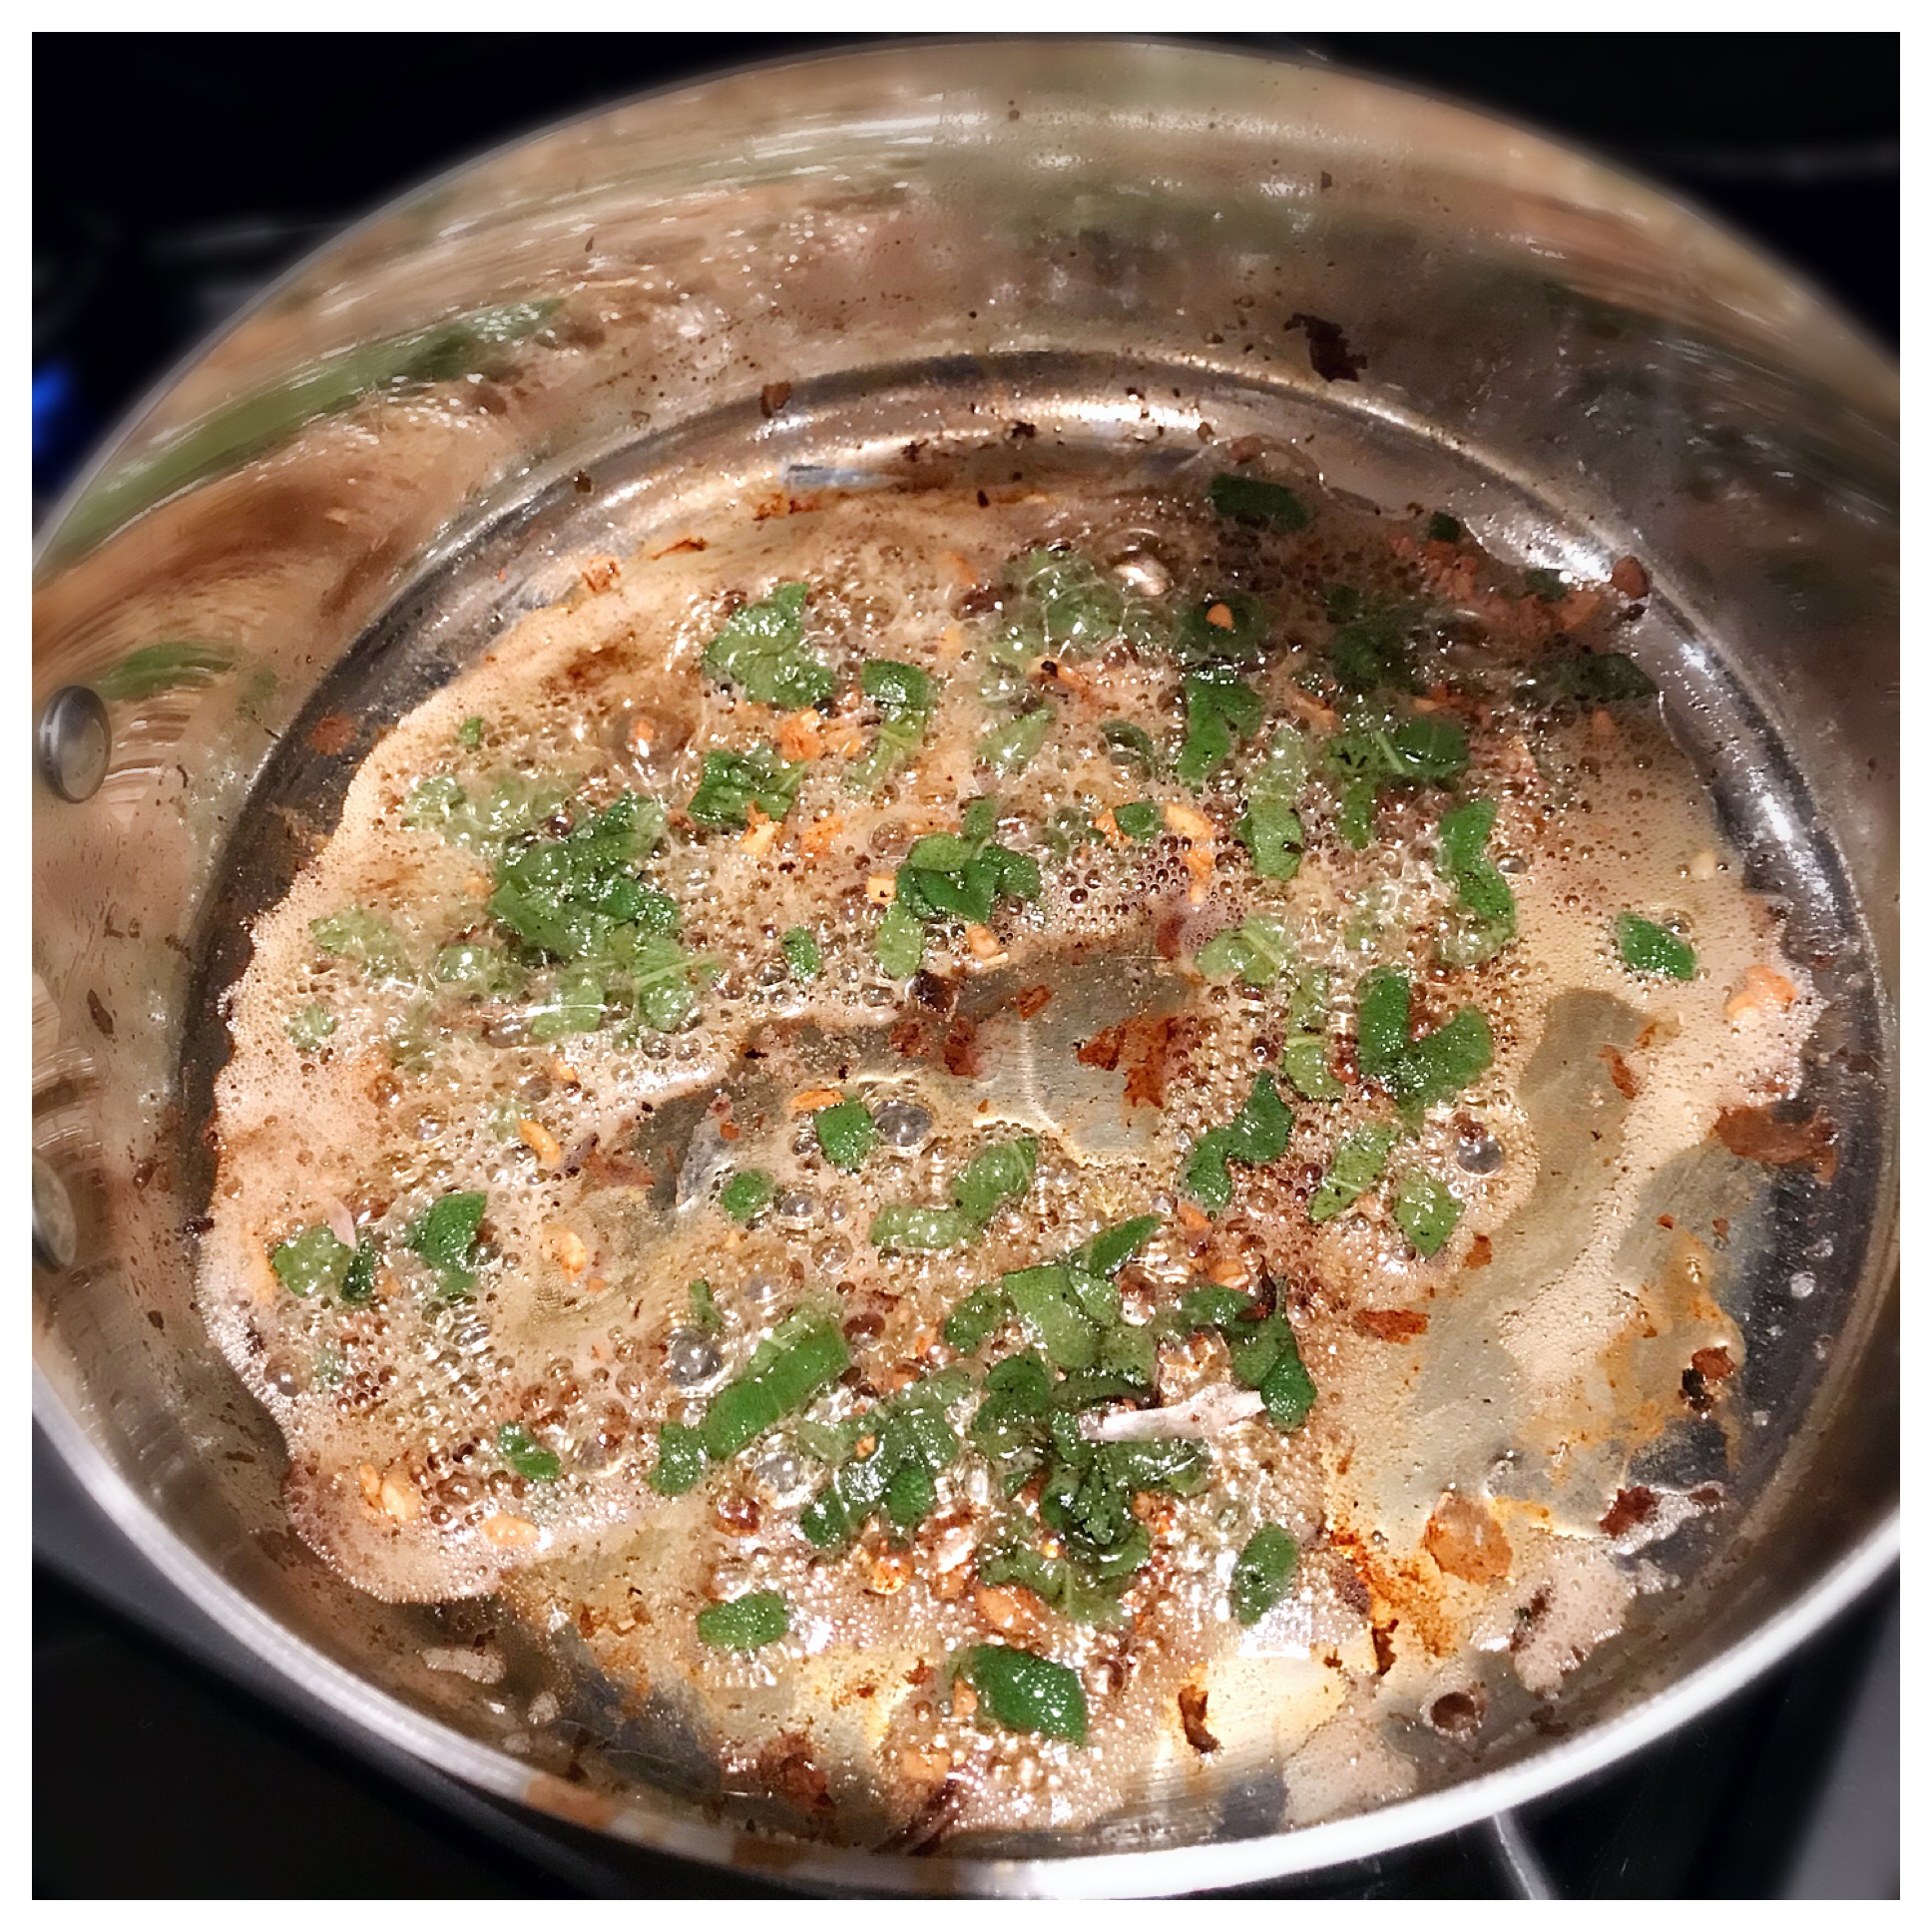
7. Once melted and the butter starts to brown (you will see the change in color and smell a deeper, richer smell from the butter) add the garlic and cook about 2 minutes (stirring frequently). You want to cook until just fragrant and starting to brown - but be careful not to burn or you'll have to start over!

add sage.JPG

8. Next add the fresh sage and cook, stirring occasionally for about 4 minutes.

9.  Turn the temperature down to low and add the 1% and whole milk, stirring consistently as you pour in the milk so that it doesn't scald (and form that film on the surface of the milk).  Once all the milk is in, turn up the heat to about medium and allow it to bubble, stirring occasionally and then turn back down to low, allowing all of the flavors to come together while you prepare the gnocchi.  The sauce will seem a little runny, but don't worry - it thickens once the gnocchi is combined due to the starch in the gnocchi that releases into the sauce.  

10.  As the sauce cooks, bring a large pot of water to a boil.  Once boiling add the gnocchi and cook until done.  You'll know they are done when the gnocchi pop to the surface of the water.

gnocchi in sauce.JPG

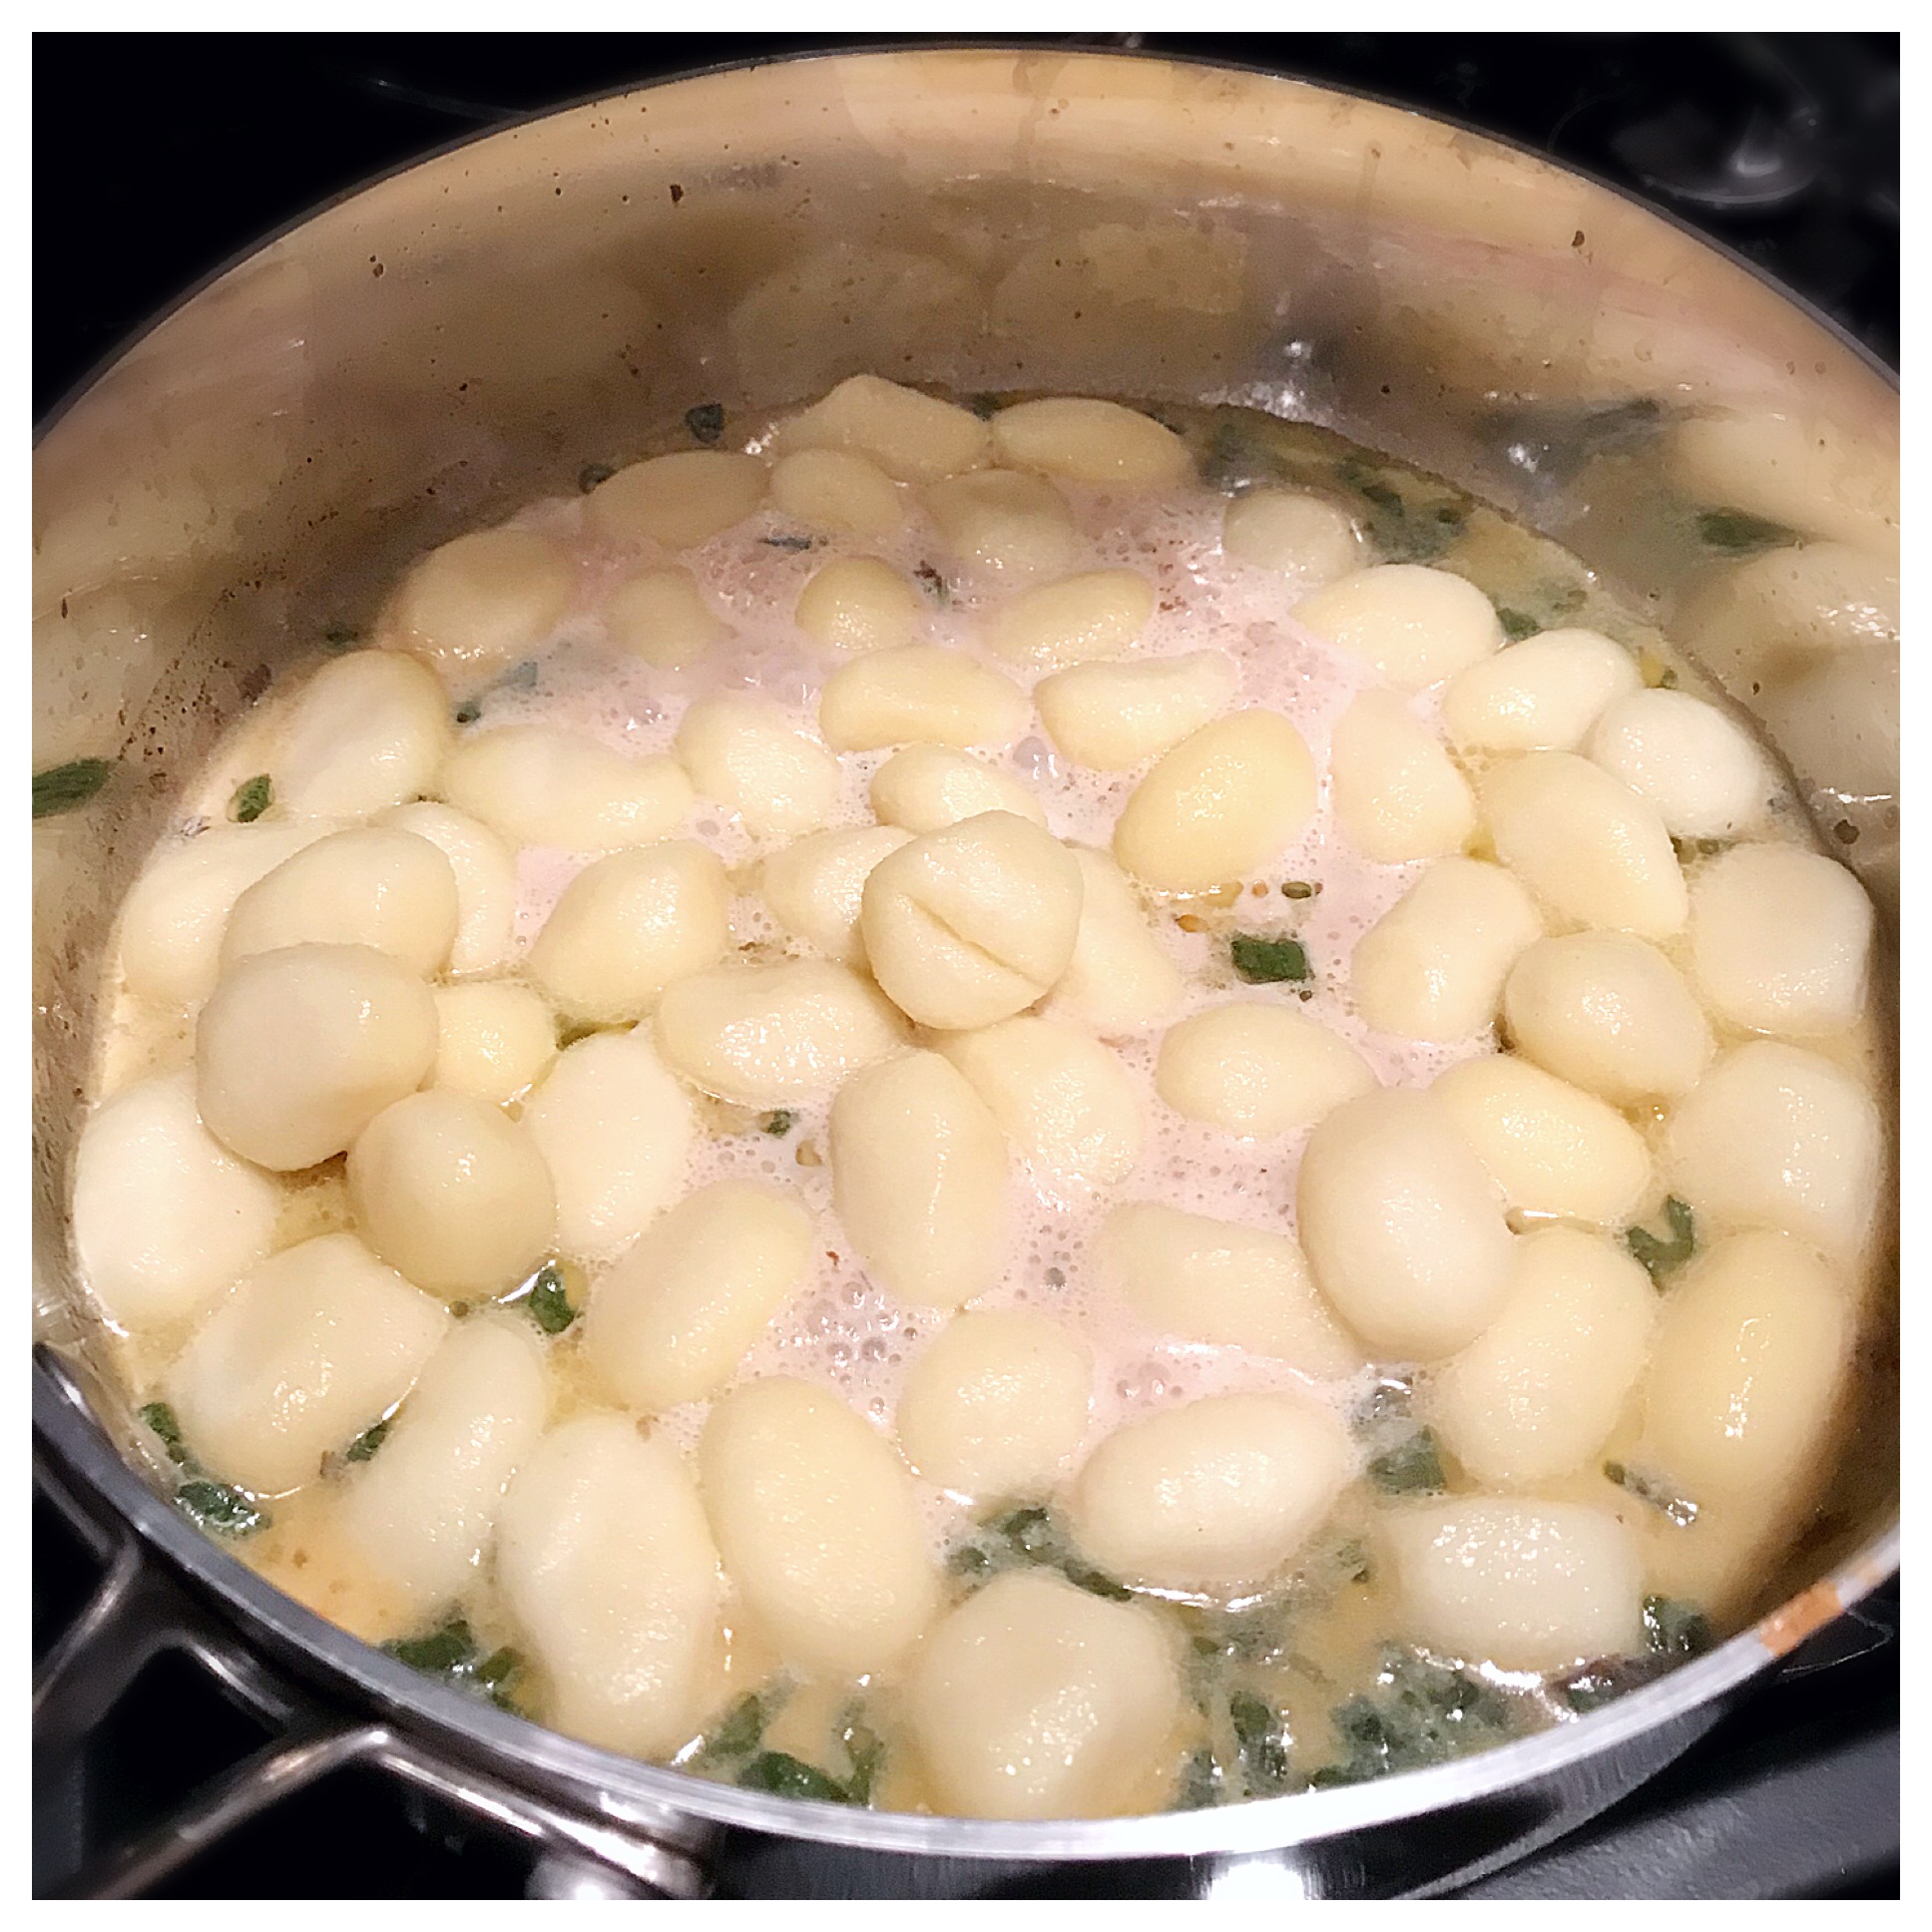
11.  Using a slotted spoon, transfer the cooked gnocchi straight into the sauce (alternatively, you could drain the gnocchi in a large colander when cooked and then add to sauce when ready).  Stir gnocchi into sauce until all is well incorporated. 

gnocchi, veggies, sauce.JPG
final product in skillet.JPG

12. Add the broccolini, mushrooms and grated Parmesan cheese and toss again to incorporate the sauce and veggies and get the cheese melted and incorporated throughout.

final product with Parm closer.JPG

13. Serve in individual bowls, sprinkle with additional Parmesan, if desired, and enjoy!

NUTRITION NOTES:

Potato gnocchi:  fiber, protein (a little bit), some brands have a little calcium and iron but may not be significant per serving

Broccolini:  vitamin A, vitamin C, iron, calcium

Mushrooms:  riboflavin & niacin (B vitamins), selenium, potassium, varying amounts of vitamin D, depending on sunlight exposure.

Parmesan Cheese:  protein, calcium, phosphorus

Milk:  calcium, protein, potassium, phosphorus, B12, vitamin D, riboflavin

Canola Oil:  monounsaturated fat, polyunsaturated fat, (also contains some saturated fat, but not as much as poly and mono), vitamin E, 


NUTRITION INFO (per serving)

Serving 2:  620 calories;  18.7 g protein;  86 g carb;  23 g total fat (5 g sat, 11.5 g mono, 2 g poly);  10 g sugar (0 g added);  9 g fiber;  1354 mg sodium;  270.5 mg calcium;  2 mg iron

Serving 4:  310 calories;  9.35 g protein;  43 g carb;  11.6 g total fat (2.5 g sat, 5.75 g mono, 1.5 g poly);  5 g sugar (0 g added);  4.5 g fiber;  677 mg sodium;  135.25 mg calcium;  1 mg iron

Lemon Dijon Baked Salmon

Favorite Lemony Dijon Salmon.JPG

Hello friends!  I hope everyone had a wonderful Thanksgiving and is full of good food and memories of family and friends.  I know I am :)  We went to the ranch with family and it was so much fun.  There was lots of laughing and eating and exploring and no technology, emails or social media.  It kind of felt like being a kid again, which can be such a breath of fresh air.  My husband and I love being out at the ranch and so stay as long as possible, typically getting in to Dallas later in the evening.  While that leaves extra time at the ranch, it leaves no time for meal prep and grocery trips.  Last night, I found myself in another Monday running to the store after work to pick up ingredients for my favorite salmon dish.  Having done this several times and sharing it with you all on social media, I decided it was finally time to share the ingredient and nutrition details with you in a post.

So, today I'm sharing with you one of my FAVORITE go-to entrees - my Lemon Dijon Baked Salmon, baked in parchment paper.  People often get intimidated by fish. The thought of preparing it and cooking it can seem so tricky.  I actually used to be one of these people, thinking this same thing.  However, over time I have learned that fish can actually be one of the simplest and most no-fuss entree ideas!

This recipe has become my go-to Monday night protein when I have been away all weekend and don't get time to grocery shop or meal prep.  A quick stop at the store after work to pick up a 6-oz salmon filet plus any sides I want to include is all it takes.

It really is so simple and so delicious, and, because I cook it all in parchment paper, it's also easy cleanup, which is a bonus in my book!  The ingredients are simple and probably items you already have in your pantry and fridge.  I hope the next time you're pressed for time or find yourself waking up on Monday with no groceries or planned meals ahead that you think about this dish and give it a try.  It's tangy and zesty and melt-in-your-mouth delicious.  The salmon literally falls apart the minute your fork first goes in to take a bite, and all of those flavors from the dijon and the lemon and the thyme meld together as soon as it hits your mouth.  Just writing this makes me want to cook it again for dinner tonight!  

So, here you go.  My simple, less stress, Lemony Dijon Salmon......

Happy Fueling!

Taylor

Lemon Dijon Baked Salmon

IMG_3154.JPG

INGREDIENTS:

  • Parchment paper

  • 6 ounce salmon filet

  • 3 thin slices of lemon

  • 1 1/2 teaspoons Dijon mustard

  • 1 tsp, dried thyme or 2 to 3 sprigs of fresh thyme


DIRECTIONS:

  1. Line a small baking sheet with parchment paper

  2. Preheat oven to 400 degrees F.

  3. Cut a small lemon into thin slices. You will need 3 slices of lemon for one salmon filet.

  4. Lay salmon filet on parchment paper.

  5. Spread Dijon mustard in an even layer over the salmon filet.

  6. Lay the 3 lemon slices over the Dijon.

  7. Sprinkle the dried thyme over the lemon slices and salmon - or lay thyme sprigs on top if using.

  8. Lengthwise, bring the edges of the parchment paper up over the salmon and roll together to seal in the salmon. Roll up the edges of the parchment paper as well to seal. You are creating a kind of pouch that the salmon will cook in.

  9. Place baking sheet in the preheated oven and cook for about 15 minutes or until desired doneness (the general rule is 10 minutes for each 1-inch thickness of the salmon)

  10. Once, done, remove baking sheet from the oven and when ready, unroll the parchment paper to reveal a tender flavor-packed salmon filet :)

  11. Serve salmon with your favorite simple sides and enjoy!

Serve It Again!

You can make several filets all at one time if you would like and store the extras for meals later in the week.  You could flake the salmon over a spinach salad or top it over a quinoa bowl.  Lots of possibilities!


NUTRITION NOTES:

Salmon:  protein omega 3 fatty acids (specifically EPA & DHA, which are good for the brain, heart and can help decrease inflammation in the body) | Vitamin B12, Selenium

Lemon:  Vitamin C