side dishes

Pesto Roasted Cauliflower

Roasted Cauli side shot.JPG

Wow, it was a fast moving February, which I'm pretty sure is going to turn into a fast moving March!  Kyle and I accomplished a trip to Houston and a trip to Mexico City, Birthday celebrations for him, engagement celebrations for friends, a new Bible Study, lots of work travel for Kyle and tons of work checklists and Board meetings for me.  Wowzers.  And in one short week we are taking off to Israel!  Detailed meal planning has been at an all-time low and needless to say, my quick and simple favorites have really come to the rescue lately!

One fairly new quick and simple side that I want to share with you today, and that I have been making on the regular lately, is my Pesto Roasted Cauliflower.  If you have noticed in my posts, I have been making a lot of roasted cauliflower this year AND using lots of pesto (it is such a SIMPLE way to add a LOT of flavor!).  After basically making these two components a weekly constant, Kyle and I then went to grab a quick bite at Celebration and one of their vegetables of the day was a pesto roasted cauliflower.  Hello!?!?!  Why had I not thought of that?!

So, the next week pesto roasted cauliflower was absolutely on the menu.  I love this dish because it carries so much flavor on its own that you don't need to worry about having super flavor-packed fancy items to go with it.  I love this as a side to beef or pork tenderloin, chicken or salmon, or added into a bowl for lunch.  You could even chop it up finely and add to scrambled eggs in the morning.  Such a good prepped veggie to have around for the week.

So, here you go - my recipe for Pesto Roasted Cauliflower...

Happy Fueling!

Taylor


PESTO ROASTED CAULIFLOWER

INGREDIENTS

  • 1 small to medium head of cauliflower, chopped and rinsed (about 4 to 5 cups raw)

  • 1 tablespoon olive oil

  • 1 tablespoon + 1 - 2 teaspoons jarred pesto

DIRECTIONS

  1. Preheat oven to 375 degrees F and line a large baking sheet with foil or parchment paper.

  2. In a large mixing bowl, drizzle cauliflower with 1 tablespoon olive oil and toss to coat.

  3. Spread the cauliflower out evenly over the baking sheet and roast in preheated oven for about 20 minutes (see my first picture in this post for a visual).

  4. After 20 minutes, remove cauliflower from the oven, scoop the cauliflower into that same mixing bowl, add the pesto, and mix with a rubber spatula to coat the cauliflower evenly with pesto.

  5. Scoop the cauliflower back onto the baking sheet, place back in the oven and roast for another 10 to 15 minutes, or until fork-tender and some of the smallest pieces are getting crispy.

  6. Remove baking sheet with cauliflower from the oven and allow to sit about 5 minutes.

  7. Serve immediately or allow to cool completely and store in airtight containers in the refrigerator for meals later in the week!


NUTRITION NOTES

Cauliflower provides a lot of VITAMIN C and FIBER

Vitamin C... helps strengthen the immune system and prevent infections

Fiber... great for a healthy digestive system, helps fill you up, can help lower cholesterol


Oven Burst Cherry Tomatoes

IMG_4086.JPG

Hey there!  Question for you today - how often do you decide not to meal or ingredient prep for the week and instead pick up fast food or dine out because those "light" recipes you find in magazines are boring and bland or whatever you cook up is typically tasteless???

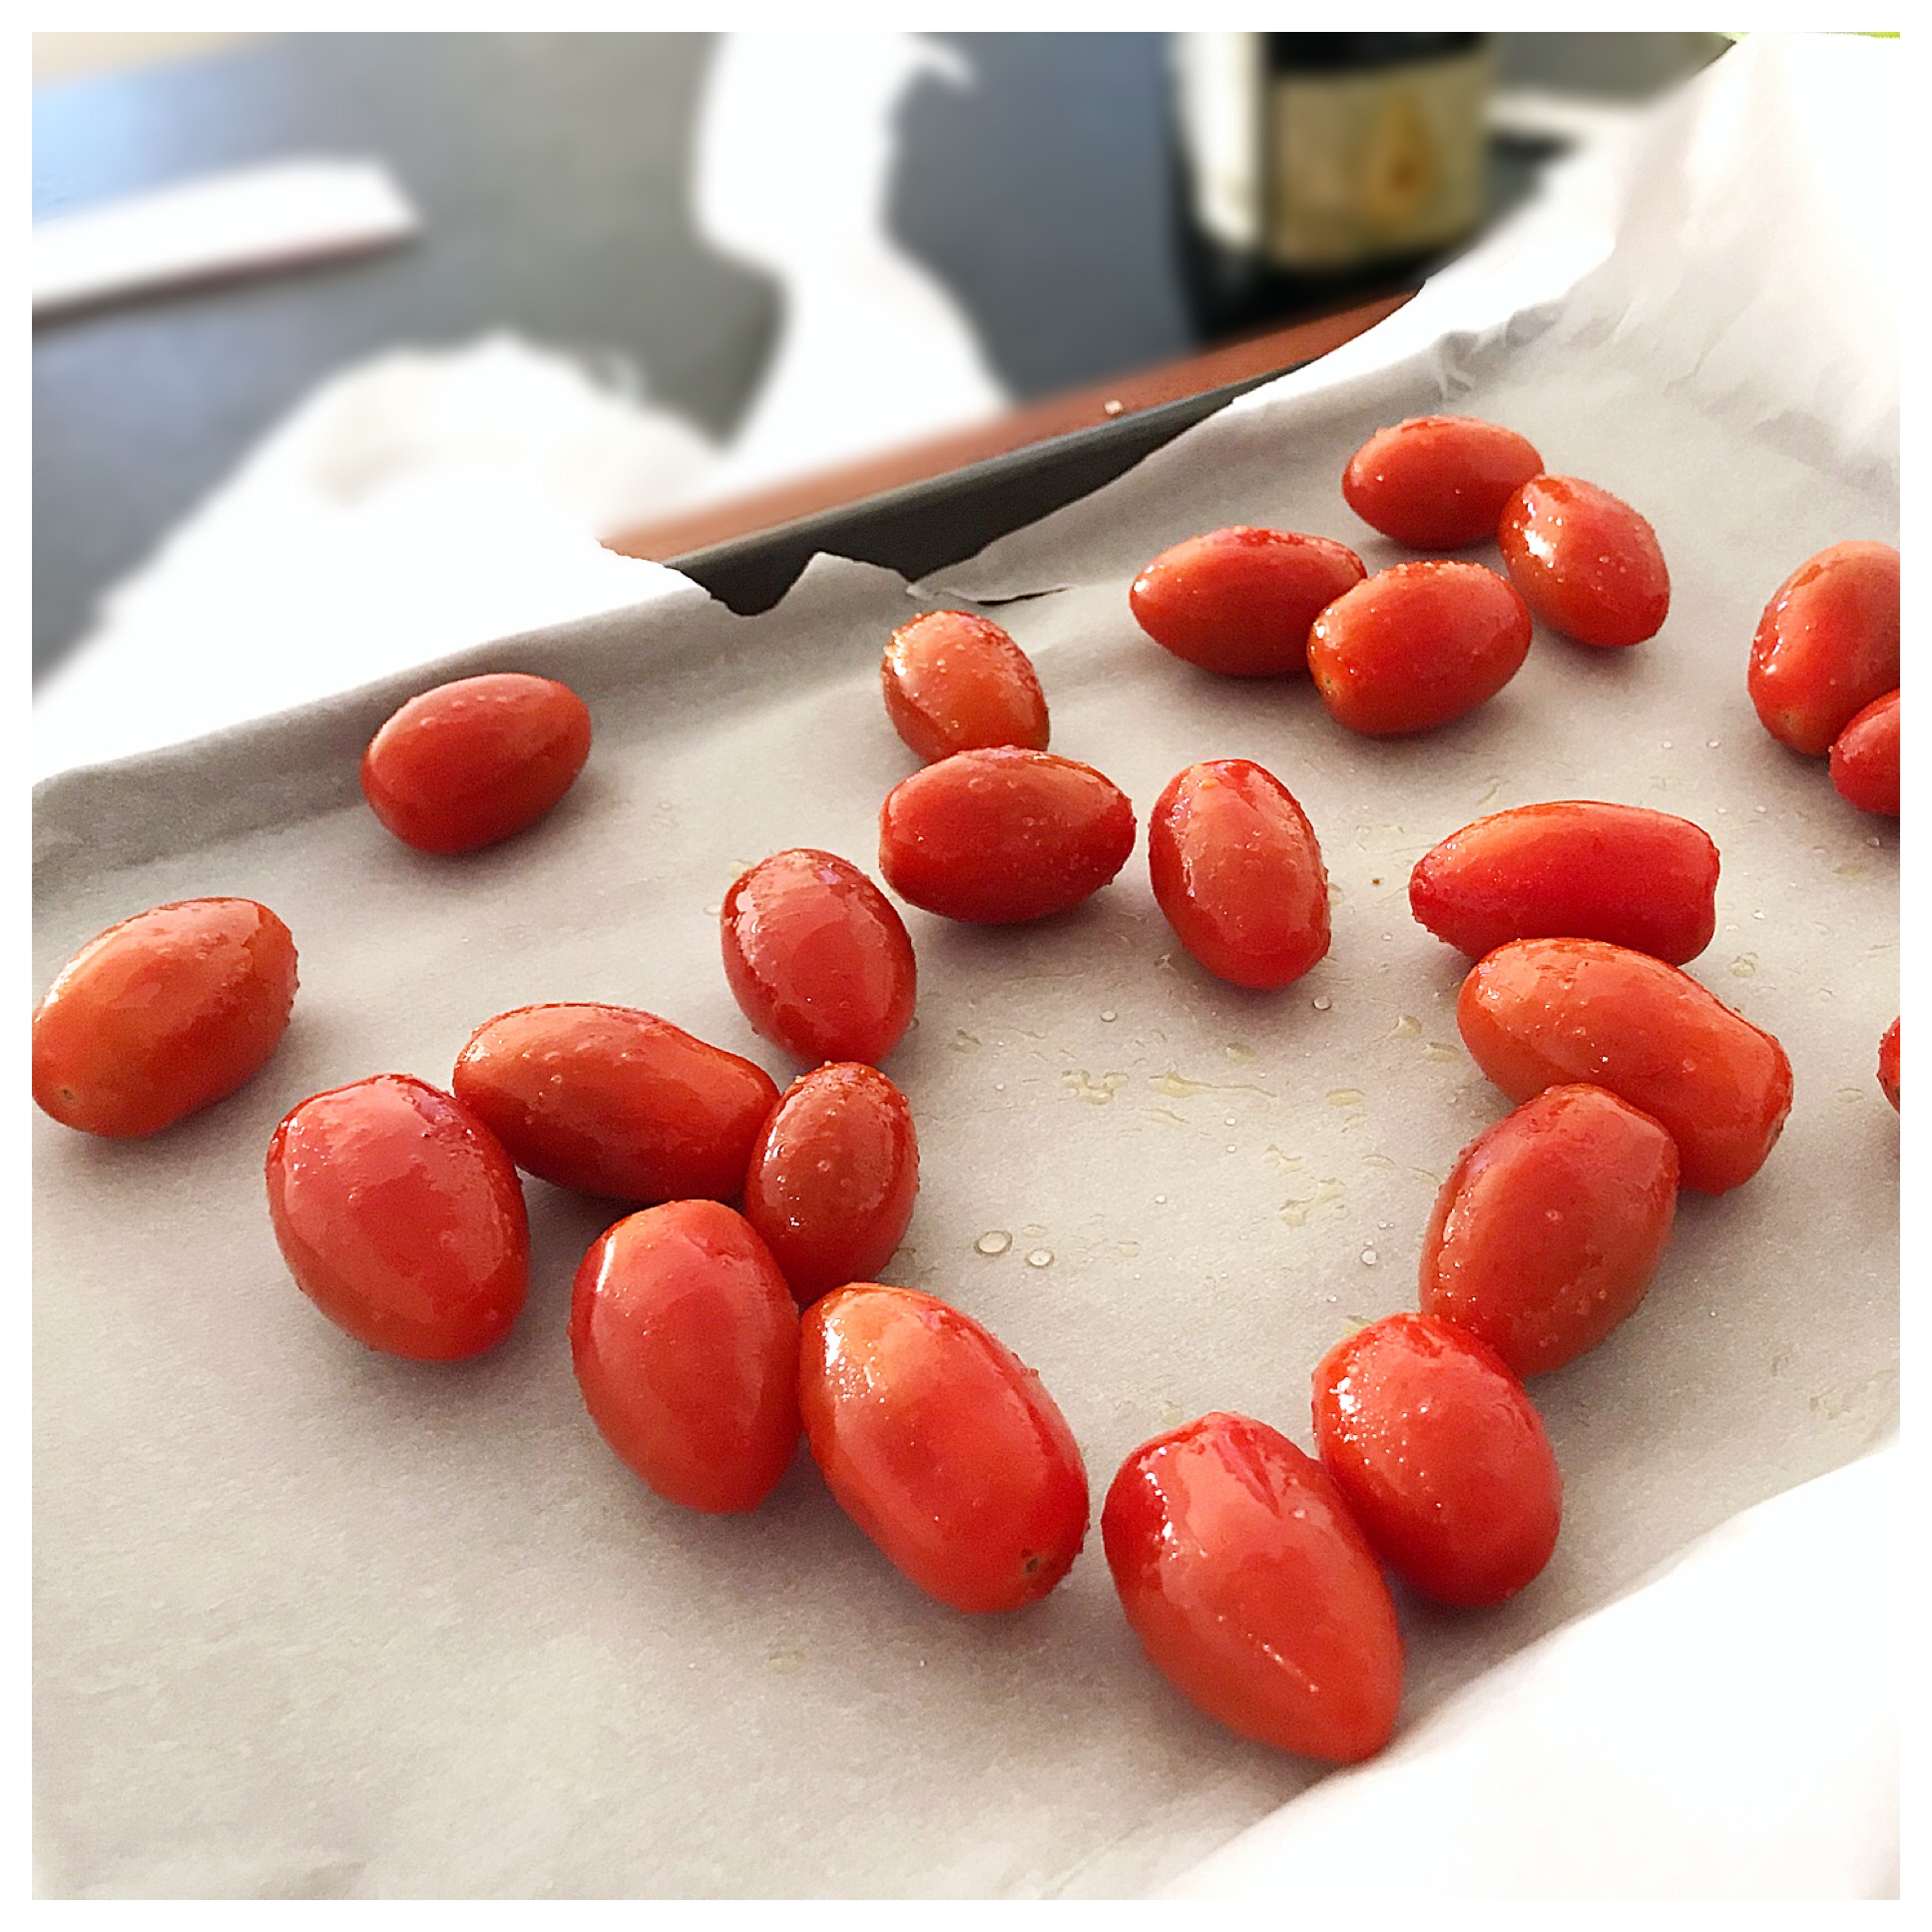
Well, today I may have a solution for you.  Today I'm sharing my Oven Burst Cherry Tomatoes.  I'm usually not so absolute but I mean it when I say these guys make pretty much any dish better (which is why, if you follow me on Instagram, you probably see these so often!) Even if you are not a tomato lover, I would at least give these a try.  Whether you roast or broil them, the cooking of these under high heat brings out their sweetness, replacing some of that strong acidity you usually find with raw tomatoes. 

I use this recipe to give depth and flavor to so many meals and snacks.  When added to less-seasoned dishes the tomatoes add bursts of sweetness and their juices gently permeate throughout, lending a totally new element to the dish.  I love roasting up a batch of these and keeping them in my fridge for the week.  They are the perfect addition to so many of my simpler dishes that I throw together between meetings or in the morning with my eggs. 

If you find yourself pressed for time during the week and those meals you throw together in minutes are usually bland and lacking, I highly recommend trying to add some of these sweet yet savory tomatoes to your dishes.  It's such a quick and simple way to add tons of flavor!

So here you go - the recipe for my Oven Burst Cherry Tomatoes.

Happy Fueling!

Taylor


OVEN BURST CHERRY TOMATOES

INGREDIENTS

  • 1 pint cherry tomatoes

  • 2 teaspoon olive oil

  • 1/8 teaspoon salt ( I use a pinch - not a lot at all)

  • Optional - fresh or dried herbs, such as Italian Seasoning, thyme, rosemary, oregano


DIRECTIONS

IMG_4088.JPG

1.  Preheat a broiler on high.  

2.  Cover a small to medium - sized baking sheet with parchment paper or aluminum foil.

3.  Rinse the tomatoes, pat dry, and add to a medium-sized mixing bowl.

4.  Add in 2 teaspoons to 1 tablespoon (3 teaspoons) olive oil.

5.  Add in a pinch of salt (about 1/8 teaspoon) and any herbs you choose to add (my go-to's are often about 2 teaspoons of Italian Seasoning or 1 tsp thyme + 1 tsp oregano, OR I keep it simple and just add the pinch of salt!)

6.  Stir all together with a rubber spatula until oil and salt is well dispersed over all tomatoes.

IMG_4087.JPG

7. Spread tomatoes out on parchment - lined baking sheet.

IMG_4086.JPG

8. Place your baking sheet in the preheated oven (broiler) and let cook for about 8 to 10 minutes, stirring tomatoes at about 4 to 5 minutes for event cooking.

IMG_4085.JPG

9. Tomatoes are done when they have all started to burst and the skins begin to blacken.

10. Add to dishes immediately or allow to cool and store in an air-tight container to use throughout the week!

NUTRITION NOTES

Tomatoes are a great source of vitamin C, lycopene, vitamin K and potassium!  Did you know that cooking the tomatoes makes their lycopene content stronger and more available to the body?!  And the vitamin C in the tomatoes helps our bodies absorb any non-meat source of iron (found in dark leafy greens, whole grains, and more).  A great thing to consider for you vegetarians and vegans out there!

Simple Slow Roasted Root Veggies

IMG_2218.JPG

Hello there!  Today's recipe isn't a very complicated one.  It's actually one that I probably could have simply put in an Instagram post and called it a day.  However, in just the last month or so, this has already become a favorite and it is officially on my list of less stress, no fuss, prep it-leave it-love it recipes.  I would be excited to prepare this whether it's just me for dinner, if we have last-minute guests or if  I've had a month to plan.  

"Why?" might you ask?  Well, several reasons:

  1. It meets one of my Cardinal Rules of Cooking... have one item on the menu that can be thrown in the oven or left over the stove to cook for a while. I really like to have one item roasting in the oven when I'm preparing a meal. If you have one thing that can be thrown in the oven and left alone, it frees you up to take care of your more "high maintenance" meal items.

  2. Roasting veggies is a Game Changer. After being in the oven for 45 minutes, these carrots are soft and tender and caramelized and those pearl onions - well, to me, they basically taste like candy - so soft and sweet and caramelized like the carrots. They add pizzaz to any dish.

  3. They make great leftovers! This shouldn't be surprising coming from me at this point as most of my recipes can double as something else on any other day. Because these are heartier vegetables, I can pack up the remaining veggies, store them in the fridge and heat them up the next day. I've paired them with other veggies, chicken, chickpeas, crumbled cheese, you name it. It has been a good item to pack up and reheat for lunch at work or throw with a new protein on a different night of the week. Quick and simple and satisfying.

I actually got the idea from an episode of Barefoot Contessa with Ina Garten (I soak up the Saturday mornings when I get a little time to watch these cooking shows - they both inspire and teach me).  She had a spotlight on one of her favorite chefs who was roasting tons of veggies and I knew I had to try some variation of what was featured.  While all of those veggies looked delicious, I decided to keep it simple and stick with two or three staples that would then allow me to throw in some extra veggies at the end.  

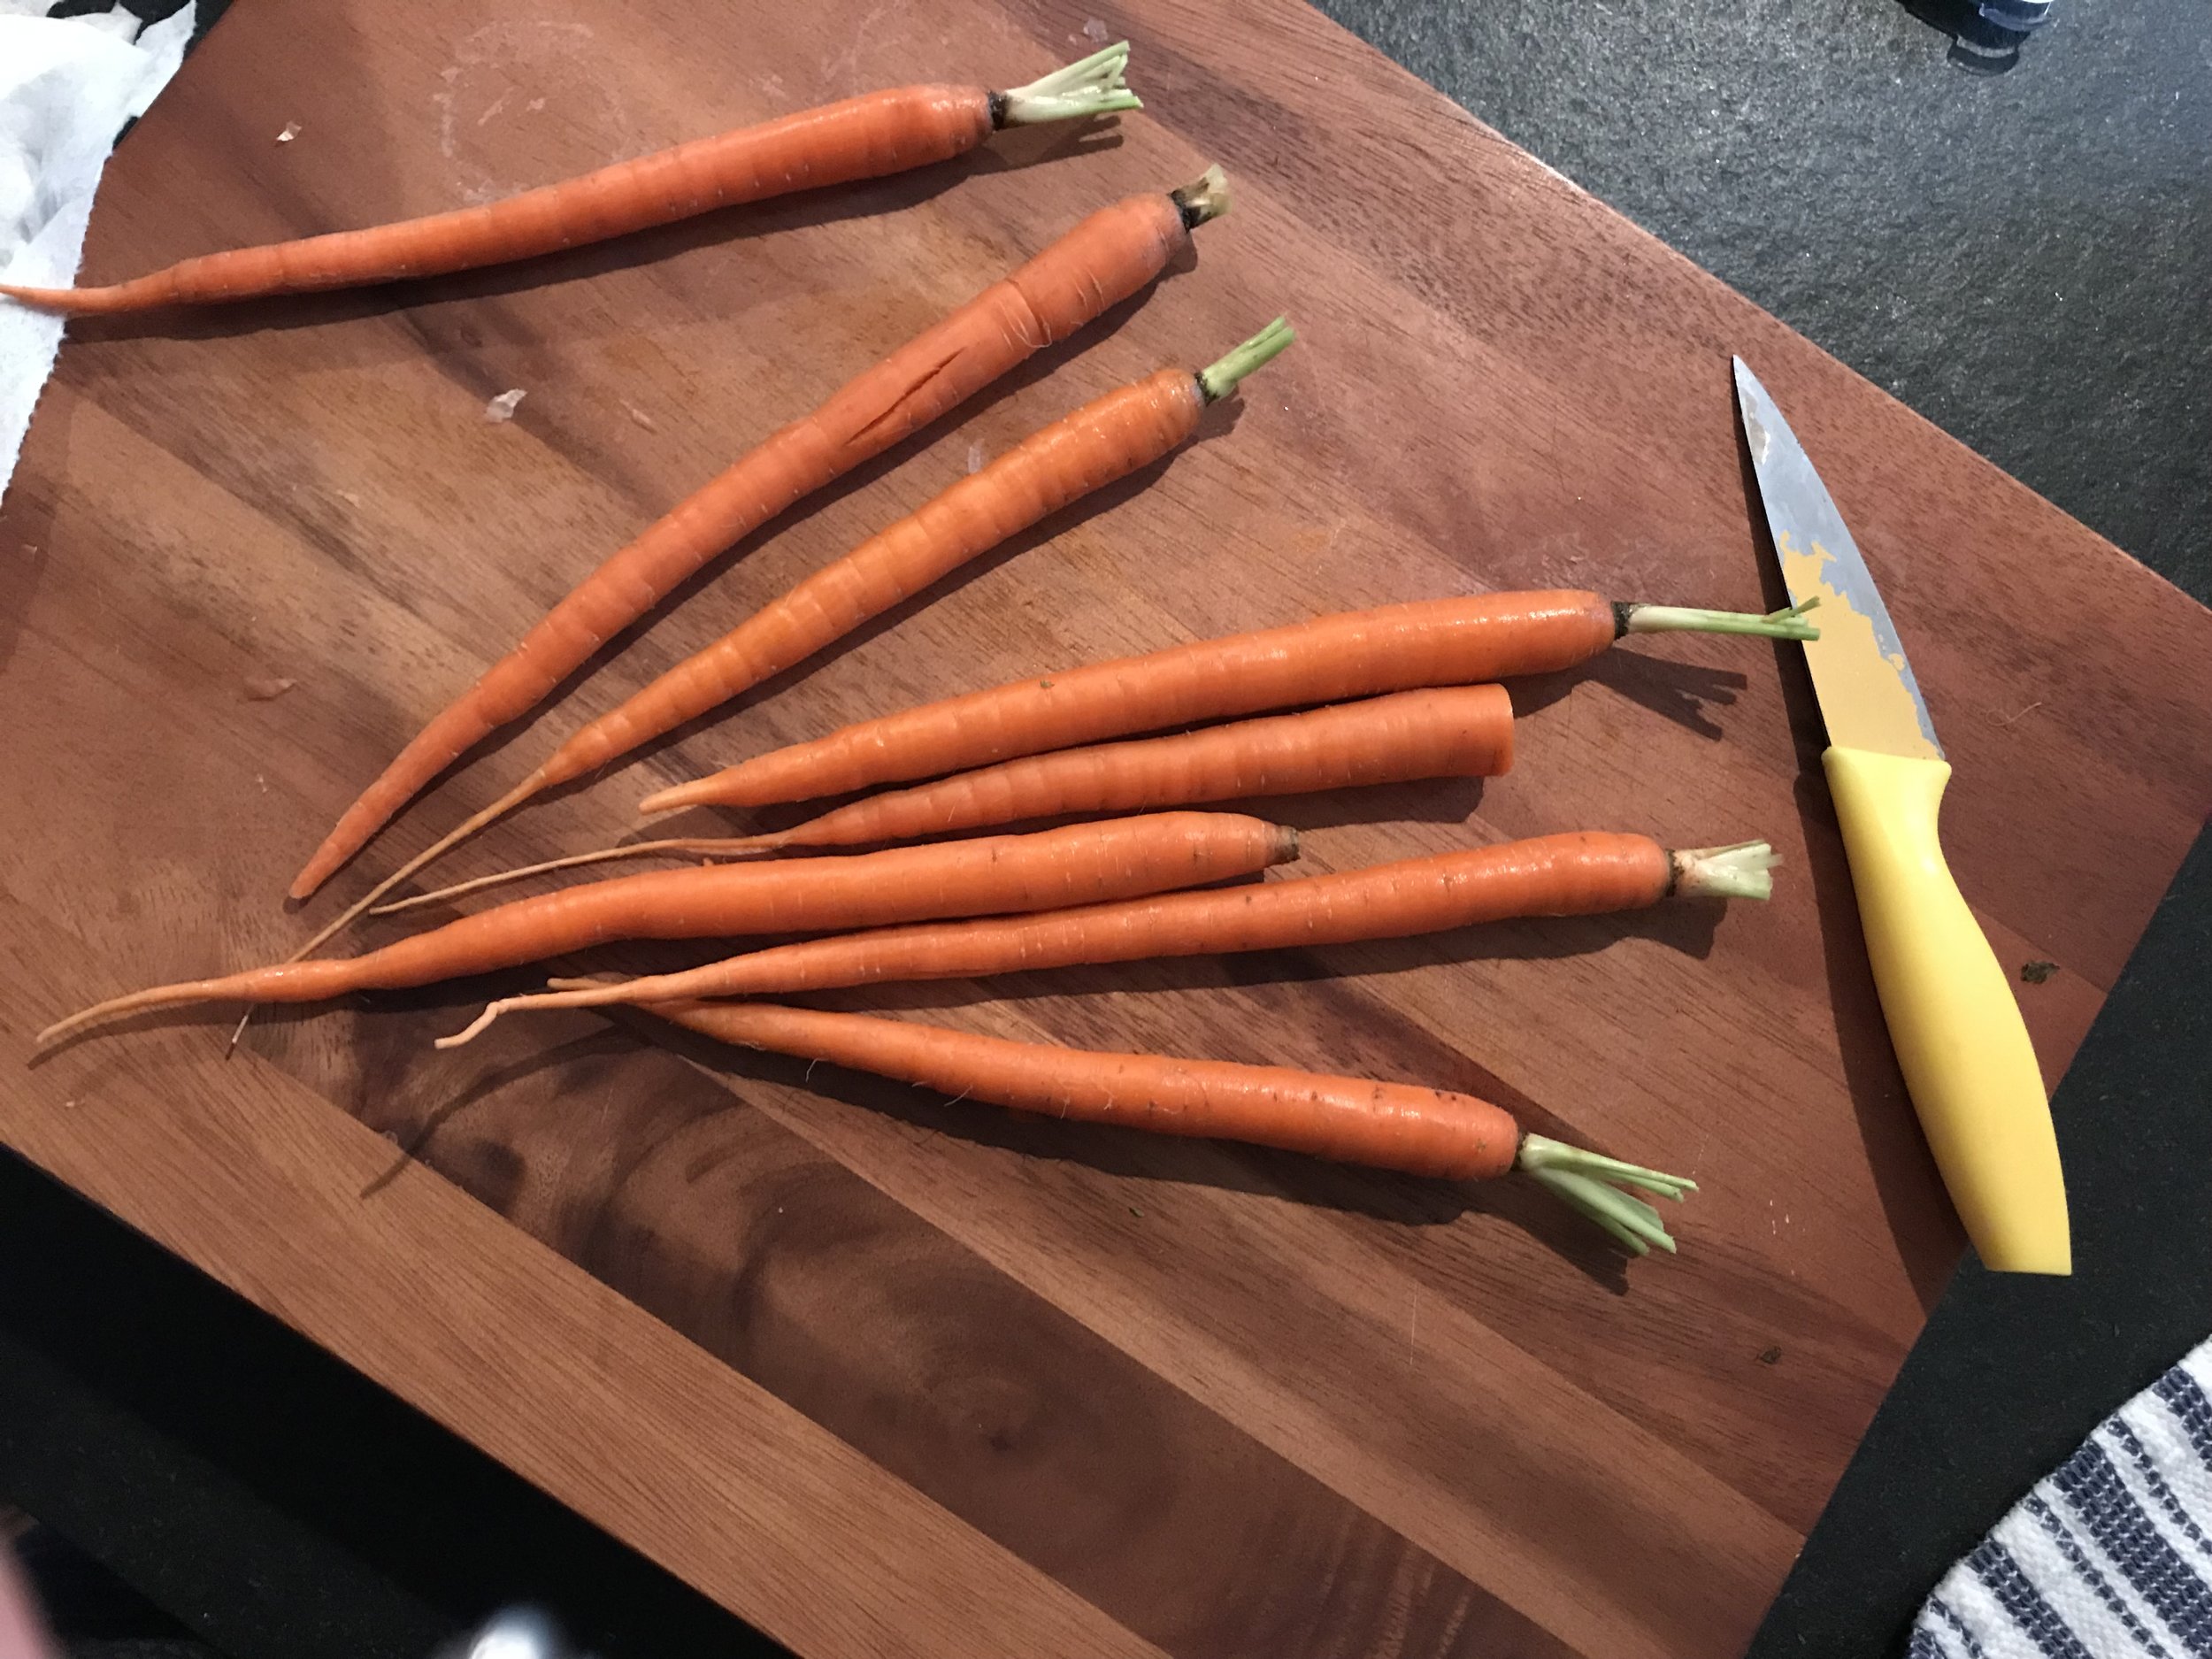
I've always been intrigued by those mini organic carrots at the store (not the baby carrots, but the ones that look like smaller regular carrots, right out of the ground).  I also LOVE onions when they are roasted.  If you have never had them before - you HAVE to try it.  Seriously a game changer.  Roasting onions softens them and makes them wonderfully sweet and earthy.  That's pretty much my base.  And then I have the liberty to add any other veggies to it.  This last particular time I roasted broccolini separately because it doesn't take as long to cook (I have a double oven so that's helpful).  I threw them in a preheated oven when there was about 15 minutes left on the carrots & onions and then threw them all together on the skillet once they were done (which you'll see in the pics below).

The perfect side dish for many different entrees, PLUS they reheat well for veggie bowls (with chicken / beans / tofu / etc.) another day or night that week.  Oh, and my favorite part of the evening when I served these?  When my husband said, "You know, you have really gotten me to like a lot of vegetables - vegetables that I didn't think I ever liked".  Win!

So, here you go, my Sweet & Simple Slow Roasted Veggies

Happy Fueling!

Taylor

Sweet & Simple Slow Roasted Veggies

IMG_2195.JPG

INGREDIENTS:

  • Two 8-ounce bags of small organic carrots (or I've use about 1 pound of the large carrots, cut off the greens & cut them in half)

  • 1 pound mixed Pearl & Cipollini onions, skin removed and ends removed (you can also purchase frozen, already peeled to make this part even simpler)

  • 1/2 tablespoon dried Italian Seasoning

  • 1 - 1/2 tablespoons extra virgin olive oil

  • 1/8 teaspoon salt

DIRECTIONS

  1. Preheat the oven to 400 degrees Fahrenheit.

  2. Line 2 baking sheets with foil or parchment paper.

  3. In a large mixing bowl mix together the carrots, pearl onions, olive oil, Italian Seasoning, and salt until vegetables are well coated.

  4. Divide vegetables evenly between the 2 baking sheets. I used 2 baking sheets b/c they would be too crowded on just one and would probably end up steaming instead of roasting (not what you want).

  5. Place vegetables in the oven on the top or middle rack (placing veggies on the bottom rack will likely cause them to burn easily - at least that's what happened to me the first time I made these!).

  6. Cook for about 45 minutes, mixing the vegetables with a spatula halfway through (for even cooking on all sides) until the carrots are soft and easily cut with a fork.

  7. Remove the veggies from the oven, serve and enjoy!

You can, of course, add more root vegetables to this mix such as:  parsnips, beets, turnips, and radishes), but IF you want to add more non-root vegetables, I suggest cooking them separately at their own temperature and time.  I like adding broccolini (2 bunches from Central Market) with these and to do that I:

  1. Preheat the oven to 350 degrees Fahrenheit.

  2. Toss my broccolini in about 1 tablespoon olive oil and 1/8 teaspoon salt.

  3. Spread broccolini out evenly on a lined (with foil or parchment paper) baking sheet.

  4. When there are about 20 minutes left for my root veggies I put my broccolini in the preheated oven and bake for about 30 minutes, stirring halfway through (so that broccolini cook evenly on all sides).

  5. Once done, the root veggies should be done as well so add them to the sheet with the root veggies, mix all together and serve with dinner!

IMG_2194.JPG

Cooking Note: Cooking is not always an exact science.  If you can't find the exact product that I used above - you can adjust a little.  For example, in this recipe I got the onions from the bulk bin at Central Market.  However, at Tom Thumb, these usually come prepackaged in anywhere from 7 ounce to 10 ounce plastic containers.  As long as it's around 1 pound you should be fine (for these directions) and the onions will still come out tender, caramelized and absolutely delicious!  Same goes for the carrots - I get the small bags when I can, but the other day I could only find the large organic bunches at the store - so I purchased two bunches and, when I got home, washed them, cut off the greens and cut each carrot in half so they would all be about the same size.  Just like the onions, they turned out delicious.  This made enough to serve me and a very hungry husband with a couple of days of leftovers.  If you're cooking for 1 you could plan to have more leftovers, or go down to 1 of everything and decrease the oil and seasoning by about 1/2.


WHAT'S IN THIS??  

  • Carrots - vitamin A | fiber | potassium | vitmamin K

  • Onions - fiber | vitamin C | part of allium group, that may reduce risk of some cancers

  • Broccolini - vitamin K | iron | vitamin C

  • Olive oil - monounsaturated fat | vitamin E