Chicken Caprese Salad Jars: An easy fueling lunch for busy parent OR athlete!

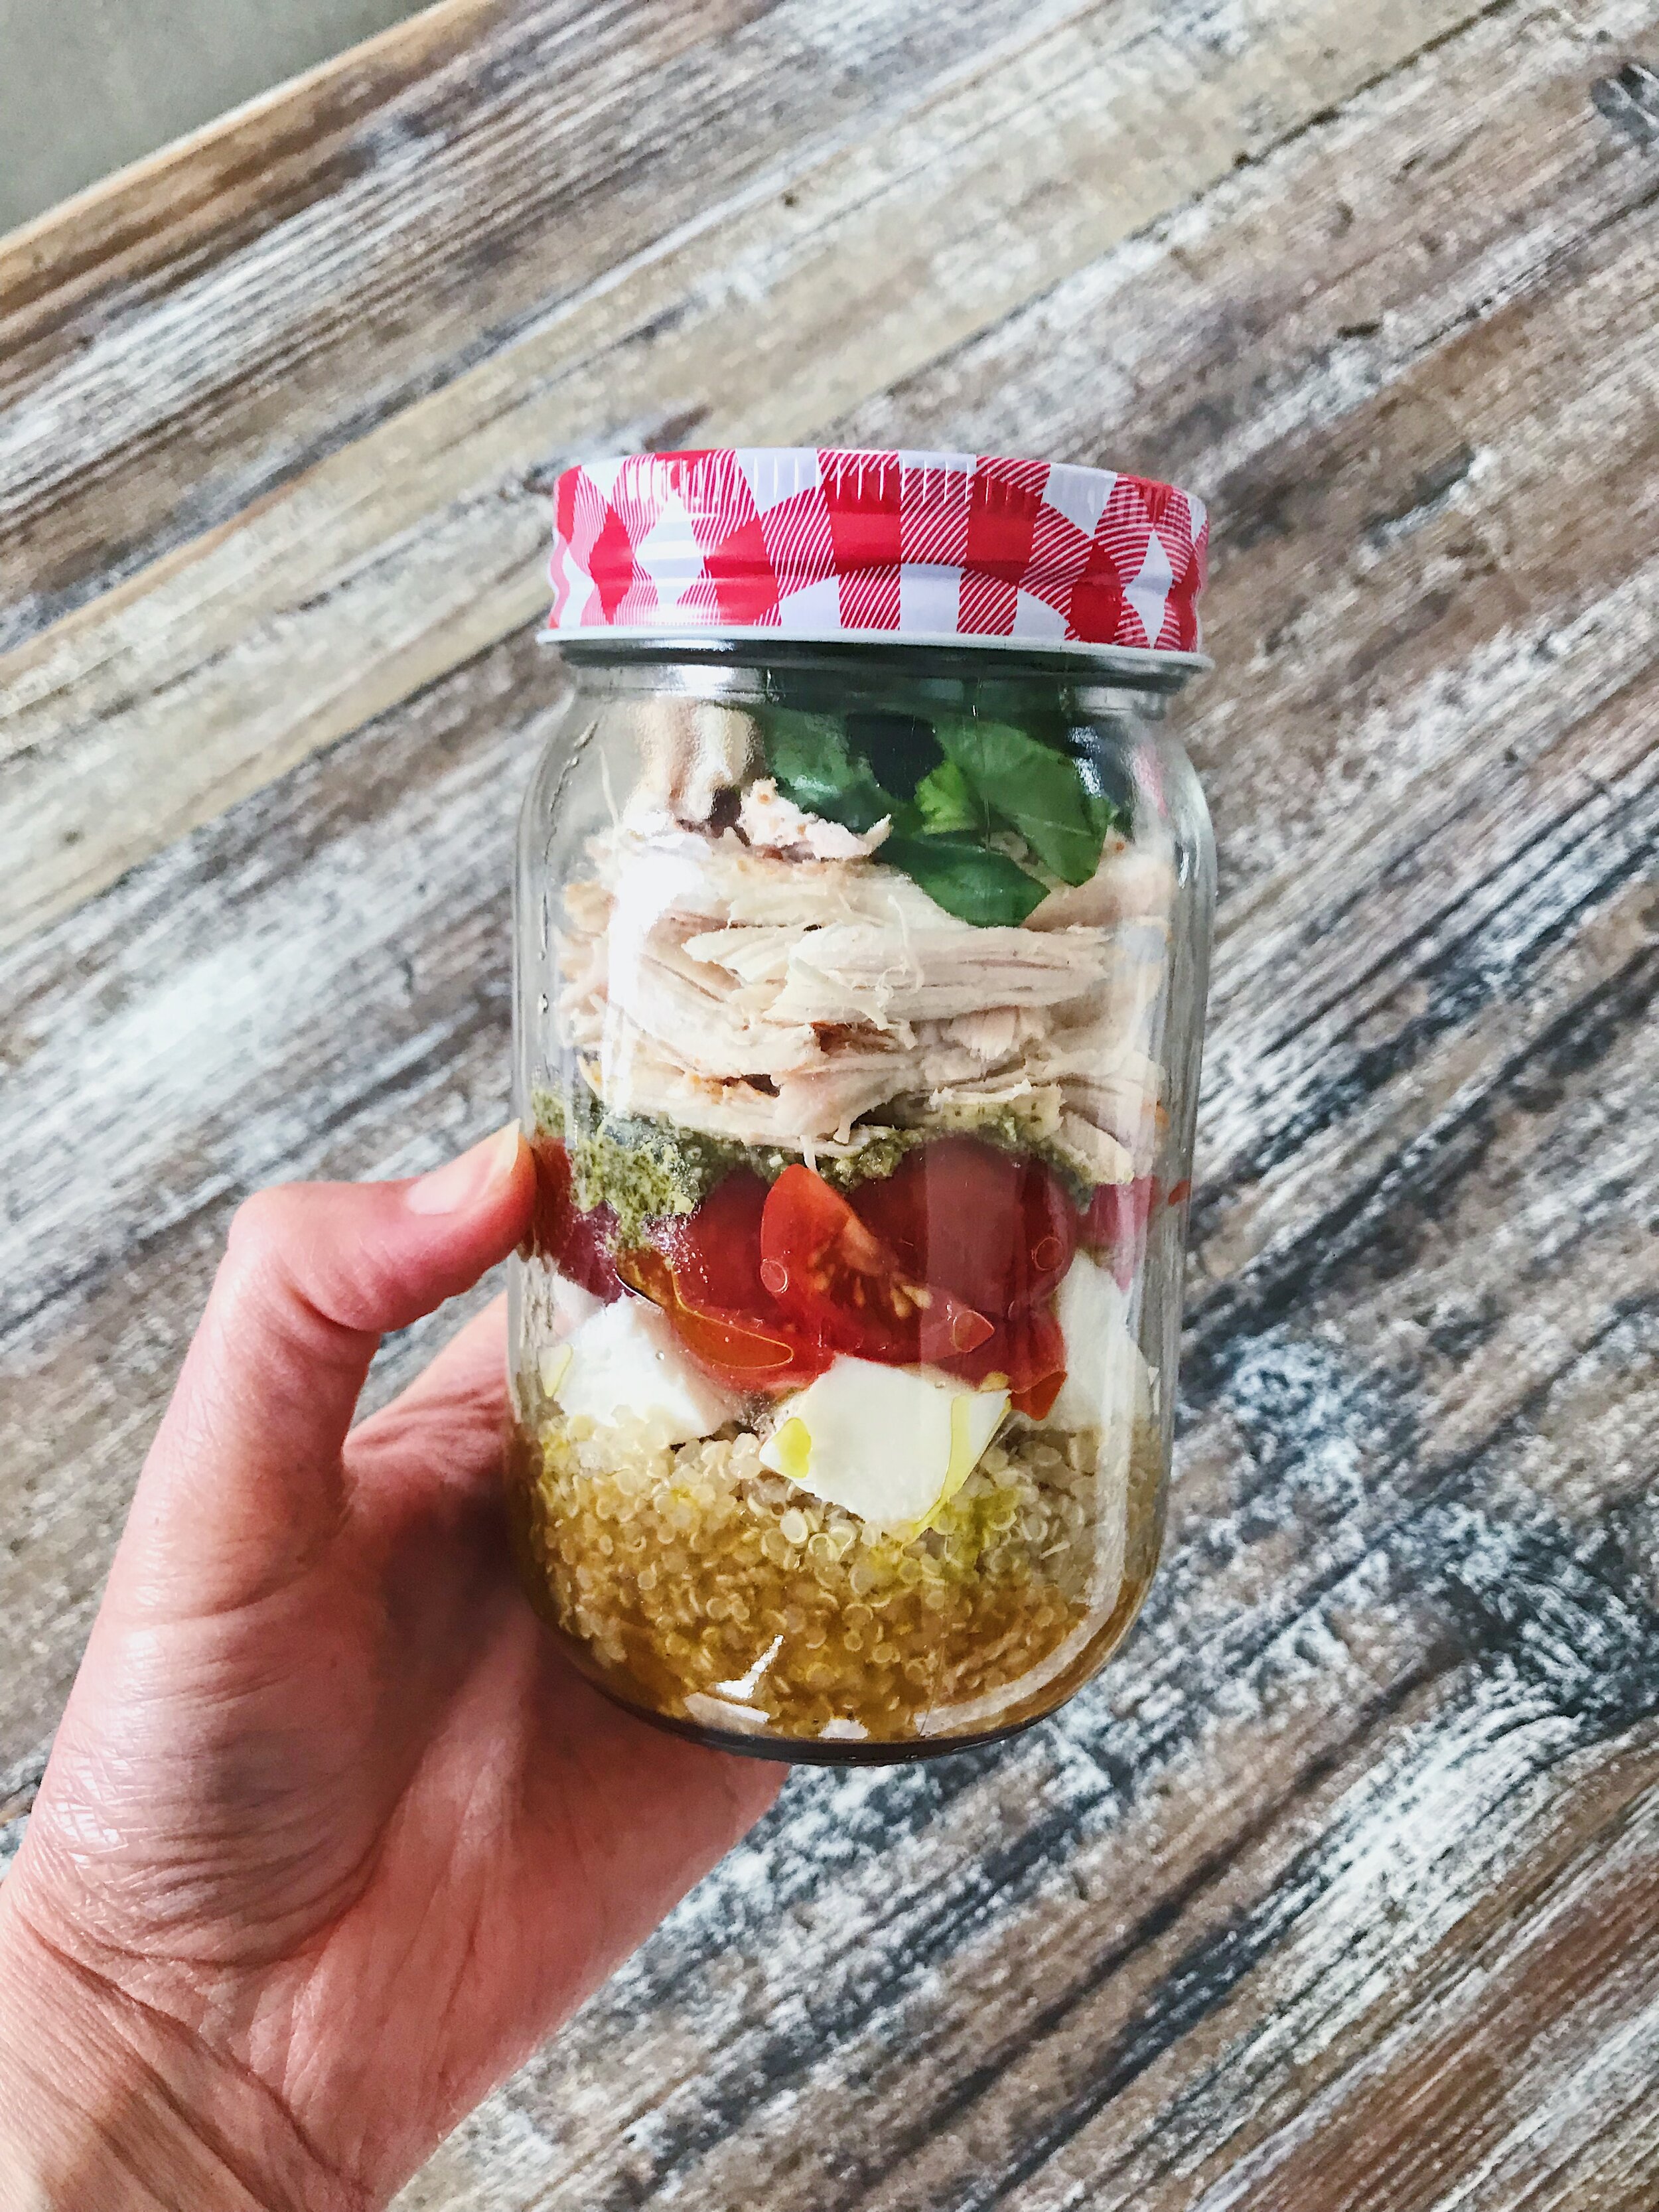
Chicken Caprese Salad Jar solo.JPG

This is a new creation that is fast and absolutely fabulous! I feel like I’m being dramatic in saying that, but really, it is so delicious. I thought it would be pretty good, but after mixing it up and taking a bite, I even surprised myself! The mix of flavors is just so. darn. fantastic. The balsamic melds with the quinoa and then you mix that with the basil and mozzarella, pinch of salt and pepper, the sweet tomatoes and the flavor-packed tender rotisserie chicken. Really, friends, I hope you make a bunch of these for busy weeks ahead!

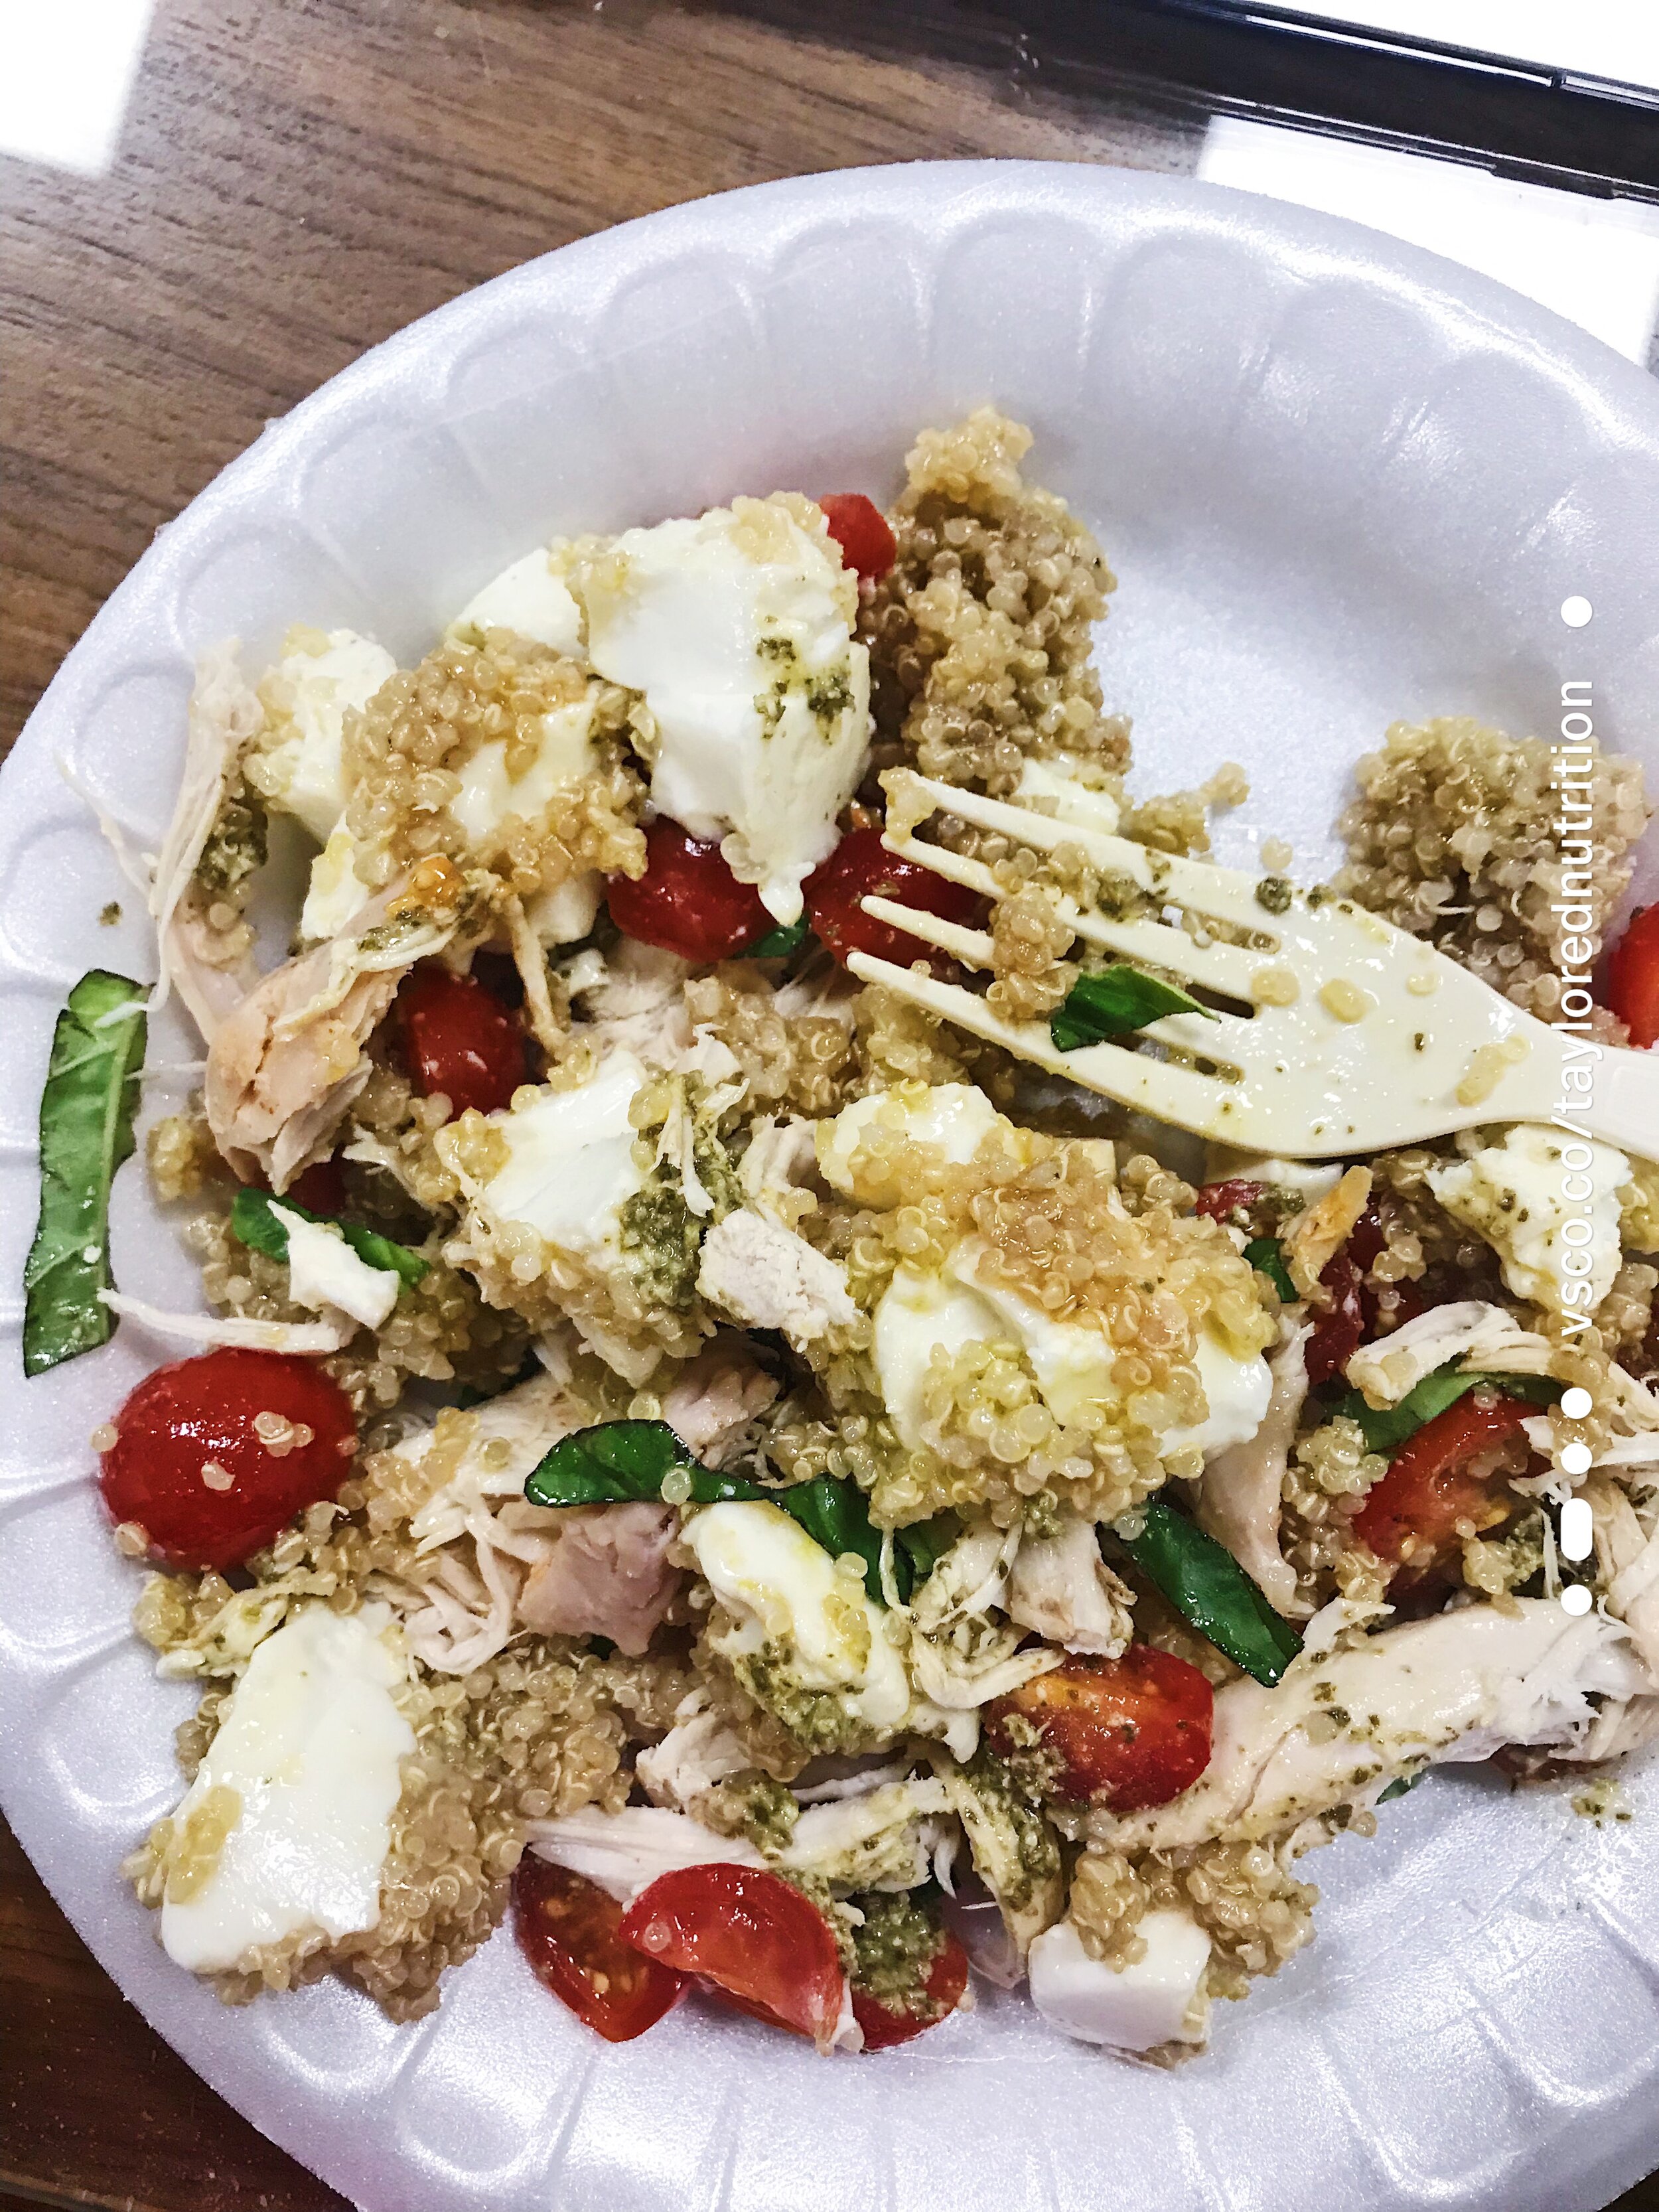
I love these, yes, because they are delicious, but also because it’s everything in one jar! Just make sure you have a fork on hand to dig in! This recipe is easy for a quick break between shuttling kids or taking care of babies, a satisfying and energizing lunch between meetings at work, AND an easy lunch for the young athlete! I eat this straight from the jar or deconstruct the salad on one plate. Now, I absolutely LOVE the ingredient combo in this one and think the flavors and textures are spot on, but you can, of course, mix it up if you want. I fully intend to do this in the weeks to come. Although, I’ll probably always end up coming back to this guy. Just. So. Good.

Deconstructed Caprese Salad Jar.JPG

Constructing Salad Jars for the Young Athlete

Now, let’s shift focus to the young athlete for a minute. What if you are making this for your athlete? Maybe it’s for his or her school lunch or a pre or post game / practice dinner? What should your salad jar consist of? How much of each ingredient should you include? Here is how I would think about it:

  1. You need at least 3 different food groups (out of the 6: meat or meat equivalent, fruit, veggie, grains/starch, dairy, healthy fat)

  2. You need a source of protein (one food group), you need a source of carbohydrate (grains, starchy veggies, fruit, milk / yogurt), and you need some colorful veggies!

  3. The meal needs to work with the training schedule and performance goals AND be something he or she actually WANTS to eat (that’s a big one!). What are the athlete’s goals right now?? What sport is he or she in? What foods does he/she like? This will determine the composition and portions of the jar!

    • If your young athlete is in a season of heavy training…

      • there should be more grains & starch than what is in my salad pictured here (I am not in a season of heavy sports training and 2-a-days). The grain/starch choice is your athlete’s main source of energy in this dish. Protein must be present as well, and make sure you can squeeze some veggies in there!

    • If your athlete is in the off season or maybe his/her sport is not as intense …

      • he or she will want a greater amount of the veggies than the grains and starch. Still make sure their is a source of protein!

    • If weight loss is a concern and you’re trying to help your athlete maintain his/her weight during the season…

      • Make whole grains and/or starchy veggies the majority of the jar. the 2nd highest ingredient should be the protein (for maintaining / building lean muscle). Include the veggies that you can. Accompany with some healthy fat, as tolerated.

    • Make sure to include a little healthy fat for satiety, even if weight maintenance isn’t your goal, unless practice or performance is within the next couple of hours or so (although some athletes in lower intensity sports can tolerate fats like peanut butter, nuts and seeds, and avocado just fine before practice).

    • Make sure there is something that adds flavor! In my Chicken Caprese Salad jar, the balsamic vinaigrette at the bottom of the jar infuses through everything and adds a new dimension of flavor. Then, to top it off are the shreds of basil, a drizzle of pesto, and the rotisserie chicken.

  4. What didn’t fit in the jar? This is the great feature of a meal, but in most cases, it shouldn’t be the only thing. Veggies didn’t fit? Add them on the side with some hummus or Greek yogurt dip. Don’t feel like you got enough grains? Accompany with some whole grain crackers or a hearty granola bar. Athlete still feels hungry after lunch? Add a Greek yogurt, cup of cottage cheese or string cheese to pump up the protein, which aids in satiety. And there’s always room for fruit! It’s adds energy from quality carbohydrates as well as fluid and a little something sweet to accompany the meal.

Do you already do salad jars in your home? If so, tell me about it by commenting below! I and others would love to hear your ideas! Questions about portions or ingredients? Put those in the comments as well.

Happy Fueling!

Taylor

Chicken Caprese Salad Jars aerial.JPG


Chicken Caprese Salad Jars

Serves 1

INGREDIENTS:

  • 2 Tbsp Balsamic vinaigrette (store bought or homemade, see recipe below)

  • 1/2 cup Cooked quinoa

  • 1/2 cup Diced fresh mozzarella cheese

  • sprinkle of salt & pepper

  • 1/2 cup Halved cherry / grape tomatoes

  • 1 tablespoon jarred pesto (or more if desired)

  • 1/4 to 1/2 cup Pulled rotisserie chicken (you can make yourself but I’m typically using store bought)

  • 1 teaspoon Julienned Basil

INGREDIENTS FOR QUICK & EASY BALSAMIC VINAIGRETTE DRESSING:

  • 3 tablespoons extra virgin olive oil

  • 1 tablespoon balsamic vinegar

  • 1/2 tablespoon honey

  • a pinch of salt & pepper

DIRECTIONS:

  1. If using homemade dressing, whisk all ingredients together in a small mixing bowl or pour all ingredients into a small mason jar, close the lid, and shake up to combine all ingredients.

  2. Using a medium-size spoon (like a soup spoon), spoon ingredients into jar, one layer at a time in the following order:

    • Balsamic vinaigrette

    • Quinoa

    • Fresh mozzarella

    • salt & pepper

    • Halved tomatoes

    • Jarred pesto

    • Chicken

    • Basil

      *I try to press it down just a little to make sure I can get all the delicious ingredients inside.

  3. Screw the top on and store in the refrigerator until ready to use!

  4. Enjoy!

The BEST Healthier Blueberry Muffins

One of my Saturday morning traditions is to start the morning with a cup of coffee and the Food Network. A couple of my favorite shows come on at this time and I love watching them for the creativity of their recipes, the simplicity in most of the recipes created, and the fact that I’ll actually probably make the recipes that they cook! I’m not in culinary school and so, with the exception of a few cooking classes here and there, I’ve found these shows to be a great way to learn about different cooking techniques, the pairing of different ingredients and, of course, new recipe ideas!

A few weekends ago, I watched Ina Garten make these Blueberry Bran Muffins. I loved the ease of the recipe and the fact that she was using some healthier swaps to make these muffins, while keeping them seemingly delicious! So, fast-forward to this past weekend when I decided to make these guys and they absolutely, 100% did not disappoint! Kyle and I both loved them and the remaining muffins have been stored on our counter for more enjoying this week!

Baked and ready to go!

Baked and ready to go!

A little bit about these muffins - they use the main basic baking ingredients, including flour, sugar, egg, baking powder and baking soda, but, instead of tons of butter, Ina uses vegetable oil and plain Greek yogurt to keep them moist and crumbly and she adds wheat bran (although I couldn’t find wheat bran at the store and used oat bran), which adds some texture without drying them out and gives them a big boost of fiber! I really think the yogurt is what makes these muffins so incredibly moist and it also bumps up the nutrition profile of theses muffins by increasing the protein and calcium content. To seal the deal I found some incredibly sweet fresh blueberries at the grocery this past weekend, which packs in even MORE flavor and sweetness and nutrition with every scrumptious bite!

Of course you could add in some whole wheat flour for 1/2 the regular flour, but I would make it this way first. It’s a healthier boost to your typical blueberry muffin and something healthier that your kids and athletes might actually want to eat in the morning! Pair it with a scrambled egg if you need an extra boost of protein (will get you about 7 additional grams). This past weekend we paired the muffins with cheesy eggs, a perfect Saturday morning brunch for us. I’ve also made them and used fresh raspberries and blackberries and they were just as delicious!

We paired our muffin with some deliciously simple cheesy eggs. I sauteed mushrooms in the skillet. Whisked eggs with milk and fresh thyme. Then added the egg mixture to the mushrooms and scrambled until almost done, tossing in sharp grated cheddar a…

We paired our muffin with some deliciously simple cheesy eggs. I sauteed mushrooms in the skillet. Whisked eggs with milk and fresh thyme. Then added the egg mixture to the mushrooms and scrambled until almost done, tossing in sharp grated cheddar at the very end and sprinkling with salt and pepper and a little more fresh thyme

I hope you give these muffins a try! I’ve got the remainders packaged on our counter for some quick breakfasts on the go and maybe another slow Saturday morning coffee with Kyle or a girlfriend. Kyle and I have both already grabbed one on a busy morning at least once this week :) You can find the recipe on the Barefoot Contessa website. I made it exactly as written, except I used oat bran instead of wheat bran and they were excellent!

Happy Fueling!

Taylor


The Best Blueberry bran muffins

Original recipe by Ina Garten found here

Look at that blueberry goodness!

Look at that blueberry goodness!

INGREDIENTS:

  • 1/2 cup vegetable oil, plus more to grease the tops of your muffin tin

  • 1 cup all-purpose flour

  • 1 teaspoon salt

  • 1/2 teaspoon baking powder

  • 1/2 teaspoon baking soda

  • 1/2 teaspoon ground cinnamon

  • 7 ounces of Greek yogurt (I typically use 1 1/2 of my 5.3 oz Nounos plain Greek yogurt containers that are regularly in our frige)

  • 1/2 cup sugar

  • 1/2 cup honey

  • 2 extra-large eggs, lightly beaten

  • 1 teaspoon pure vanilla extract

  • 2 1/2 cups wheat or oat bran

  • 1 1/2 cups fresh blueberries (8 ounces)

DIRECTIONS:

  1. Preheat oven to 350 degrees F. Brush the tops of the muffin tin with vegetable oil and line with 12 paper liners.

  2. Stir together the flour, salt, baking powder, baking soda, and ground cinnamon in a small bowl.

  3. In a large bowl whisk together the yogurt, sugar, 1/2 cup vegetable oil, honey, eggs, and vanilla.

  4. Add the bowl of mixed dry ingredients to the bowl of wet ingredients and stir until well combined.

  5. Gently stir in the bran and blueberries until just combined.

  6. Scoop the batter equally into each muffin tin. I use an ice cream scoop to do this, which works really well.

  7. Bake for 30 to 40 minutes until the tops are golden brown and a toothpick inserted in the middle comes out clean. These are really dense muffins, so I have found that these need to be cooked on the longer side but, remember, every oven is a little different!

  8. Allow sit for about 5 minutes and enjoy!


Serve It Again!

I’ve found that these muffins can be stored in an airtight container for the week and be reheated in the microwave for about 20 seconds before serving again. Or they can be enjoyed room temp if no time to reheat. Enjoy!

Easy Quinoa Salad with Black Beans & Feta: A satisfying vegetarian lunch or side dish

meal prep closeup 1.JPG

Hey guys! Wow, I feel like it has been forever since I have posted a recipe, or any content for that matter. I love writing in this space and sharing my favorite recipes and sports nutrition information with you guys, but I guess you could say that this season has been a super busy one. In August I traveled almost every weekend (Seattle, Florida, and West Texas) and my schedules seemed packed in-between with unpacking from the last trip, prepping for the next trip and getting all of my work done and wanting to still spend time with friends and family! I know I’m not alone in this feeling. I’m sure some, if not all, of you guys have been there before as well!

Anyway, I find myself with a little time to sit and write and so I want to share this easy recipe that I put together months and months ago! I made it originally as a side dish and then saved the leftovers for lunches. You could use it for both a side dish or entree, but lately I’ve been prepping it and using it for a cold grain salad for lunch. Sometimes I add a hardboiled egg or two on top or some grilled chicken if I have it, but often times I pack it as-is and pair it with a fruit and a Greek yogurt for a boost of protein, calcium and a few more food groups (if you have ever worked with me, you know I’m all about varying those food groups in a meal!).

I came up with this recipe because I wanted an easy vegetarian lunch option. I like making quinoa because it’s high in protein, has lots of fiber and it’s super quick to prepare. However, so many quinoa dishes, in my opinion, end up really bland and blah. So I realized in order to make a dish using quinoa more flavorful, I needed to add the flavor to the actual quinoa, not just the dish itself. That’s where I decided to try incorporating a light dressing with it, something that would not overpower the dish (like a thick creamy sauce) but that would instead enhance and complement the other elements of the dish without being super obvious. If you know me, you know I’m a fan of Dijon mustards and alllllwwwaaaayyys have a few varieties in my fridge. So, I whisked together this easy vinaigrette and, I have to say, the dressing is what MAKES the dish. However you may alter this dish, DO NOT leave out the dressing! This is one of my new favorite vegetarian lunch options and I often find myself quickly throwing it together on a Sunday afternoon to have ready to go for when the week ahead gets busy!

I hope you give this recipe a shot. Definitely try it if you’re a vegetarian, but even if you’re not, make it a side dish at the dinner table or make it a base for your chicken or fish. I’m telling you, it takes no time at all. I think this recipe takes me about 45 minutes to make from prep to plate (or packed in the fridge), but because a lot of this is done in the oven or on the stove, you’re freed up to tackle some other chores around the house. PLUS, you’ll have a good amount to last you a few days or through the week, depending on how many people are sharing it and how you’re serving it.

It’s packed with nutrition and a great source of lasting energy to keep you going during busy days whether you’re an athlete or a busy parent trying to keep up with your busy athlete’s crazy schedule!

Give it a try and let me know what you think!

Happy Fueling!

Taylor

SUMMER QUINOA SALAD WITH BLACK BEANS & FETA

Makes about 5 cups

INGREDIENTS:

  • 3 cups sliced raw squash, sliced about 1/4 - inch thick

  • 3 cups sliced raw zucchini, sliced about 1/4 - inch thick

  • 1 tablespoon olive oil

  • 1/8 teaspoon salt + pepper, to taste

  • 2 cups cooked quinoa

  • One 15 oz can of black beans, drained & rinsed

  • 2 tablespoons crumbled feta

  • 1/4 cup Dijon vinaigrette (see recipe below)

For Dijon Vinaigrette:

Makes about 1/4 cup of dressing

  • 2 tablespoons Extra Virgin Olive Oil (EVOO)

  • 1 teaspoon Dijon mustard

  • 1 1/2 tablespoons white balsamic vinegar

DIRECTIONS:

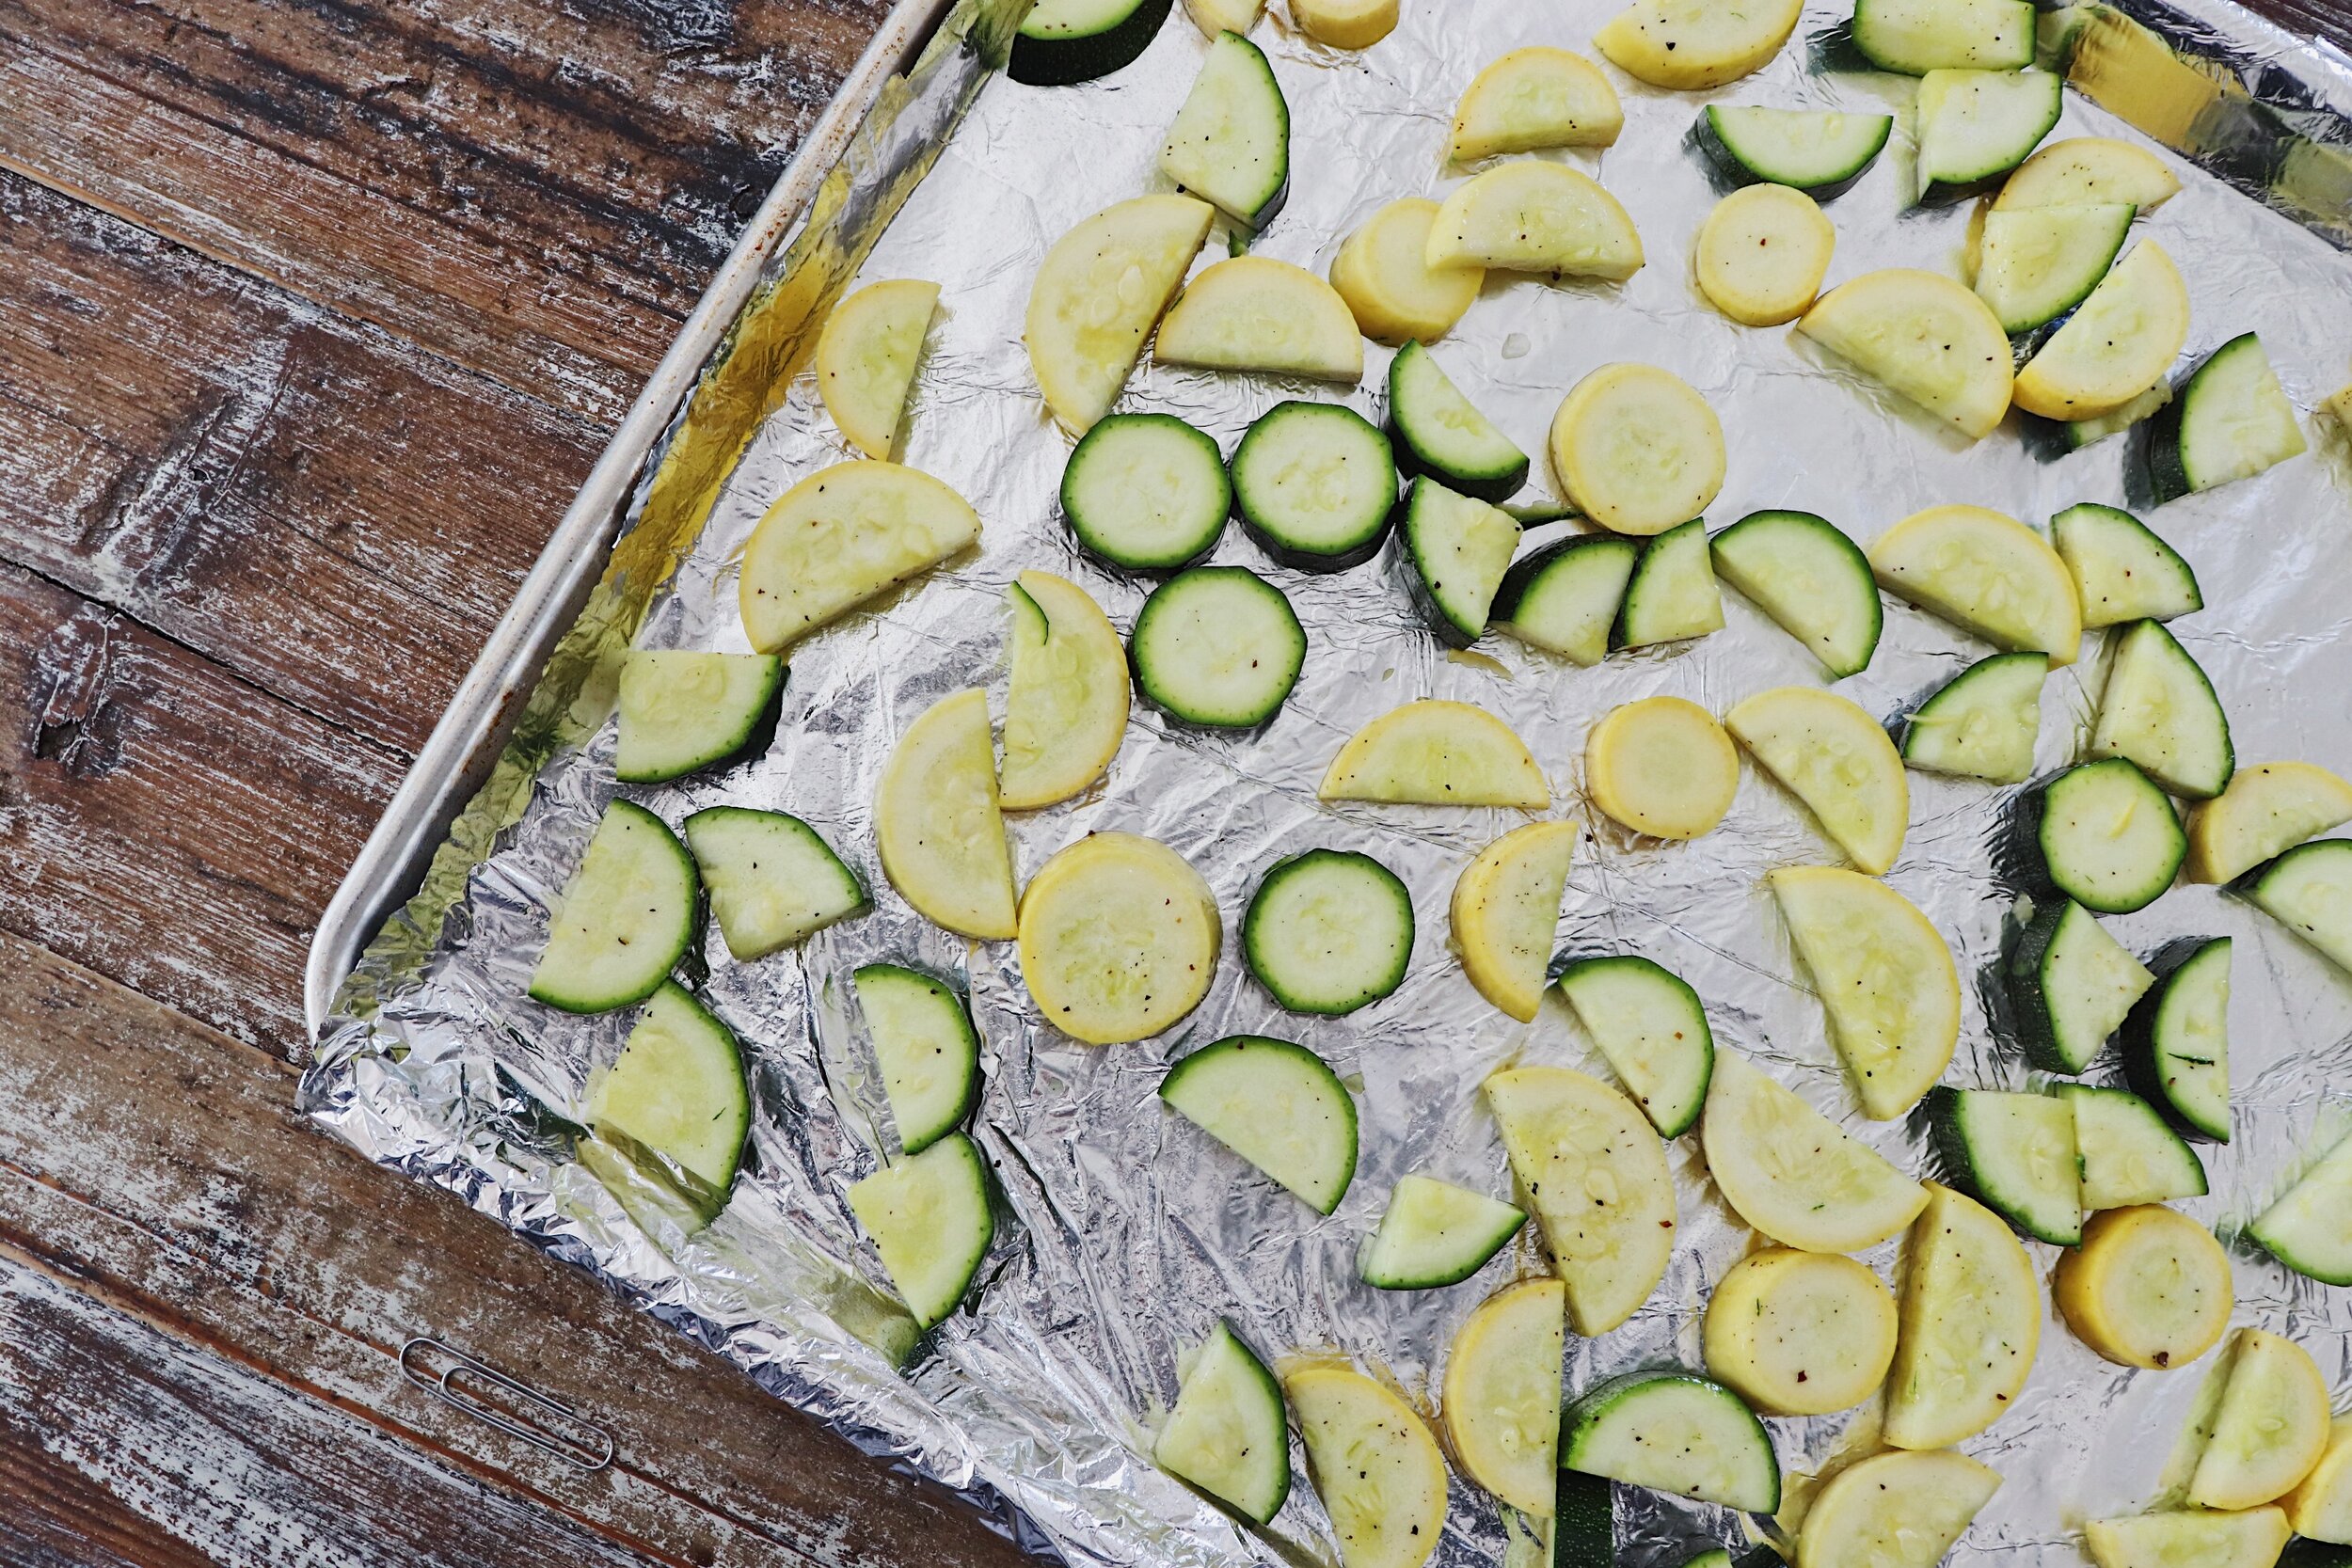
Aerial_roasting squash.JPG
  1. Preheat oven to 350 degrees F.

  2. Toss sliced squash & zucchini in the tablespoon of olive oil and the salt and pepper.

  3. Spread out evenly on a parchment or foil-lined baking sheet (sometimes I grease the pan with a little more of the olive oil or with cooking spray before laying out the squash. Just gives it a little more protection from having the squash stick to the pan during roasting).

  4. Bake the squash at 350 degrees for about 30 minutes, stirring halfway through to make sure cooked evenly on both sides (I like to make sure both sides get a little browned).

Aerial_whisk dressingJPG.JPG

5. While the squash is cooking, cook the quinoa according to package directions. Once the quinoa is done cooking, allow to sit and cool slightly while the veggies finish cooking.

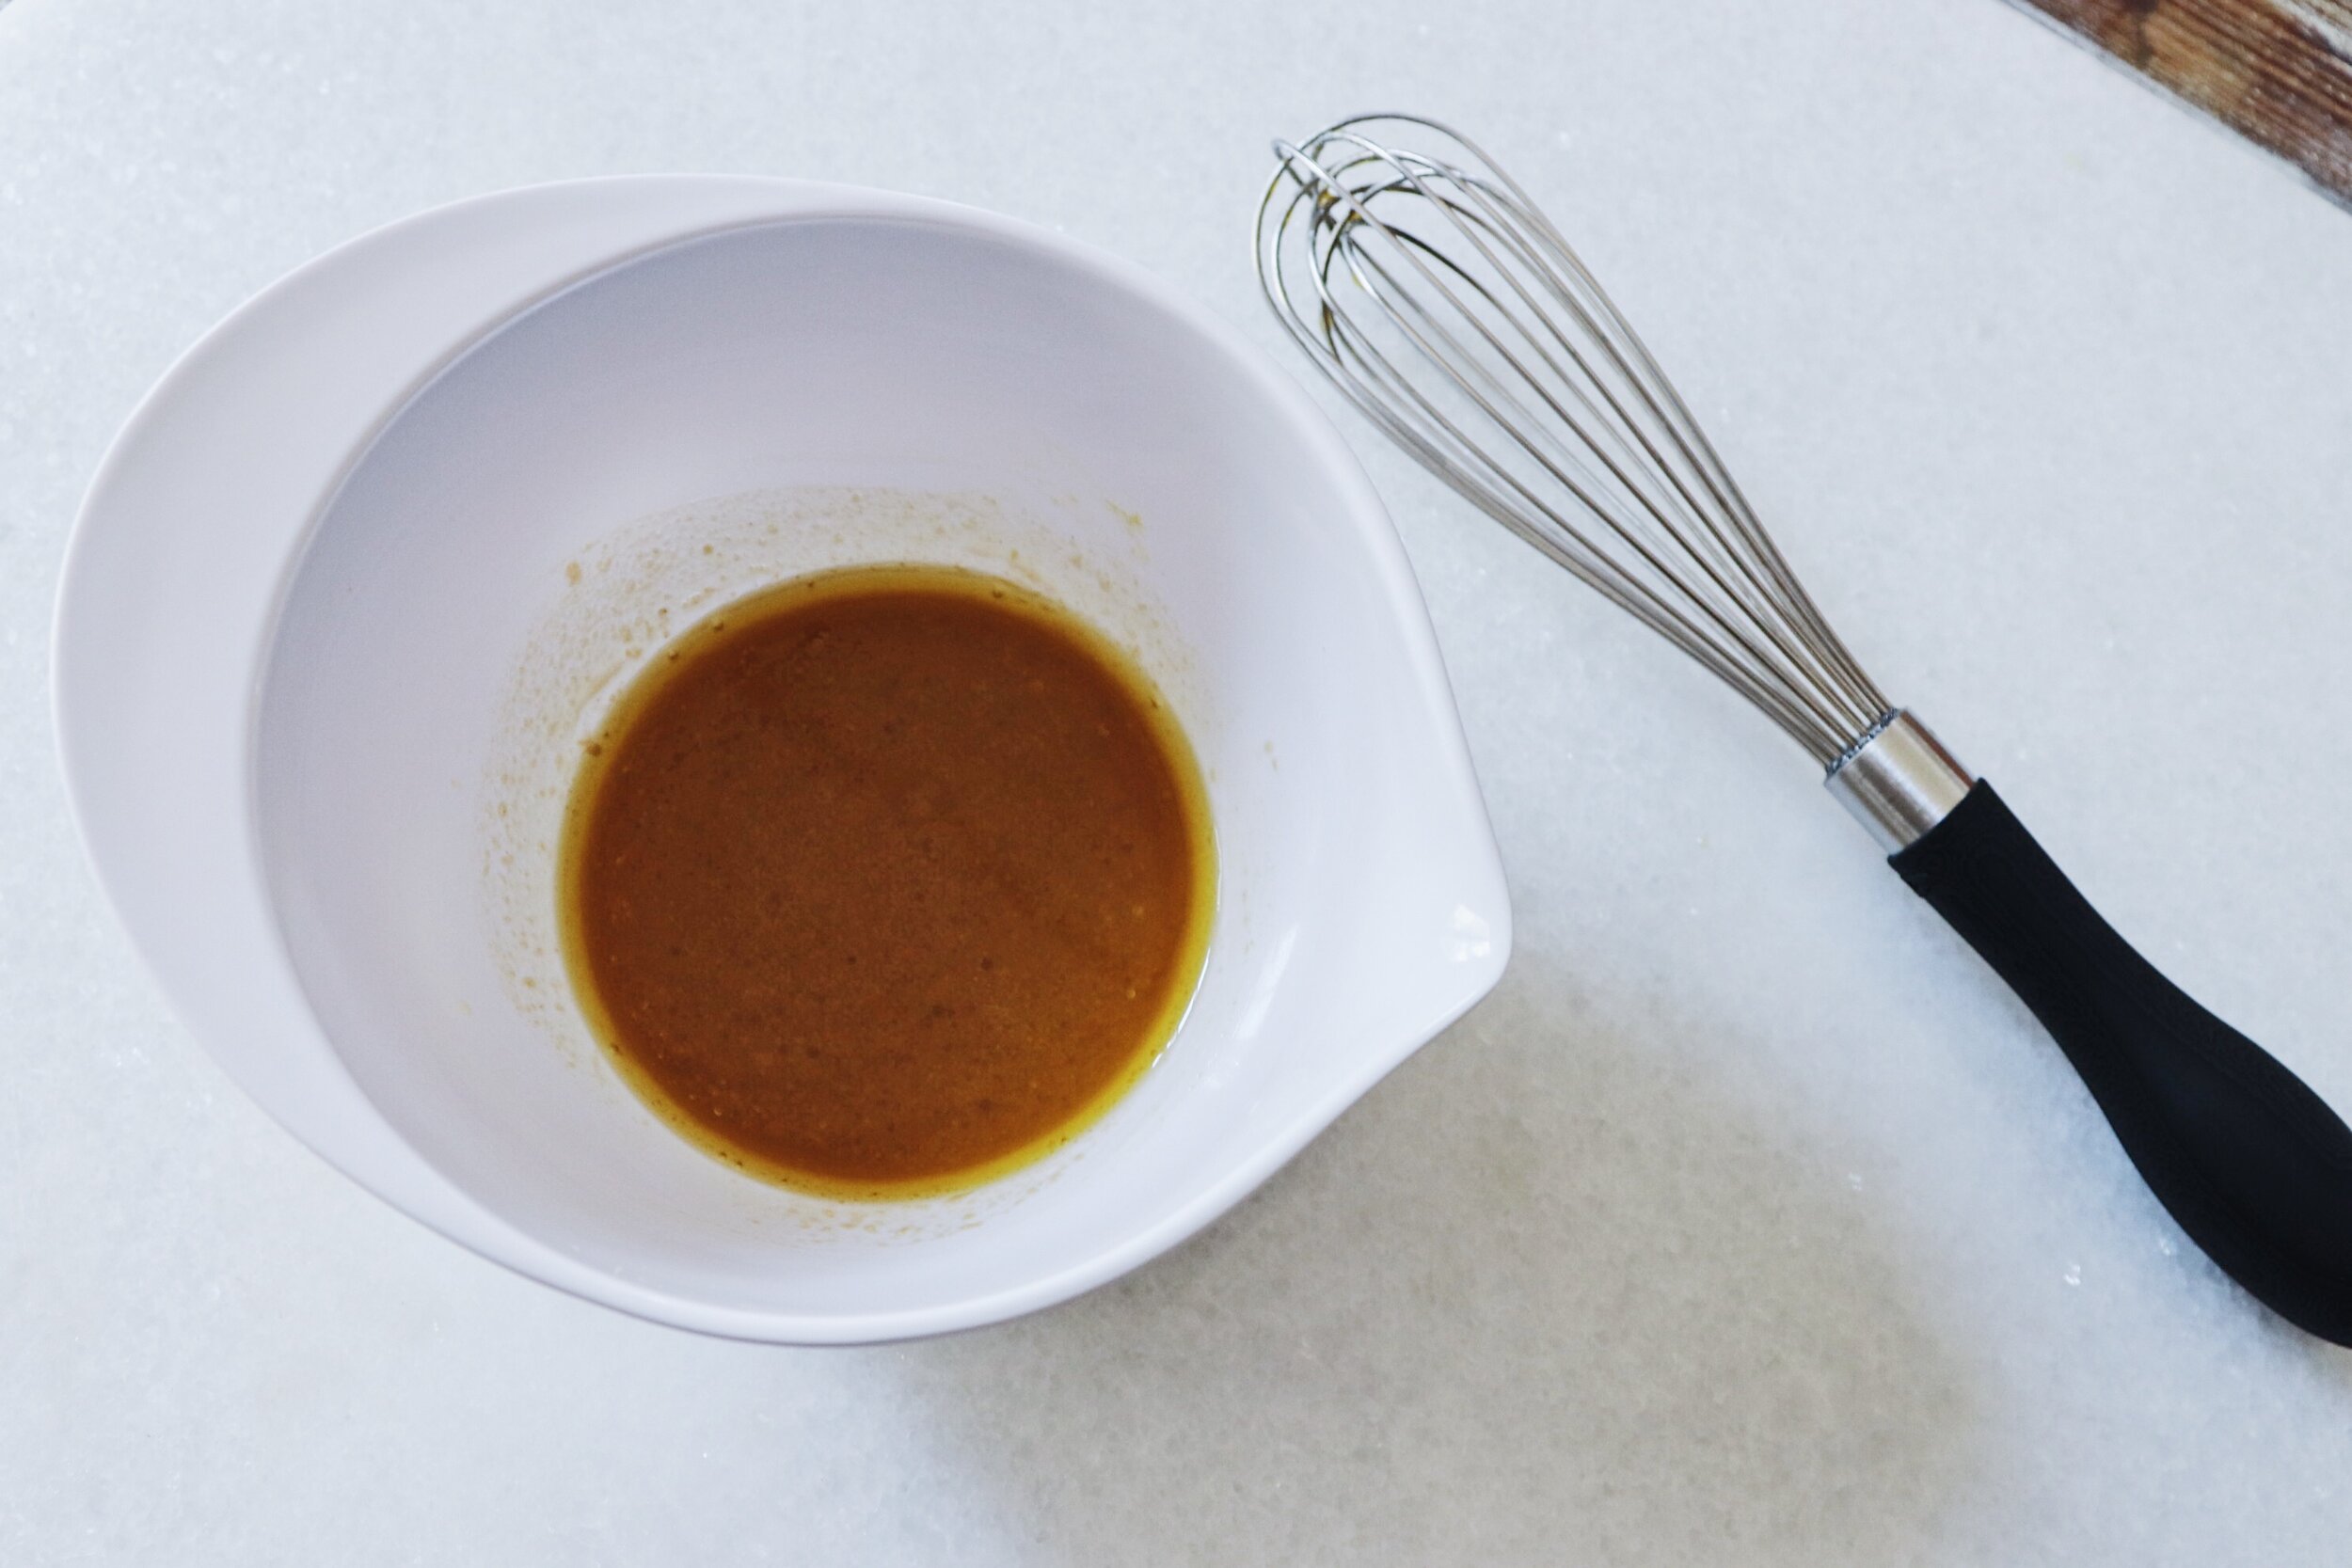
6. Meanwhile, whisk together the ingredients for the Dijon dressing.

Garden Quinoa Salad_aerial.JPG

7. After everything is cooked, toss the quinoa, veggies, feta and black beans in a large mixing bowl with a rubber spatula or wooden spoon.

8. Drizzle the Dijon dressing over the salad and toss to disperse the dressing evenly throughout the quinoa and veggies.

Prepped+lined+up.jpg

8. Serve immediately or store in an airtight container for lunches and dinners later in the week!

SERVE IT AGAIN!

One thing I love about this dish is that it can make a hearty vegetarian entree OR you can use it as a base for a delicious piece of fish or grilled chicken OR you can serve it up as a side at dinner with friends and family. You can also add additional roasted veggies to this if there is something you particularly like!

NUTRITION NOTES:

This quinoa salad is hearty and filling. The quinoa offers quality carbohydrates, fiber and it’s a grain with a higher protein content! The beans offer extra protein plus some iron, zinc and more quality carbohydrate. The summer squash adds great color plus additional vitamins and the feta adds a little fat, calcium and protein (although there is just a sprinkle of feta in the recipe so these nutrients are not super significant). Then to top it off, you have healthy monounsaturated fats from the olive oil to fight inflammation, promote satiety and help the body absorb the fat-soluble vitamins in the meal!