recipes

Fig & Cheddar Turkey Melt

I'm not a huge sandwich girl.  I don't typically pack one for lunch at work or come home on a Saturday and throw one together.  However, I know that sandwiches can be part of a quick and simple, fueling and nutritious meal when on the go and pressed for time, if thrown together correctly.

With that said, this weekend I decided to give the sandwich a try.  I decided to embrace it but embrace it with a twist.  I wanted to escape the every-day turkey on wheat with lettuce, tomato and mustard so I took a minute and thought about some of my favorite ingredients and determined what I already had in my pantry.  It had also just watched a show on the Food Network where the chefs discussed how the key to a great dish is simplicity and so I aimed to follow their guidance and keep the ingredients minimal but still memorable.  And what I came up with, I think, is a win.  It's very simple but the flavors contrast and complement well, supporting those Food Network chef's theory on food simplicity.    The peppery arugula combined with the sharpness from the cheddar cheese are balanced with the touch of sweetness from the fig preserves, and all of this is held together by my favorite bread, the Flax & Chia Seed bread from Central Market, for a sandwich that is, to me, delicious & exciting with every bite. 

So here you go - my Fig & Cheddar Turkey Melt...

Happy Fueling!

Taylor


Fig & Cheddar Turkey  Melt

INGREDIENTS:

Ingredients.JPG
  • 2 slices whole grain bread (I used by favorite bread from Central Market - flax & chia)

  • 2 teaspoons fig preserves

  • 2 ounces deli turkey

  • 1 1/2 slices sharp cheddar cheese

  • 1/2 cup fresh arugula


DIRECTIONS:

Turkey Melt 1.JPG

1. Toast both slices of bread in a toaster (or in a 350 degree oven, 5 minutes per side).

2. Add the fig preserves to one side of one slice of the toasted bread.

3. Add the sliced turkey to the other slice of toasted bread.

Turkey Melt 2.JPG

4. Place the slice of toasted bread with turkey onto a baking sheet.

5. Top turkey with the cheese slices, making sure to cover the turkey with the cheese in an even layer.

(I lined the baking sheet with foil for easier clean-up)

Turkey Melt 3.JPG

6. Turn the oven from Bake to Broil (broil on High).

7. Place the baking sheet in oven & broil for about 3 minutes until cheese is hot & melting over the turkey.

Turkey Melt 4.JPG

8. Remove sandwich half from the oven.

9. Place heated sandwich half on your serving plate & top with the fresh arugula.

10. Top arugula with the second slice of toasted bread spread with the fig preserves.

Turkey Melt Complete 1.5.JPG

10. Slice your sandwich, serve and enjoy!!

WHAT'S IN THIS?!?!

Arugula - vitamin K, vitamin A

Turkey -  protein, nicain, vitamin B6, iron, phosphorus, sodium, zinc, selenium

Cheese -  protein, calcium, phosphorus, sodium, riboflavin, vitamin A, zinc, selenium

Dried Figs - potassium, fiber, vitamin K, magnesium, manganese

Bread  - flaxseed = fiber, thiamin, magnesium, phosphorus, copper, manganese, omega 3's                       ;             chia seeds = fiber, omega 3's, protein, calcium, phosphorus, zinc, manganese

DIY Roasted Red Peppers

Roasted Bell Peppers 1.JPG

As a Christmas gift last year my brother and sister-in-law, who, I think, are some of the best and most creative gift - givers I know, got me a subscription to Cook's Illustrated.  I LOVE this particular gift.  If you are not familiar with this magazine it is excellent for those curious about food and cooking.  The magazine contains articles that focus on everything from different cooking utensils to methods of cooking various foods and it walks you through various cooking trials explaining what went poorly and what worked the best.  I think it's excellent for the curious chef and non - chef alike :).

Now, what caught my eye in this most recent issue was a small section on roasting bell peppers yourself (vs buying the jarred roasted red peppers), something I have tried a handful of times in the past and failed somewhat miserably the majority of the time.  I was super excited to give Cook's Illustrated's recommendation a try, especially because I was planning on making a recipe that called for these that coming week.  I followed their detailed and simple directions to a "T" and it worked beautifully!  The peppers came out hot with the skin bubbled and able to be peeled off easily.  They added a pop of color to my dish and their soft texture and sweet taste was the perfect complement to the more savory components of the meal.

Of course, you can use the jarred roasted red peppers (and I probably still will from time to time), but I love the idea of using fresh peppers that I've just selected from the  grocery store or Farmers Market.  And I love it even more when I know they will be so easy to roast on my own.  I have used roasted bell peppers in two recent recipes already this past week, both of which I have shared on my Instagram page (one recipe I incorporated big dices of the peppers & the other I blended with sautéed garlic and onions for a rich roasted red pepper pasta sauce).  This method really has proven to be simple and successful and I'm so jazzed about it that I want to share it with you today. I hope you will find these directions helpful and that they encourage you to start incorporating these colorful, sweet & fueling summer veggies in more of your upcoming summer meals.

So, here is Cook's Illustrated's instructions for roasting your own bell peppers.  Thanks you Cook's Illustrated for the cooking tips!

Happy Fueling!

Taylor


DIY ROASTED RED PEPPERS

INGREDIENTS:

  • One or more red bell peppers

  • Cooking spray or 2 tablespoons (about) of vegetable oil

DIRECTIONS:

Roasted Bell Peppers 2.JPG

1. Wash & dry your bell peppers. I used 3 peppers (about 1.5 pounds).

2. Line a rimmed baking sheet with aluminum foil and spray or lightly coat foil with vegetable oil.

3. Slice off tops & bottoms of peppers, cutting 1/2 inch from tops and bottoms.

4. Gently remove stems from tops and twist & pull out each core, using a knife to loosen at edges if necessary.

5. Cut a slit down 1 side of each bell pepper.

6. Turn each bell pepper skin side down and gently press so it opens to create long strips.

7. Slide a knife along insides of bell peppers to remove remaining ribs and seeds.

Roasted Bell Peppers 3.JPG

8. Arrange pepper strips, tops, and bottoms skin side up on the prepared sheet and flatten all pieces with your hand.

9. Adjust oven rack 3 to 4 inches from broiler element and heat broiler.

10. Broil until skin is puffed and most of surface is well charred, 10 - 13 minutes, rotating sheet halfway through broiling.

Roasted Bell Peppers 4.JPG

11. Using tongs, pile bell peppers in center of foil.

12. Gather foil over bell peppers and crimp to form pouch. Let steam for about 10 minutes.

13. Open foil packet and spread out bell peppers.

Roasted Bell Peppers 6.JPG

14. When cool enough to handle, peel bell peppers and discard skins.

15. Add to your favorite entree, side or salad or puree for a delicious sauce!

16. These peppers can also be refrigerated for up to 3 days.

17. Enjoy!

BONUS - NUTRITION INFO!

Bell Peppers pack a punch by providing a good source of: vitamin A, vitamin C, vitamin E, vitamin K, folate, riboflavin, niacin, vitamin B6, potassium and manganese

Warm Skillet Cinnamon Apples

Hello!  I'm quickly typing up this recipe before jetting off to work so my write-up will be short & sweet.  For a while now I have wanted to come up with a warm cinnamon apple recipe and thought how great it would be to have cooked cinnamon apples waiting for me in the fridge to accompany after-dinner desserts, my morning oatmeal, or maybe even a warm slice of peanut butter toast before I head out the door in the morning..

As yesterday was National Ice Cream Day, I thought "what a better time to give this recipe a try!?"  (Yes, Dietitians get excited about National Ice Cream Day too!).  So, last night I grabbed 3 apples, and diced, tossed, and simmered until I had, what I think, were the perfect, warm, gooey, soft, just - sweet - enough cinnamon apples.  The great thing is, it probably only took me 20 to 30 minutes from set up to clean up and, while the apples cooked over the stove, I was able to take care of other chores around the house.  Then I got to sit down with my husband, slow down after a busy day, and wrap up the day with a bowl of cold Bluebell homemade vanilla ice cream layered with warm cinnamon apples and topped with crumbled graham crackers.  We both loved the combination of cold, warm, smooth and crunchy.  And the apples were just sweet enough to add to the dish but not overpower it.   Can't wait to try it in warm oatmeal later this week!

So, here you go.  My quick and simple 

Skillet Cinnamon Apples...

INGREDIENTS:

Cinnamon Apples 1.JPG
  • 3 medium apples (I used 2 Golden Delicious & 1 Granny Smith)

  • 1 tablespoon of water

  • 1 tablespoon of brown sugar

  • 1 teaspoon of ground cinnamon

  • 1/2 tablespoon of butter

DIRECTIONS:

Cinnamon Apples 2.JPG
Cinnamon Apples 3.JPG
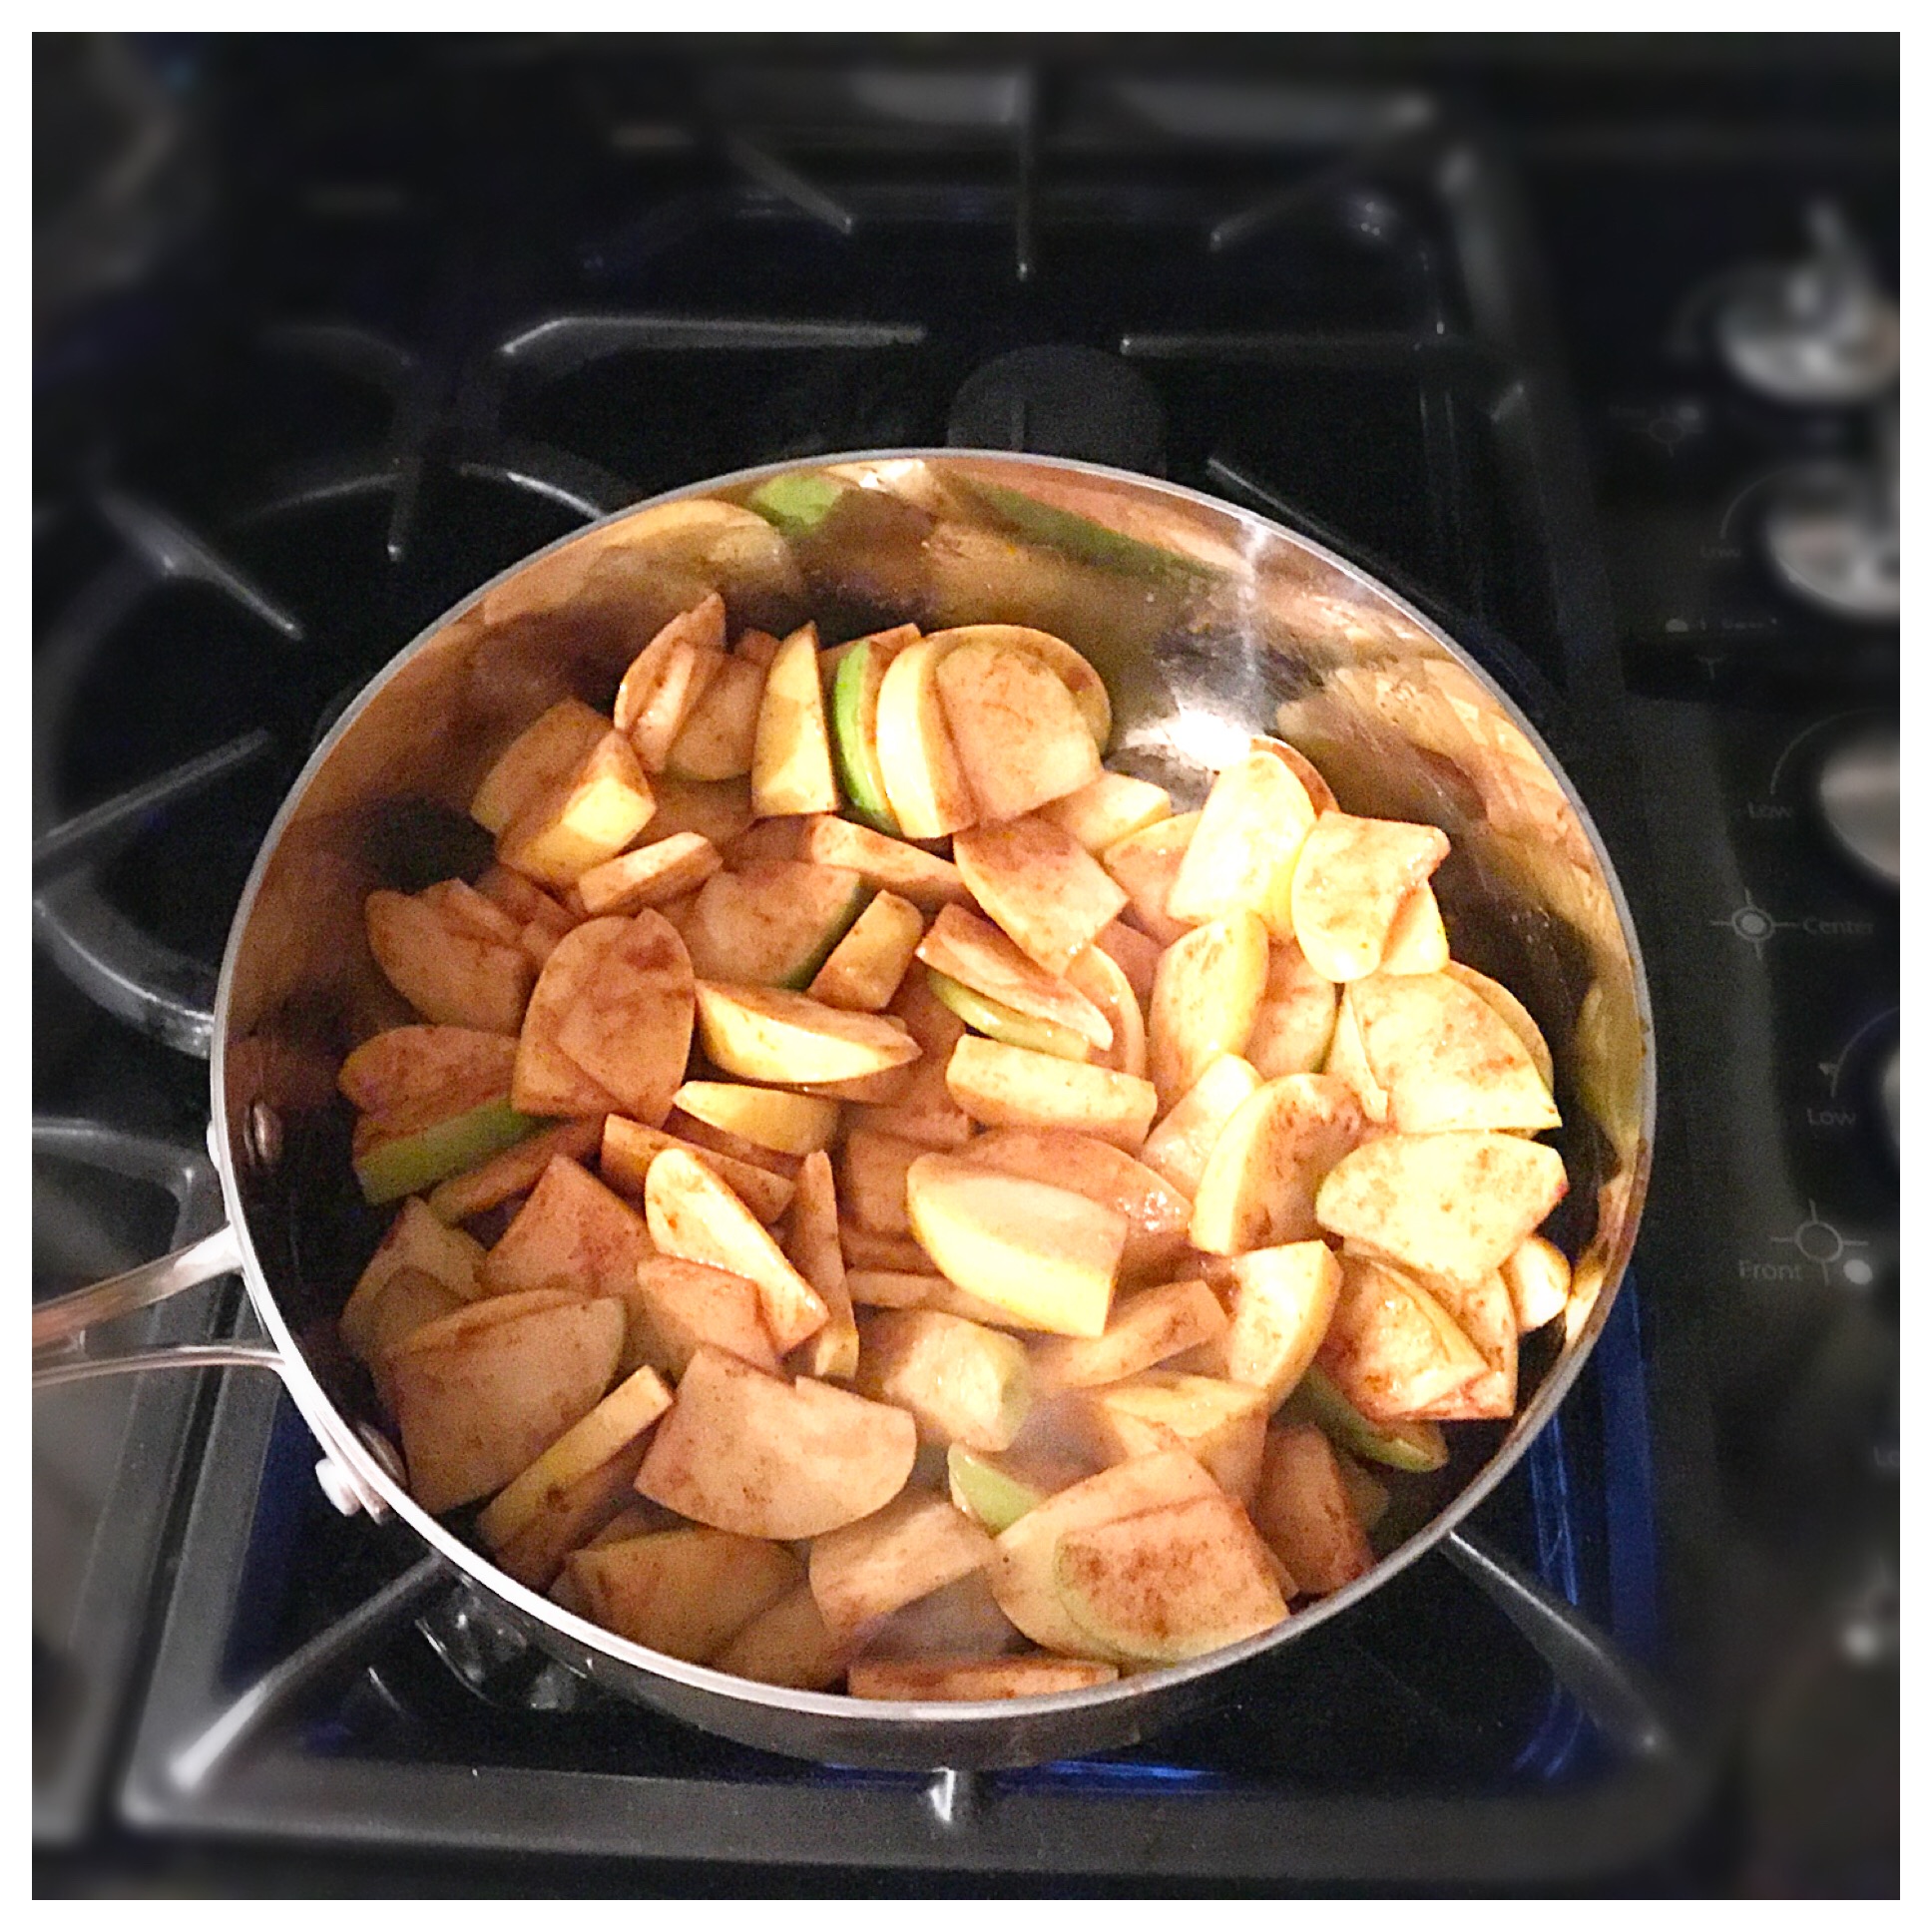
  1. Cut your apples into even slices (I cut mine into thin slices, about 1/4 inch thick, and then cut those in half to create smaller bite-size pieces).

  2. In a large mixing bowl, add the apples, water, brown sugar and cinnamon and mix until the cinnamon and brown sugar have evenly coated the apples.

  3. Add about 1/2 tablespoon of butter to a large skillet set on medium heat.

  4. Once the butter has melted and coated the bottom of the skillet add your apple mixture.  

  5. Allow the apples to cook in a covered skillet for about 15 minutes, stirring occasionally until the apples have softened and there is some juice in the bottom of the pan.

  6. Remove skillet from the heat and either serve apples immediately or allow to cool and then store in an airtight container in the refrigerator to be heated up and eaten throughout the week!

Enjoy!

Taylor