recipes

Creamy Tahini Caesar Dressing

Tahini Caesar Dressing.JPG

Hello friends! Hope everyone had a good weekend. If you follow me on Instagram you know it was a harder weekend for me. I can’t say that each year the weekend gets easier for me but I can say that I’m learning how to honor it, how I respond to it, and what I need to get me through it. It’s certainly a process but I’m learning and it is nice to be able to be honest with myself and allow myself the time and the space to reflect and fill my mind and time with things that nurture and continue to help me heal. For anyone who has lost someone close to them, I know we all have a different journey. This is part of mine and I just wanted to share a little of that with you this morning as it is a part of what makes me who I am today.

TODAY, however, is the start of a new week and I want to share with you a dressing that I have been loving lately. I typically always make my salad dressing from scratch because, with the right ingredients, you can make a dressing yourself better than anything you can buy off the shelf! My husband and I tend to like simpler dressings and my usual go-tos are a balsamic vinaigrette, a honey Dijon vinaigrette, or a champagne vinaigrette. Which dressing we use depends on the items in our salads. I’ve really never been a huge Caesar dressing girl and my experimenting with making homemade Caesar dressings has left me with the same final conclusion - just not a huge fan. HOWEVER, I discovered this Tahini Caesar dressing in my Cookie + Kate cookbook a few weeks ago and it has quickly become a staple on my lunch salads that I take to work! I’m sure it could also make a great addition to other entrees or side dishes or to my Vegetarian Sweet Potato that I published a while back. I highly recommend you visit her blog, which I have linked below. I believe you can find this dressing there (not positive b/c I got it from her cookbook). I really wanted to have the recipe in this space and be able to share it with you and so I have included it below. I talk about this cookbook a bunch because it’s another one of my go-tos when I want a hearty vegetarian option for dinner or lunch. I highly recommend you visit her blog or get her cookbook (this is not sponsored, I just really like her cookbook)!

I’ll be enjoying this dressing later today, but before I head out to the office, I’m sharing this dressing with you here.

Happy Fueling!

Taylor


Tahini Caesar Dressing

By Kathryn Taylor (Cookie and Kate blog)

Tahini Dressing_whiskedJPG.JPG

INGREDIENTS:

  • 1/4 cup tahini

  • 3 tablespoons lemon juice (from 1 to 1 1/2 lemons)

  • 1 tablespoon extra-virgin olive oil

  • 2 cloves garlic, pressed or minced

  • 1 teaspoon Dijon mustard

  • 1/4 teaspoon fine sea salt

  • 2 tablespoons water

  • Freshly ground black pepper

DIRECTIONS:

  1. In a small bowl, combine the tahini, lemon juice, olive oil, garlic, mustard, and salt.

  2. Whisk until blended, then add the water and whisk until you have a smooth, blended tahini sauce.

  3. Season generously with black pepper (about 10 twists).

  4. The dressing should be tangy, like classic Caesar dressings. If it’s overwhelmingly tart or too think to pour, whisk in an additional tablespoon of water. Mine was pretty thick so I ended up whisking in probably about 2 more tablespoons of water.

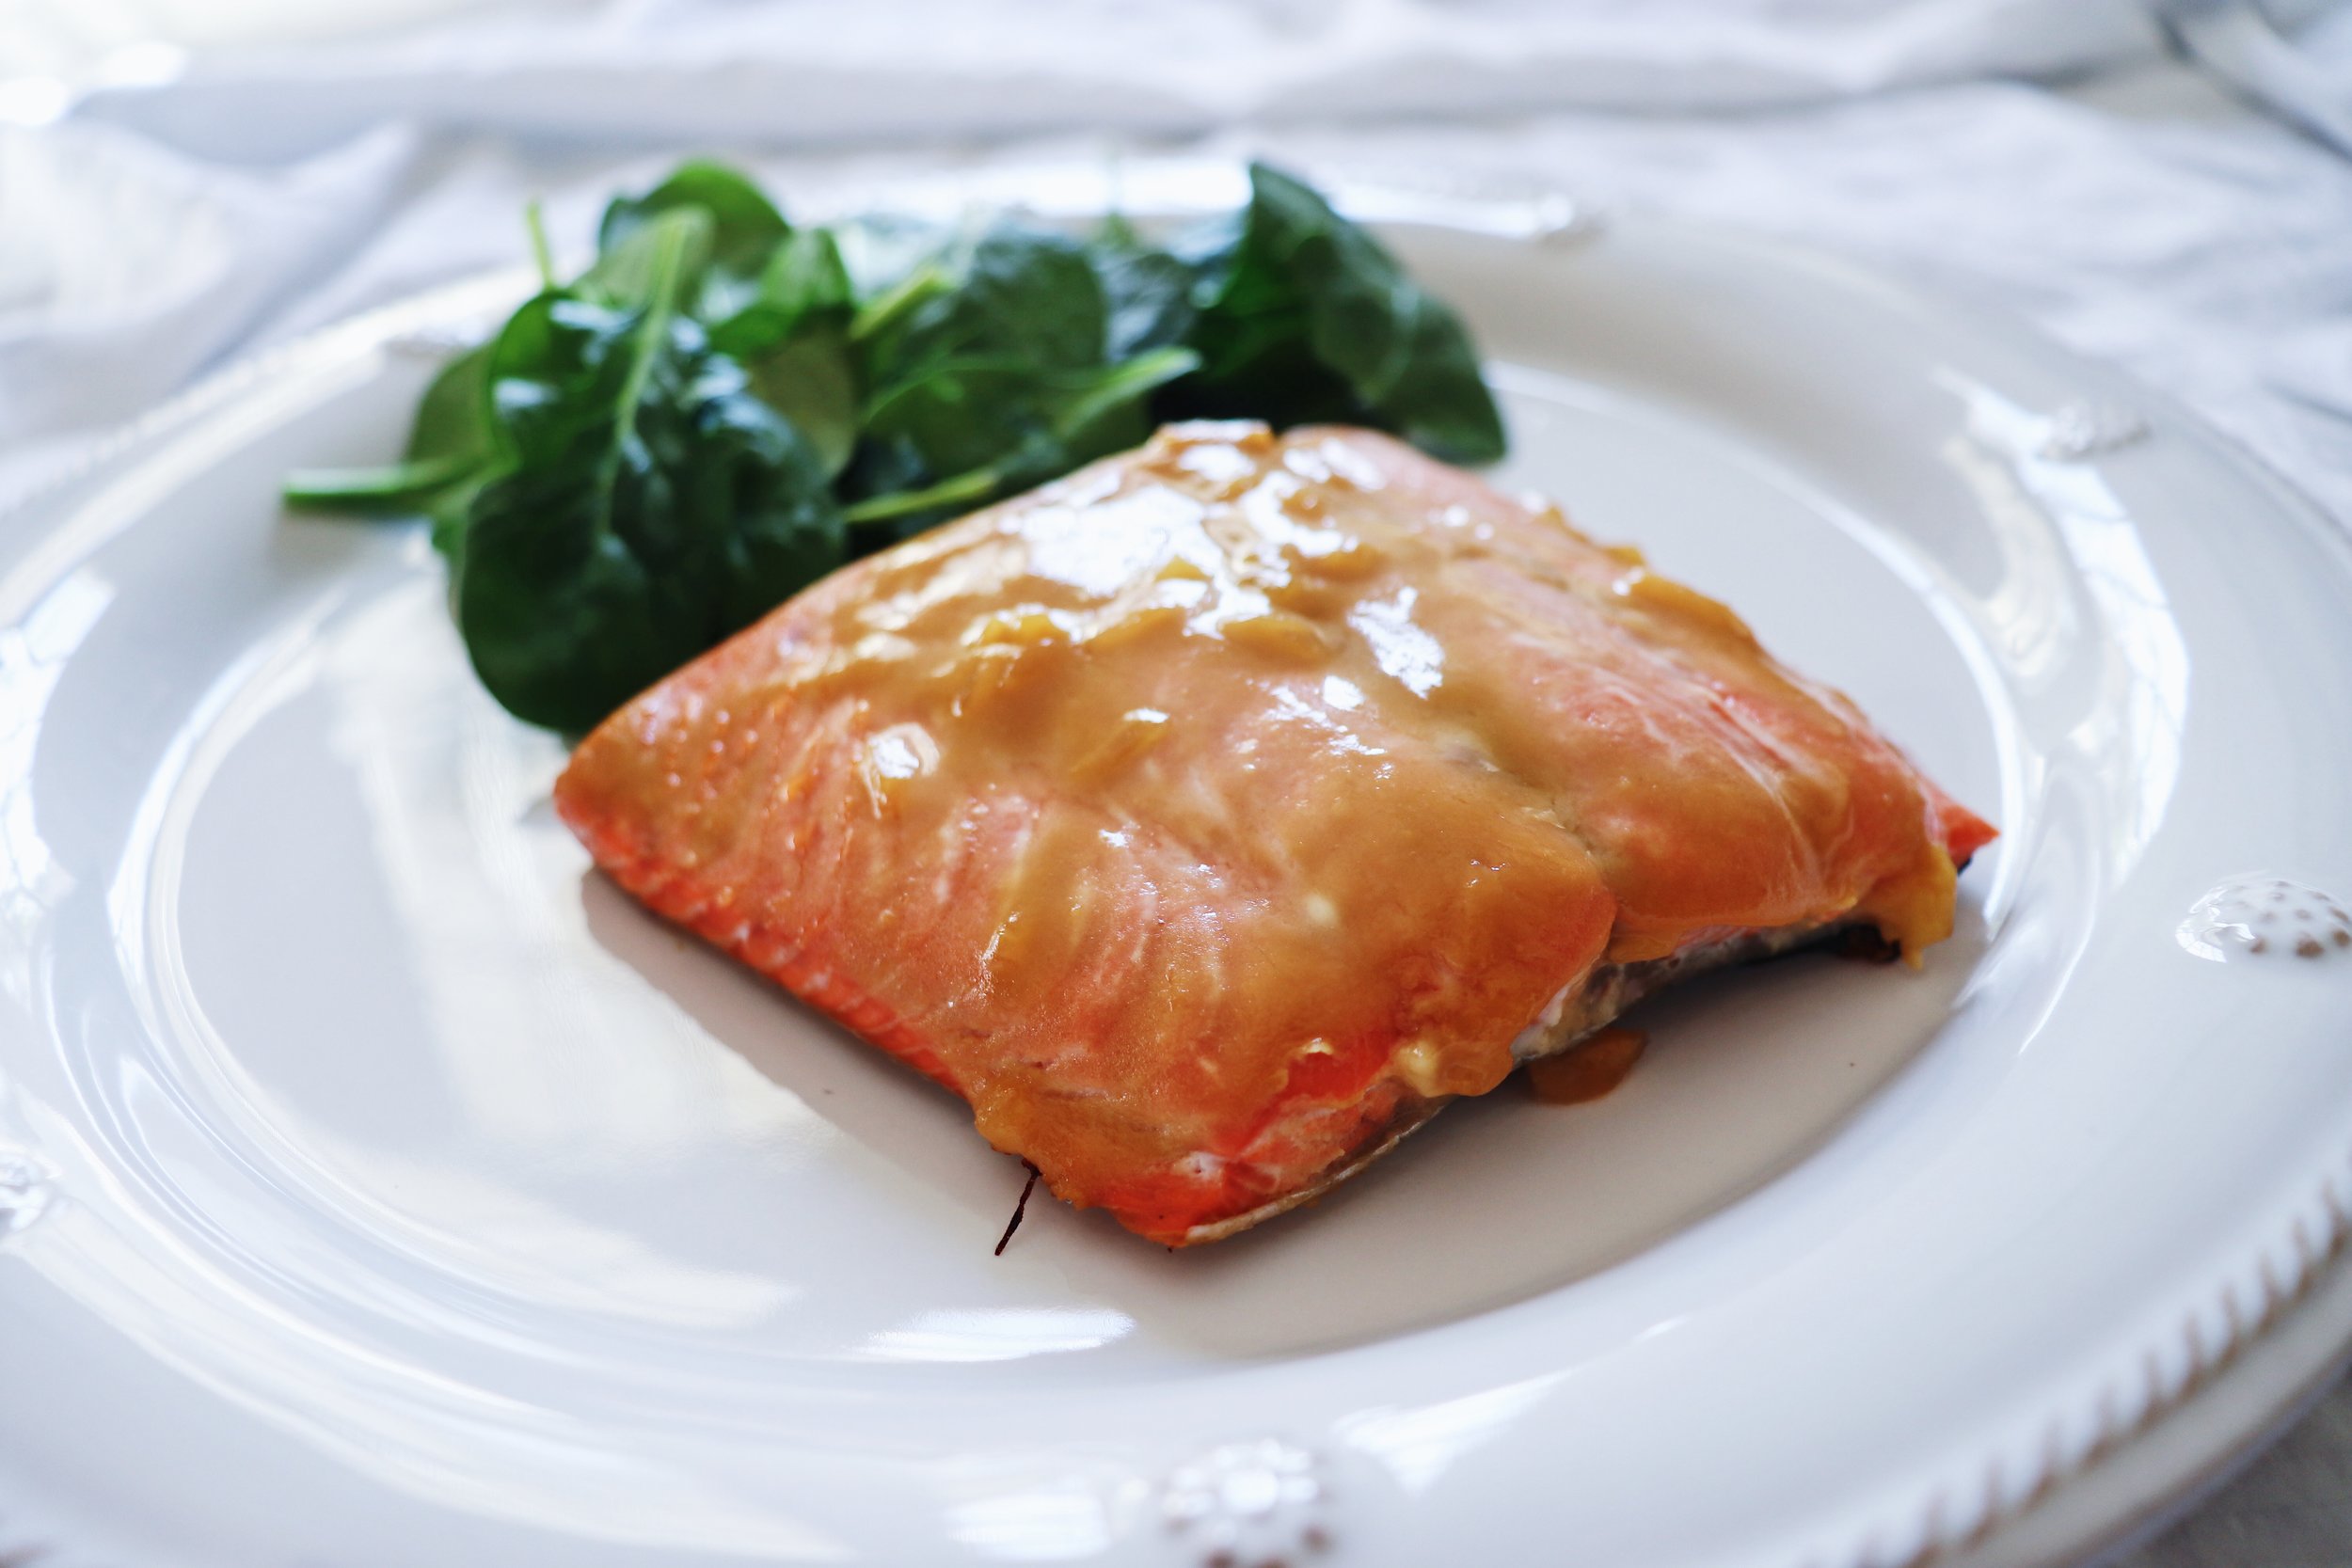
Miso Ginger Glazed Salmon

Miso Ginger Salmon 1.JPG

I was definitely not a salmon lover growing up. Other than fish sticks and fried catfish, I really didn’t care for fish at all. That is, until high school when I started trying more foods and then college where I started cooking, learning about nutrition, and experimenting with different recipes. Now I love it and, because it is recommended to include fatty fish like salmon or tuna in your weekly diet, I have been trying to figure out a way to keep salmon on our weekly menu. It try to mix it up to keep it from getting boring.

Why include fatty fish like salmon and tuna, you may ask? Well, both of these fish are high in omega 3 fatty acids, which, studies have found and continue to find, can improve our heart health, aid in brain health, and fight inflammation in the body. This is important for pretty much everyone, from the infant needing the DHA and EPA for brain development to the child continuing to grow and develop to the young and adult athlete in states of inflammation after hard practices, games and competitions to the older adult potentially struggling with arthritis or other inflammatory diseases. Plus, it can help all of these groups mentioned maintain a healthy heart! And, if that is not enough, salmon can be a source of vitamin D, which is super hard to get from the diet and its fat helps the body digest the fat-soluble vitamins, vitamin A, D, E and K.

SO, for all of those reasons, let’s start incorporating more fatty fish into our diets, shall we?! I have a few other salmon recipes on the blog including my simple lemon dijon salmon and my spinach & feta stuffed salmon, and I’m excited to add this one to our family list. If you don’t like ginger, it might not be your thing, but if you don’t mind it, then I certainly recommend giving this recipe a try! Here you go. The recipe for my Miso Ginger Glazed Salmon.

Happy Fueling!

Taylor

MISO GINGER GLAZED SALMON

Serves 2

INGREDIENTS:

  • Two 6-ounce salmon filets

  • 2 tablespoons yellow miso paste (I used the Light yellow miso that I found at Central Market)

  • 1 tablespoon rice vinegar

  • 1 teaspoon soy sauce

  • 1 teaspoon sesame oli

  • 1 teaspoon grated, minced ginger

DIRECTIONS:

  1. Preheat the oven to 400 degrees F.

  2. Brush some of the sauce over the salmon filet, covering the top entirely.

  3. Save any remaining sauce to spoon over the cooked filets, if desired.

  4. Cook the salmon for about 15 minutes or until desired level of doneness.

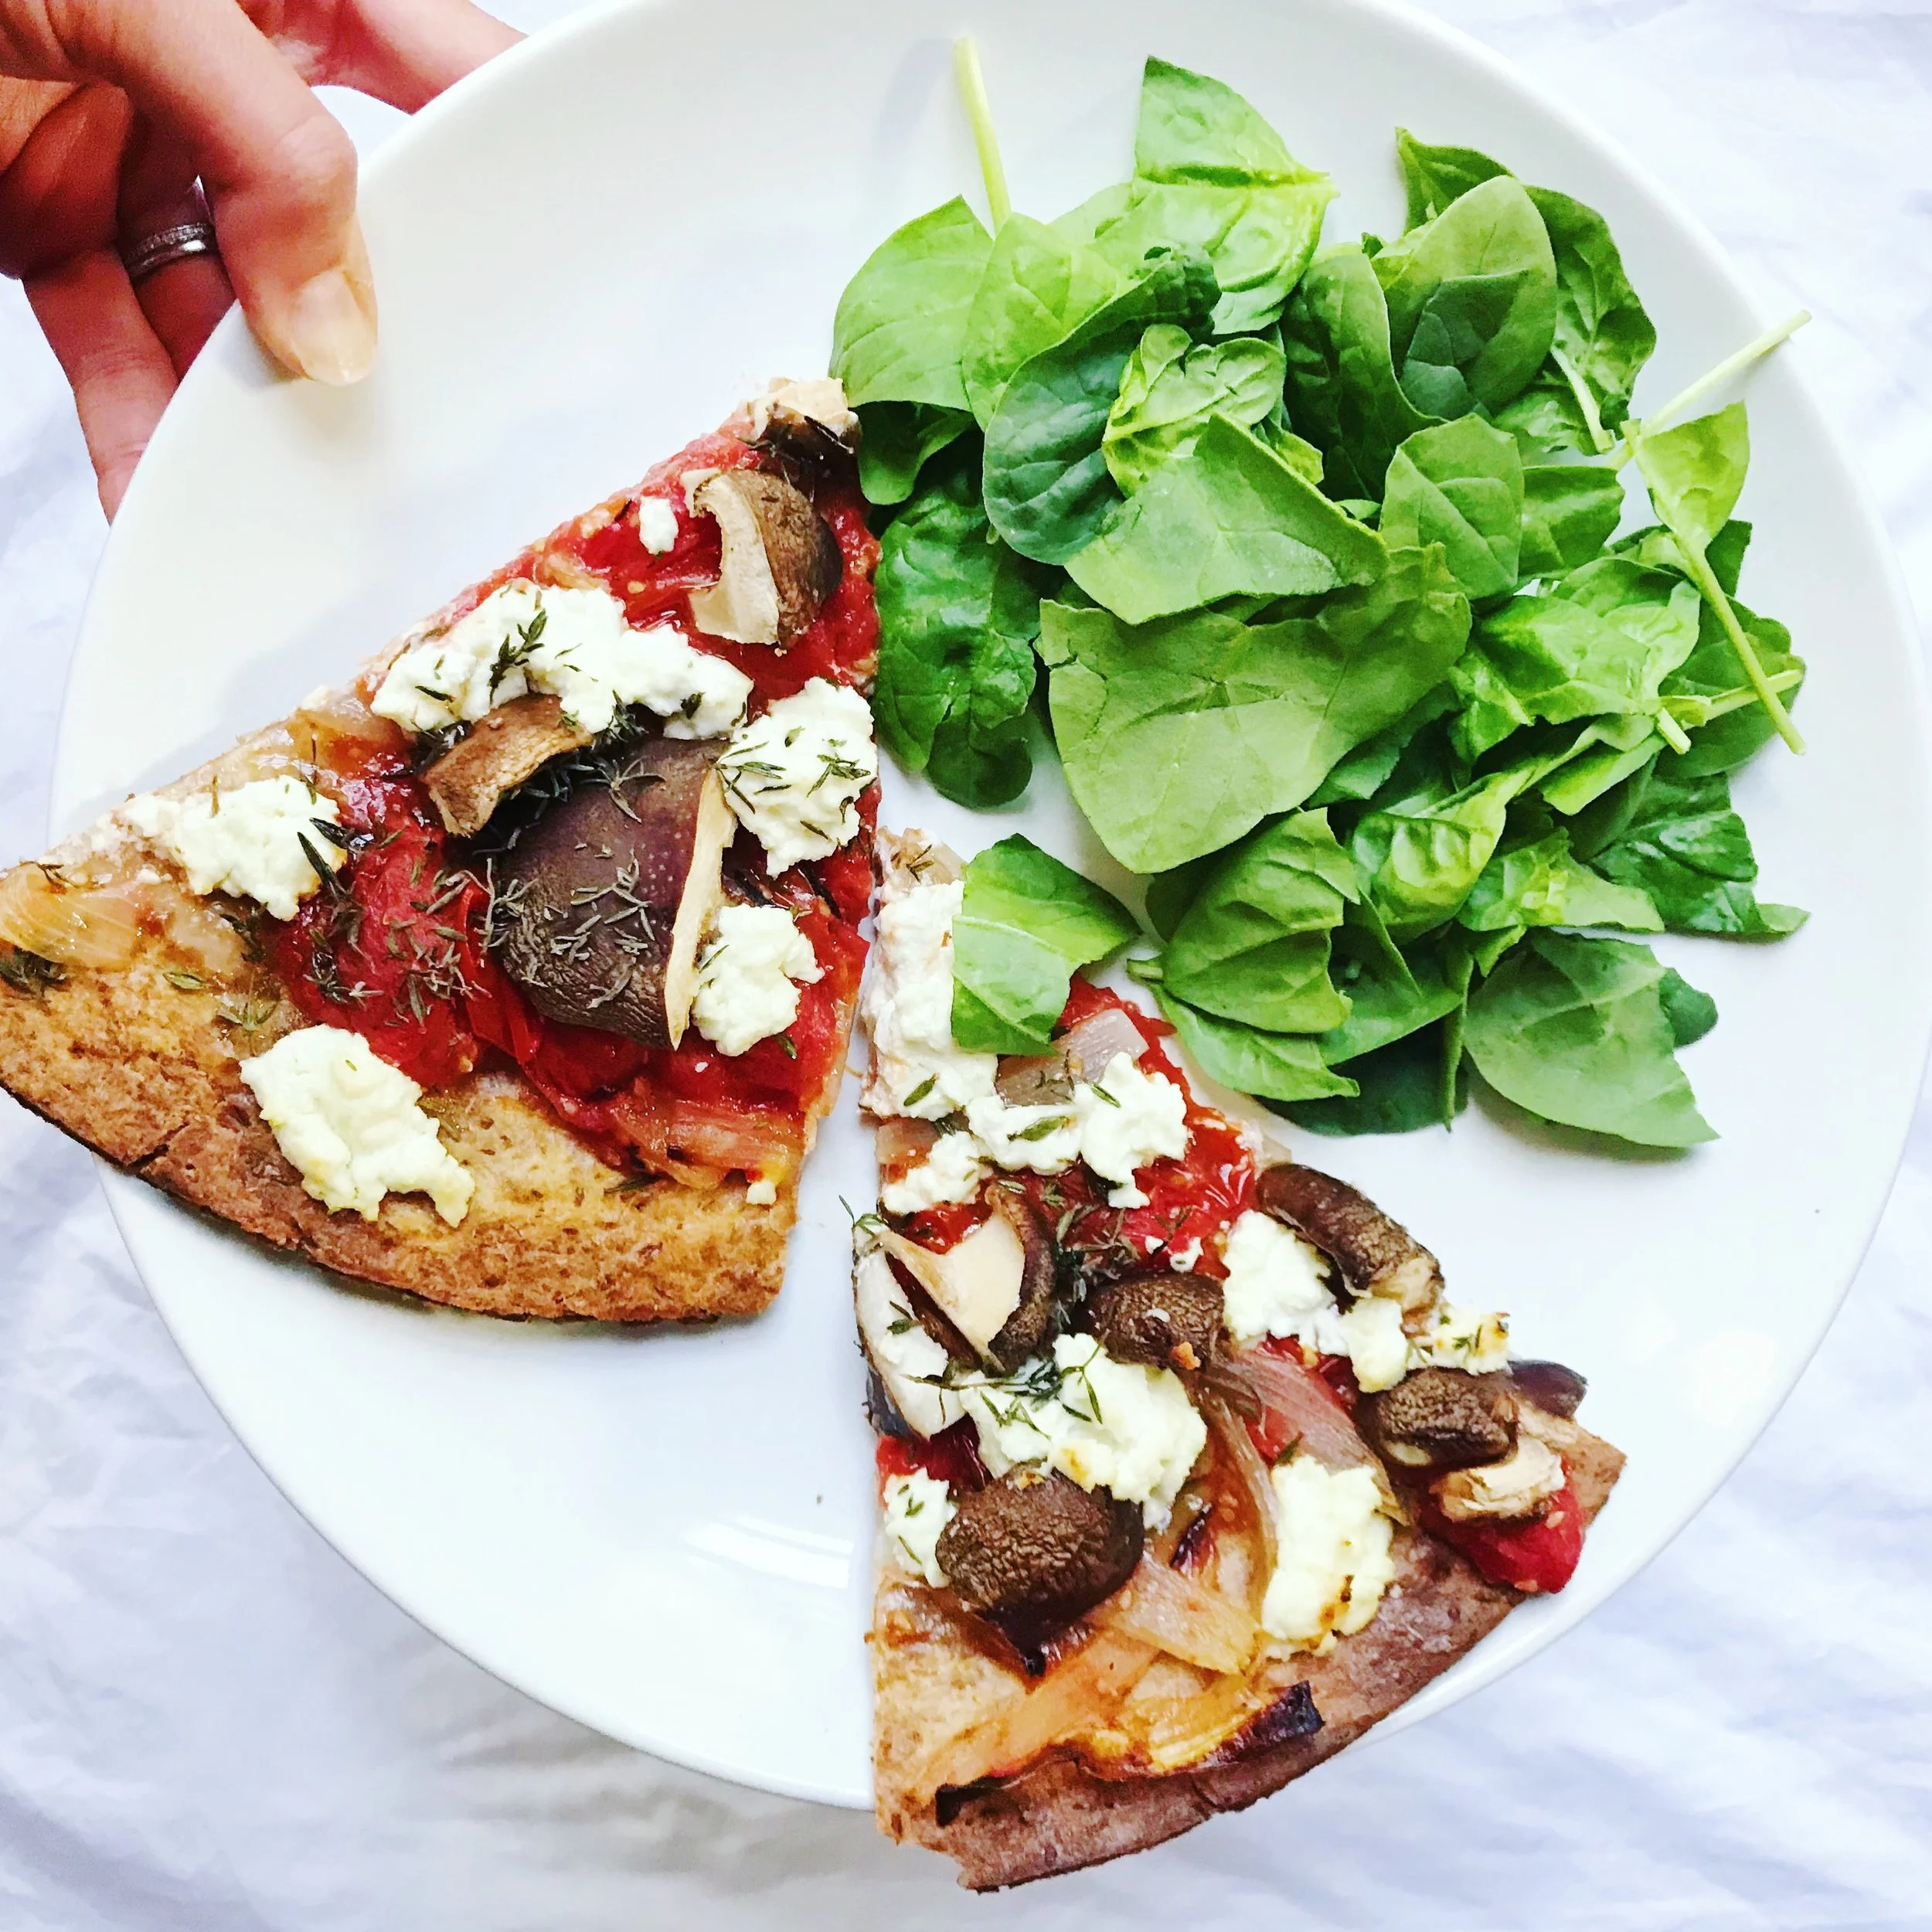
  5. Serve each salmon filet with your favorite veggies, a crisp green salad and fluffy rice and enjoy!

Miso Ginger Glazed Salmon Aerial.JPG

Jazzed Up Mac & Cheese Cups

ja

Hello! How is everyone’s week going? Mine has been quite packed, but the good kind of packed that keeps you on your toes and keeps you thinking. So much going on in January in the world of Wellness and I’m also staying pretty busy with sports nutrition items as well.

Today, however, oh my gosh, I’m excited to finally get to share with you one of my newer recipes, these jazzed up mac and cheese cups.. This is one of my favorite recipes yet. It’s so savory and cheesy and easy to eat. It’s basically mac & cheese with a few surprise ingredients in a cup! And a bonus - made with milk and cheese, each cup packs in some calcium, which we know everyone needs, especially the young growing athlete. I actually created these about a year ago, but it took me a few times to get the recipe just the way I wanted it and then I, of course, had to have friends and family give them a try and earn their stamp of approval. You can prep these ahead and then store them in the fridge until you are ready to bake which, if you know my recipes, you know I love. They also store and reheat nicely, which is great because the recipe makes 12. I store them in a big airtight container or wrap them individually in plastic wrap and store in the fridge. They can be an easy option to take to school or work or enjoy as a late night dinner or post-practice snack. What makes them jazzed up? Well, I substitute some of the pasta for roasted cauliflower and add in sun dried tomatoes, which gives it a whole new level of deliciousness. And, honestly, you may not even realize it’s cauliflower in there if you are not paying attention. I seriously love these and I hope you do to! So, here you go, the recipe for my Jazzed Up Mac & Cheese Cups.

Happy Fueling!

Taylor

JAZZED UP MAC & CHEESE CUPS

Makes 12 cups

INGREDIENTS:

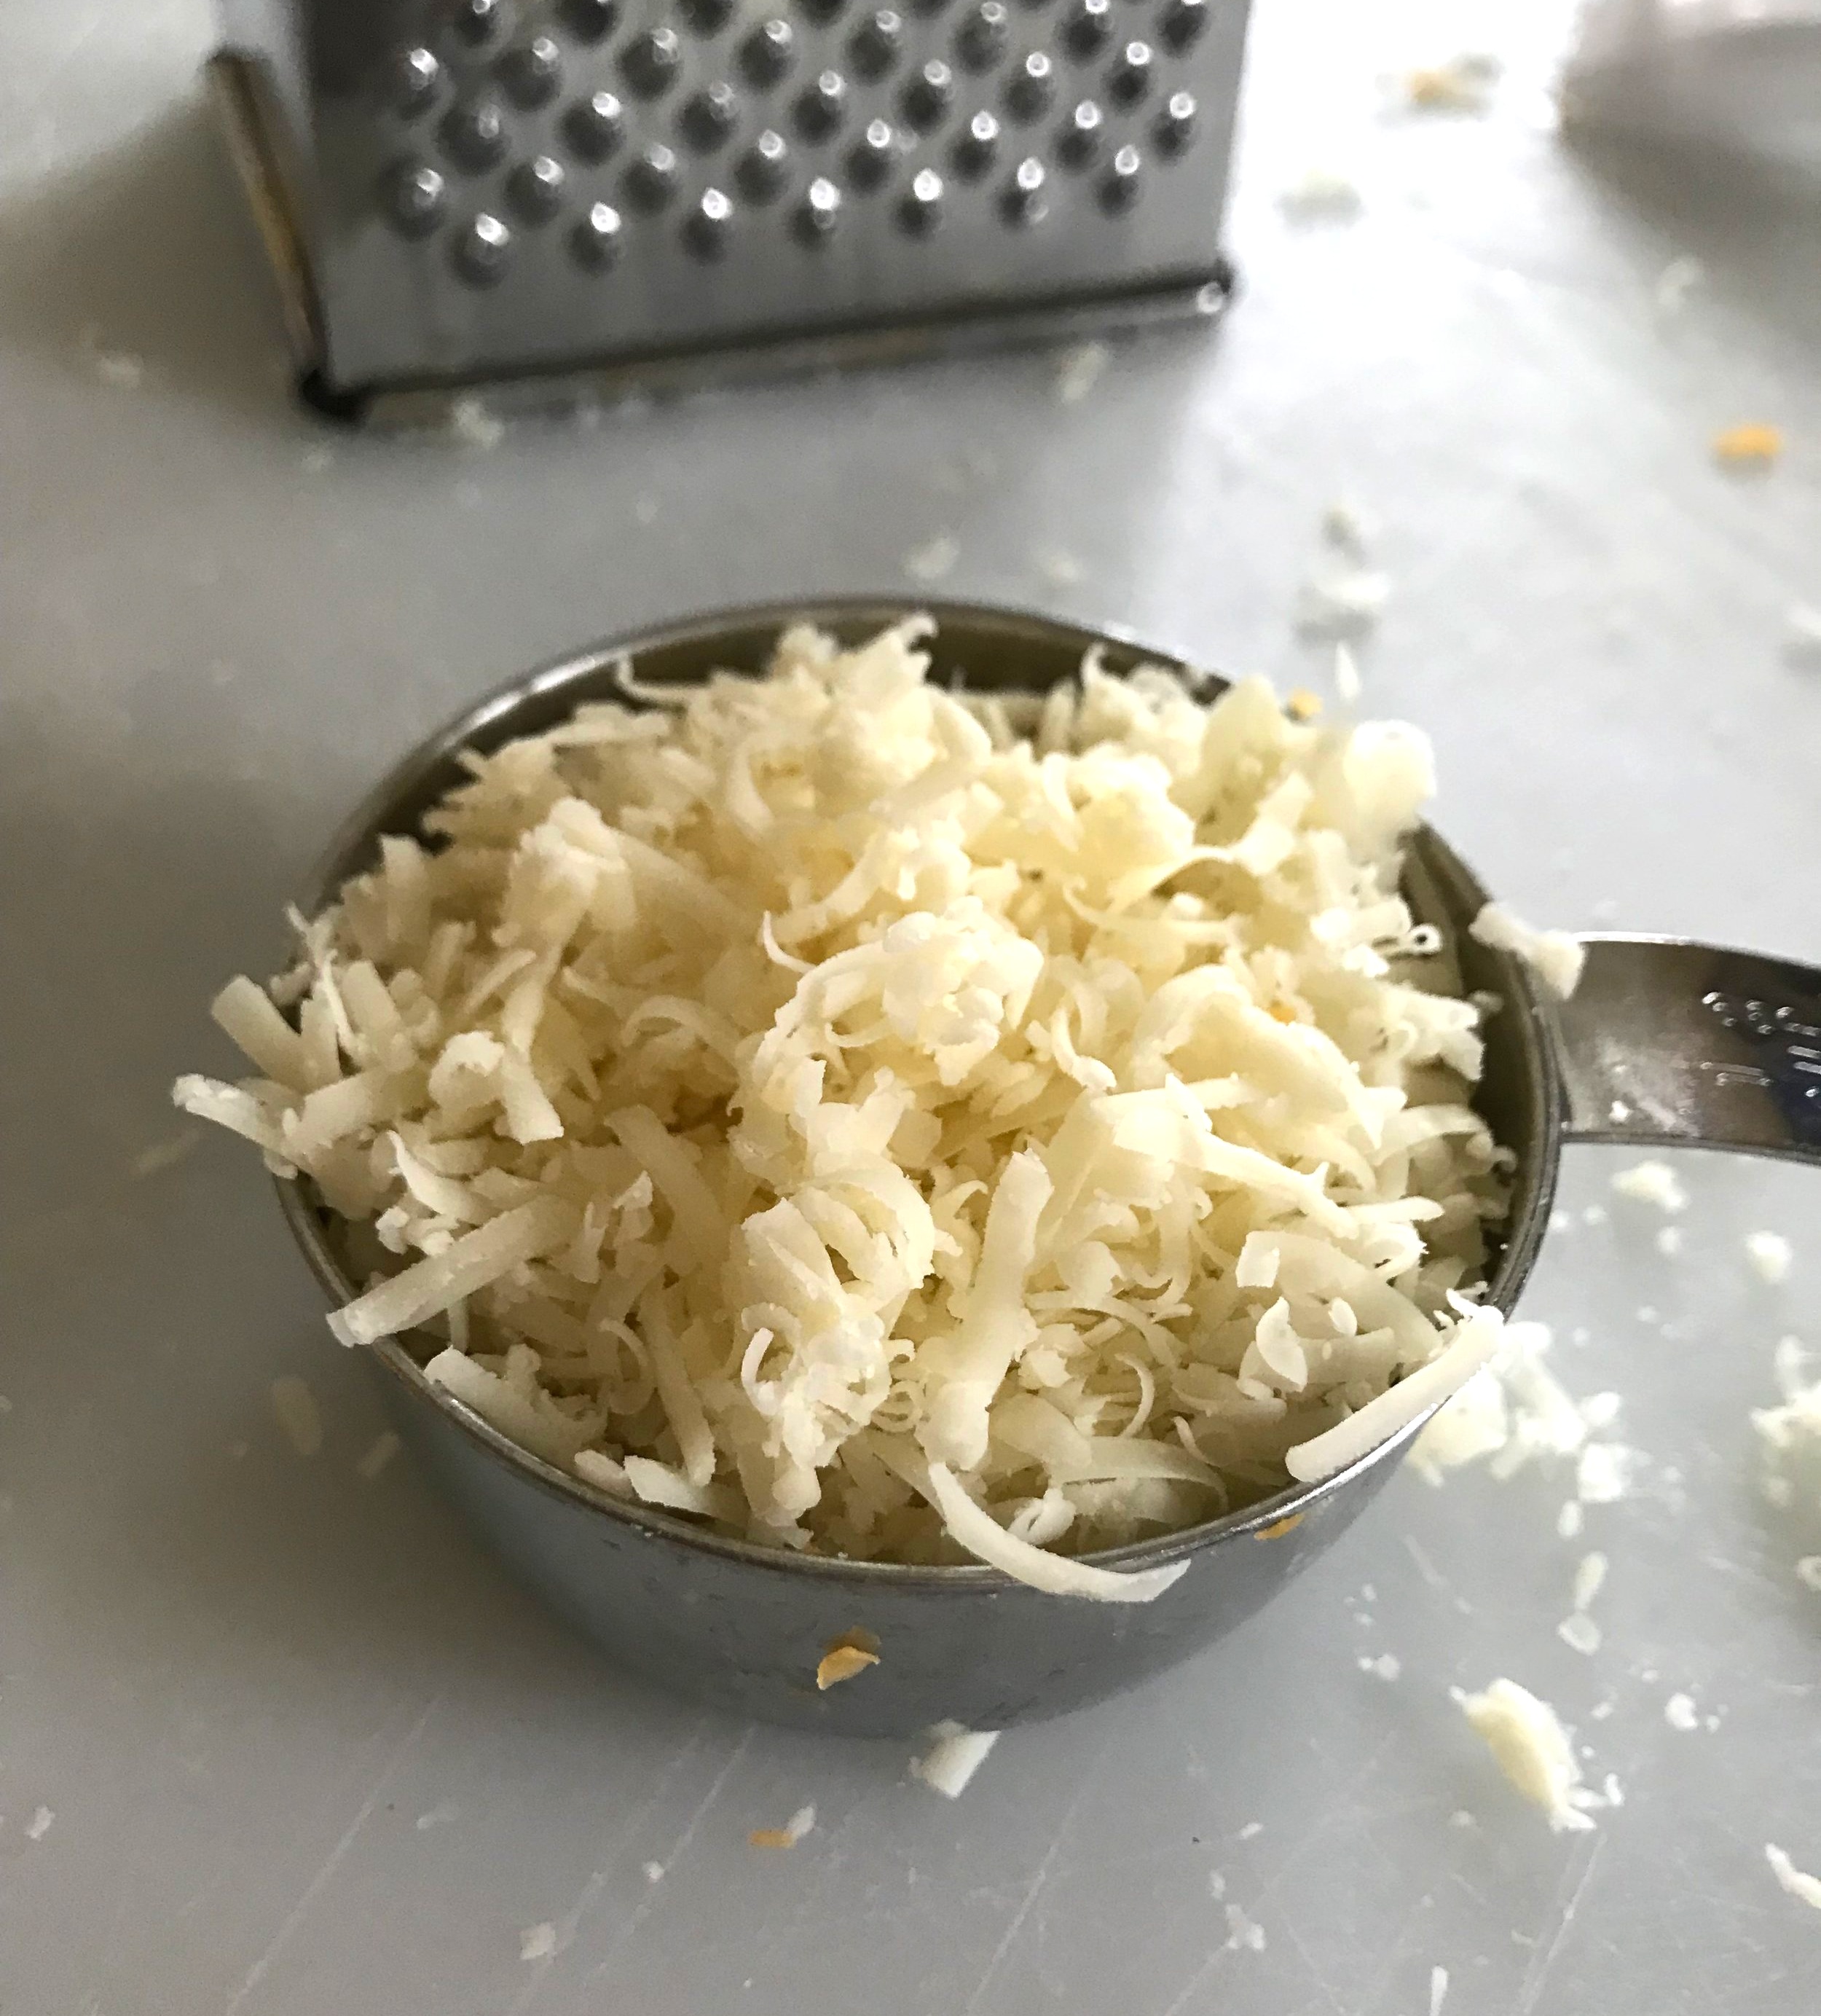
Prep+Guyere+Cheese.jpg
  • 1 head of cauliflower, chopped

  • 1/2 tablespoon olive oil

  • 1/8 - 1/4 teaspoon salt

  • 1 cup macaroni noodles (will use 1 1/2 cups cooked)

  • Cooking Spray

  • 1/2 cup grated Parmesan cheese

  • 1/2 tablespoon butter

  • 1 teaspoon flour

  • 1 1/4 cup 1% milk

  • 1 1/2 cup shredded extra sharp cheddar cheese

  • 1/2 cup shredded Gruyere cheese

  • 1 1/2 tablespoon creamy Dijon mustard

  • 1 whole egg, whisked

  • 1/2 cup rehydrated (according to package directions) and chopped sun dried tomatoes

DIRECTIONS:

Preheat oven to 400 degrees F.

Line a baking sheet with parchment paper or foil.

In a large mixing bowl, toss the chopped cauliflower with the olive oil and salt.

raw+cauliflower.jpg

Spread cauliflower on lined baking sheet.

Roast cauliflower in preheated oven for 15 minutes, stir the cauliflower, and roast for 15 minutes more.

While the cauliflower cooks, bring a large pot of water to a boil and, once boiling, add the macaroni, cooking about 7 to 8 minutes until tender. When done, drain the cooked macaroni into a large colander and set aside.

Once the cauliflower is cooked, remove from the oven and set aside.

Now, increase the heat of the oven to 425 degrees F.

Prep+tins_Parmesan.jpg

Prep a 12-muffin tin (or two 6-muffin tins) by spraying lightly with cooking spray and then, using about 1/4 of the Parmesan cheese, sprinkle on the bottom of each muffin tin.

Cooked+Mac+%26+Cheese+%2B+Prepped+Tins.jpg

Heat the same large pot you used to cook the noodles in to medium heat and add 1/2 tablespoon of butter and 1 teaspoon of flour. Whisk for about 3 to 4 minutes, allowing the flour to cook and start to brown.

Add the milk, whisking slowly as you pour it in, and continue to cook, whisking occasionally, until the milk begins to warm almost coming to a simmer.

Add the cheese to the warm milk and whisk in until the cheese melts into the milk and the mix is smooth.

Take pot off the heat and add the Dijon and egg and stir to incorporate all ingredients together.

Add 1 1/2 cup of the cooked macaroni, the sun dried tomatoes, and the cauliflower to the pot and fold it into the cheese sauce.

Prepped_close-up_45 degrees.JPG

Spoon mac and cheese mixture into each muffin tin (about 1/4 cup mix per tin).

Bake in a preheated oven for about 15 to 20 minutes.

Remove cooked mac and cheese cups from the oven, sprinkle tops of each with remaining 1/4 cup grated Parmesan cheese divided equally between every cup.

Turn oven to a broil and broil on low for about 1 to 2 minutes until the tops start to brown and crisp a little.

Remove cups from the oven.

Final_45 degrees_in tins.JPG

Allow to cool about 10 minutes so that the cups will keep their shape when you take them out of your tins. After they cool a little, I run a knife around the edges of each muffin tin to help get each mac and cheese cup out smoothly.

Serve immediately or store to enjoy later in the week!

Serve It Again!

As I mentioned earlier. Wrap each individually in foil or plastic wrap to pull out and take with you as a part of lunch. Or reheat them as an easy side with dinner another night of the week. OR grab one after an afternoon or evening practice as an easy source of protein, quality carbohydrate and calcium!

NUTRITION NOTES

Just one of these scrumptious cups contains 210 mg of calcium!