Simple Slow Roasted Root Veggies

IMG_2218.JPG

Hello there!  Today's recipe isn't a very complicated one.  It's actually one that I probably could have simply put in an Instagram post and called it a day.  However, in just the last month or so, this has already become a favorite and it is officially on my list of less stress, no fuss, prep it-leave it-love it recipes.  I would be excited to prepare this whether it's just me for dinner, if we have last-minute guests or if  I've had a month to plan.  

"Why?" might you ask?  Well, several reasons:

  1. It meets one of my Cardinal Rules of Cooking... have one item on the menu that can be thrown in the oven or left over the stove to cook for a while. I really like to have one item roasting in the oven when I'm preparing a meal. If you have one thing that can be thrown in the oven and left alone, it frees you up to take care of your more "high maintenance" meal items.

  2. Roasting veggies is a Game Changer. After being in the oven for 45 minutes, these carrots are soft and tender and caramelized and those pearl onions - well, to me, they basically taste like candy - so soft and sweet and caramelized like the carrots. They add pizzaz to any dish.

  3. They make great leftovers! This shouldn't be surprising coming from me at this point as most of my recipes can double as something else on any other day. Because these are heartier vegetables, I can pack up the remaining veggies, store them in the fridge and heat them up the next day. I've paired them with other veggies, chicken, chickpeas, crumbled cheese, you name it. It has been a good item to pack up and reheat for lunch at work or throw with a new protein on a different night of the week. Quick and simple and satisfying.

I actually got the idea from an episode of Barefoot Contessa with Ina Garten (I soak up the Saturday mornings when I get a little time to watch these cooking shows - they both inspire and teach me).  She had a spotlight on one of her favorite chefs who was roasting tons of veggies and I knew I had to try some variation of what was featured.  While all of those veggies looked delicious, I decided to keep it simple and stick with two or three staples that would then allow me to throw in some extra veggies at the end.  

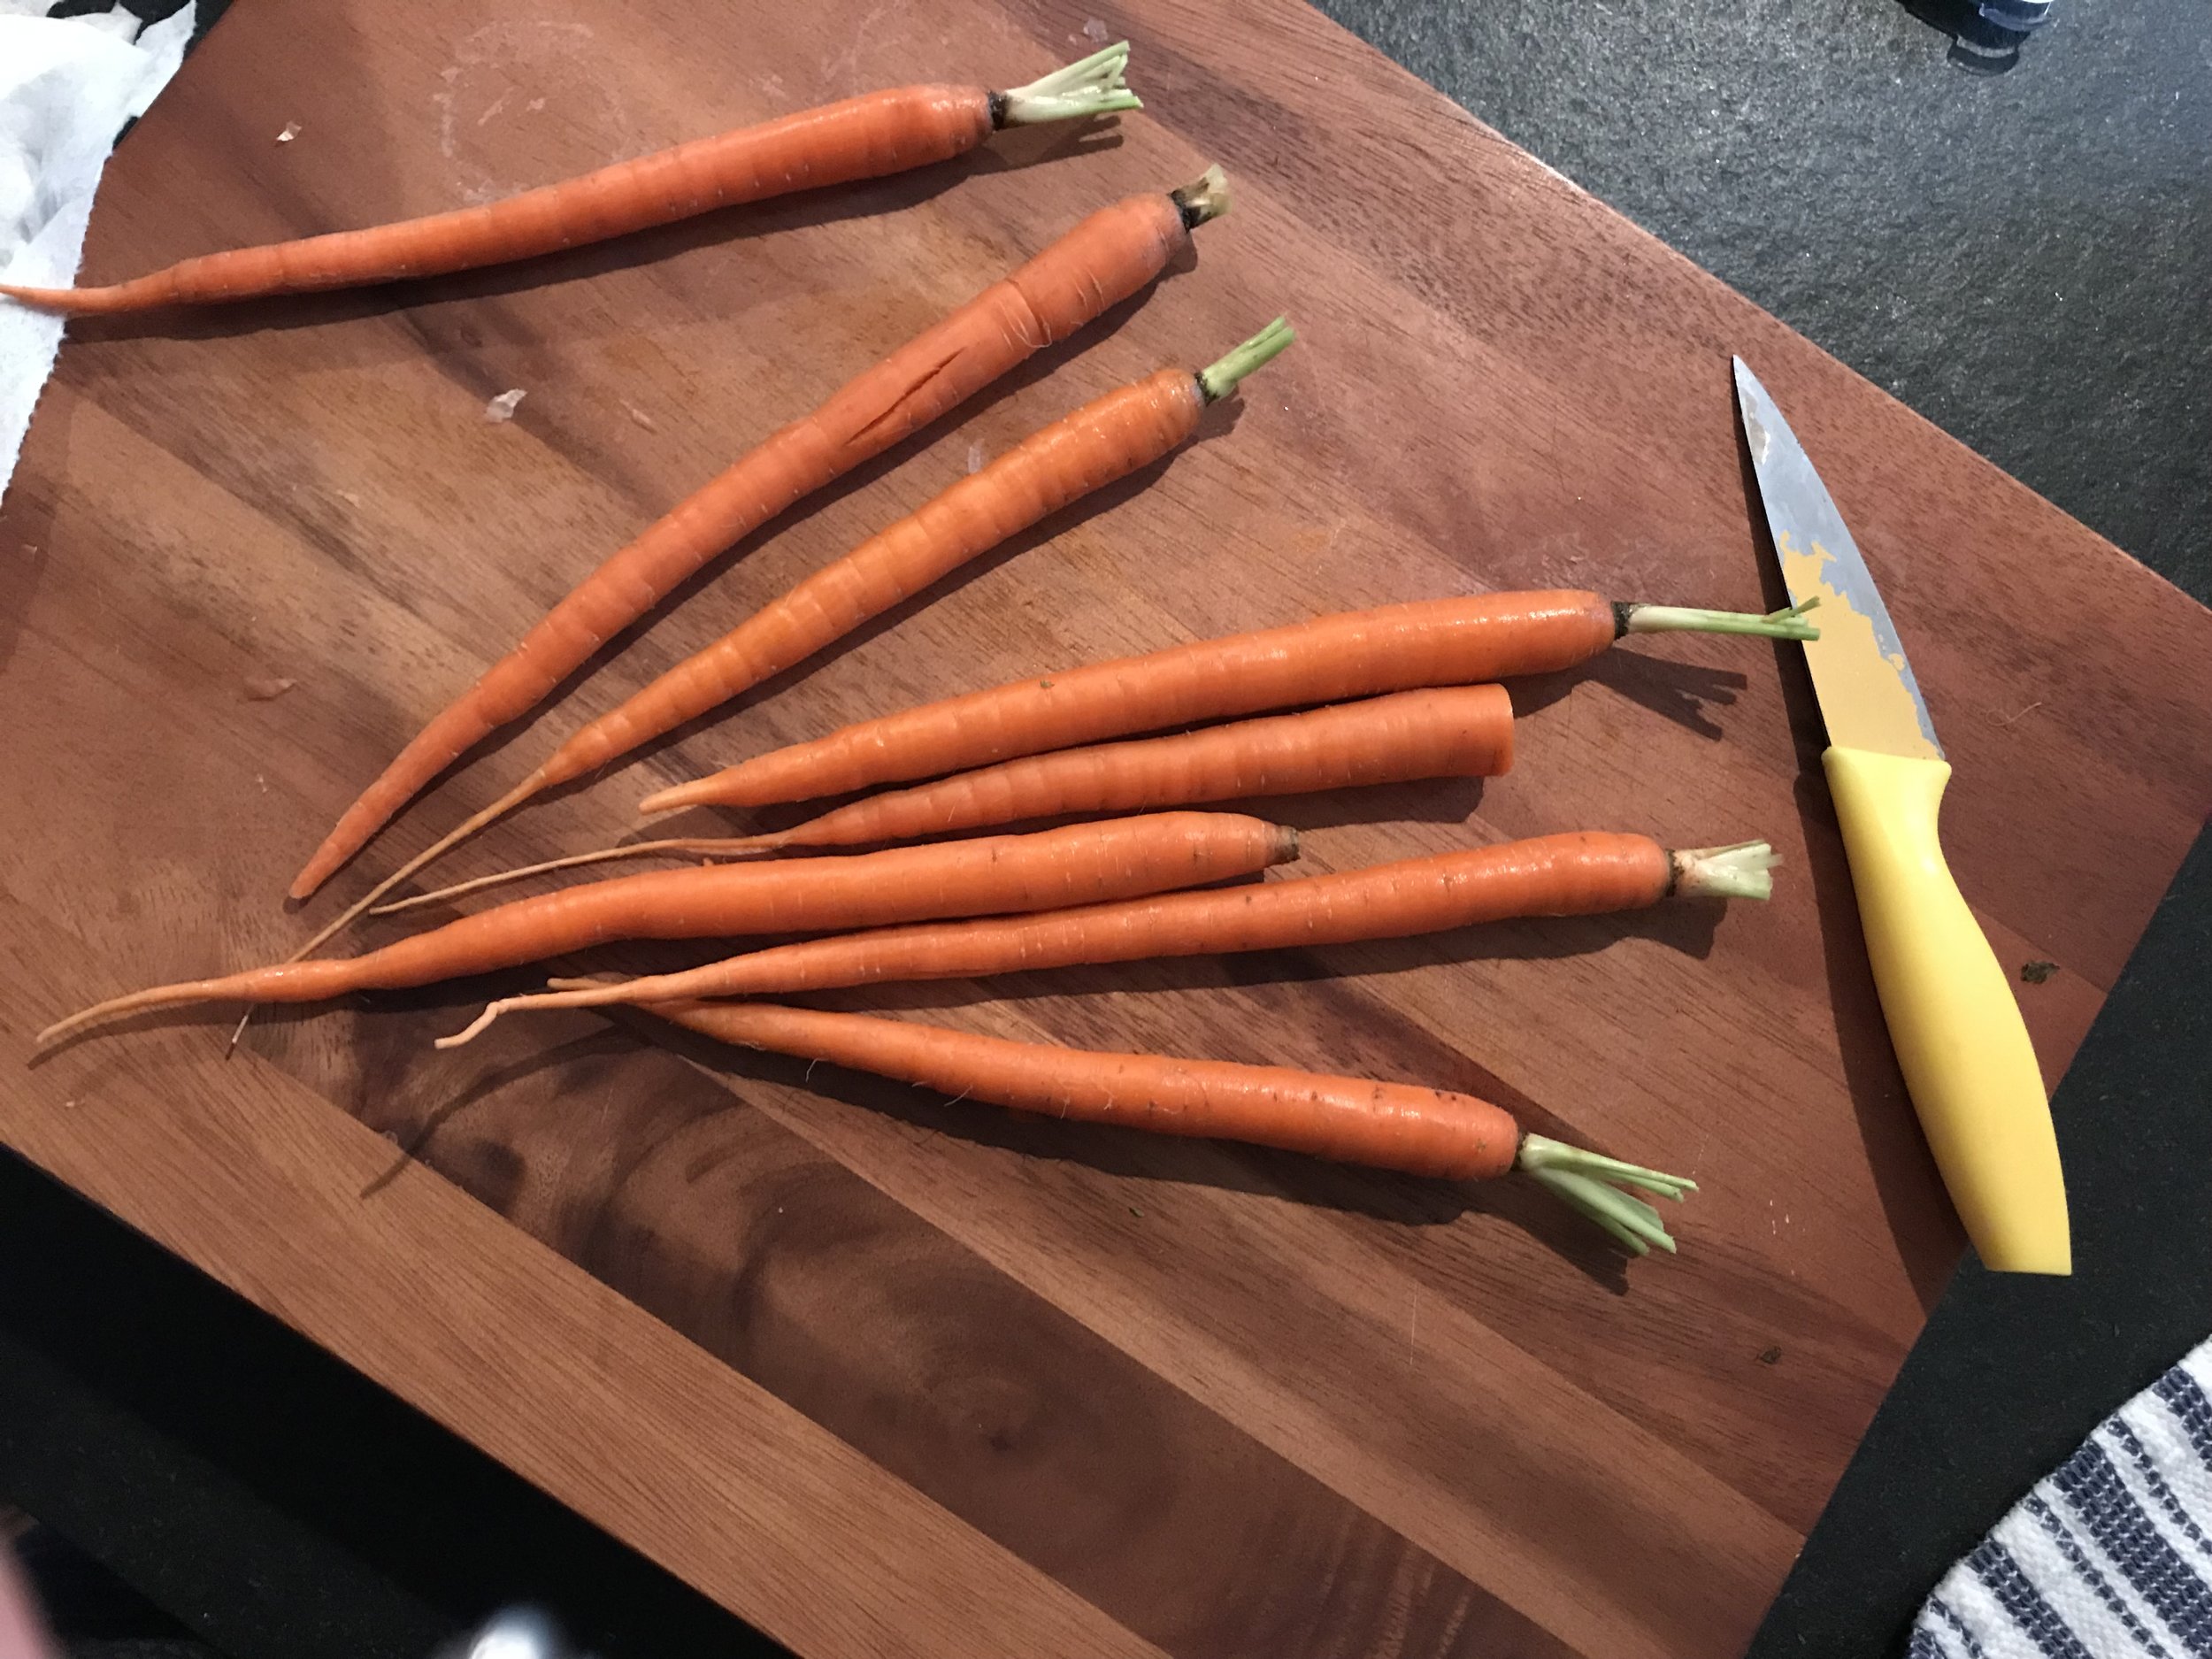
I've always been intrigued by those mini organic carrots at the store (not the baby carrots, but the ones that look like smaller regular carrots, right out of the ground).  I also LOVE onions when they are roasted.  If you have never had them before - you HAVE to try it.  Seriously a game changer.  Roasting onions softens them and makes them wonderfully sweet and earthy.  That's pretty much my base.  And then I have the liberty to add any other veggies to it.  This last particular time I roasted broccolini separately because it doesn't take as long to cook (I have a double oven so that's helpful).  I threw them in a preheated oven when there was about 15 minutes left on the carrots & onions and then threw them all together on the skillet once they were done (which you'll see in the pics below).

The perfect side dish for many different entrees, PLUS they reheat well for veggie bowls (with chicken / beans / tofu / etc.) another day or night that week.  Oh, and my favorite part of the evening when I served these?  When my husband said, "You know, you have really gotten me to like a lot of vegetables - vegetables that I didn't think I ever liked".  Win!

So, here you go, my Sweet & Simple Slow Roasted Veggies

Happy Fueling!

Taylor

Sweet & Simple Slow Roasted Veggies

IMG_2195.JPG

INGREDIENTS:

  • Two 8-ounce bags of small organic carrots (or I've use about 1 pound of the large carrots, cut off the greens & cut them in half)

  • 1 pound mixed Pearl & Cipollini onions, skin removed and ends removed (you can also purchase frozen, already peeled to make this part even simpler)

  • 1/2 tablespoon dried Italian Seasoning

  • 1 - 1/2 tablespoons extra virgin olive oil

  • 1/8 teaspoon salt

DIRECTIONS

  1. Preheat the oven to 400 degrees Fahrenheit.

  2. Line 2 baking sheets with foil or parchment paper.

  3. In a large mixing bowl mix together the carrots, pearl onions, olive oil, Italian Seasoning, and salt until vegetables are well coated.

  4. Divide vegetables evenly between the 2 baking sheets. I used 2 baking sheets b/c they would be too crowded on just one and would probably end up steaming instead of roasting (not what you want).

  5. Place vegetables in the oven on the top or middle rack (placing veggies on the bottom rack will likely cause them to burn easily - at least that's what happened to me the first time I made these!).

  6. Cook for about 45 minutes, mixing the vegetables with a spatula halfway through (for even cooking on all sides) until the carrots are soft and easily cut with a fork.

  7. Remove the veggies from the oven, serve and enjoy!

You can, of course, add more root vegetables to this mix such as:  parsnips, beets, turnips, and radishes), but IF you want to add more non-root vegetables, I suggest cooking them separately at their own temperature and time.  I like adding broccolini (2 bunches from Central Market) with these and to do that I:

  1. Preheat the oven to 350 degrees Fahrenheit.

  2. Toss my broccolini in about 1 tablespoon olive oil and 1/8 teaspoon salt.

  3. Spread broccolini out evenly on a lined (with foil or parchment paper) baking sheet.

  4. When there are about 20 minutes left for my root veggies I put my broccolini in the preheated oven and bake for about 30 minutes, stirring halfway through (so that broccolini cook evenly on all sides).

  5. Once done, the root veggies should be done as well so add them to the sheet with the root veggies, mix all together and serve with dinner!

IMG_2194.JPG

Cooking Note: Cooking is not always an exact science.  If you can't find the exact product that I used above - you can adjust a little.  For example, in this recipe I got the onions from the bulk bin at Central Market.  However, at Tom Thumb, these usually come prepackaged in anywhere from 7 ounce to 10 ounce plastic containers.  As long as it's around 1 pound you should be fine (for these directions) and the onions will still come out tender, caramelized and absolutely delicious!  Same goes for the carrots - I get the small bags when I can, but the other day I could only find the large organic bunches at the store - so I purchased two bunches and, when I got home, washed them, cut off the greens and cut each carrot in half so they would all be about the same size.  Just like the onions, they turned out delicious.  This made enough to serve me and a very hungry husband with a couple of days of leftovers.  If you're cooking for 1 you could plan to have more leftovers, or go down to 1 of everything and decrease the oil and seasoning by about 1/2.


WHAT'S IN THIS??  

  • Carrots - vitamin A | fiber | potassium | vitmamin K

  • Onions - fiber | vitamin C | part of allium group, that may reduce risk of some cancers

  • Broccolini - vitamin K | iron | vitamin C

  • Olive oil - monounsaturated fat | vitamin E

Italian Zoodles & Shrimp

Italian Zoodles & Shrimp meal.JPG

This is another recipe that came about from pure curiosity - (1) I have always been curious about all of these zucchini noodles I see in stores and have heard people talk about (I know, slow to jump on the zoodle train), (2) we got a zucchini spiralizer as part of a wedding gift, which spurred my intrigue, and (3) when trying to search for zucchini noodle recipes for clients, I surprisingly came up with very few results!  Now, don't be mistaken here - I'm all about those regular old fashioned pasta noodles.  However, I just had to try these zucchini noodle creations and, of course, my fun new kitchen gadget, and, to my excitement, I got a new recipe for friends and clients along the way!

Now, I had somewhat expected for this to turn into a recipe I could recommend to others, but what I didn't quite expect was for it to become a new quick and simple dinner staple for our table at home.  I made it the first time as a complete experiment, and was able to get it on the table in about 30 - 40 minutes.  So, this past Sunday when we were pressed for time to get to an evening event, I didn't hesitate to turn to this simple and delicious zucchini and shrimp dish that Kyle & I had enjoyed so much on its first debut at the table.

I quickly grabbed all of the ingredients out of the fridge, spiralized (or as I like to say, "zoodled"), did some quick slicing and mincing, and got the skillet ready to go.  

Friends, this recipe is yummy and so fast (and even faster if you prep a few things ahead)!  The zucchini gets cooked down in the cooking process and mixes with all the other flavors and I tend to forget I'm eating a rather bland (on it's own) vegetable.  The hearty mushrooms, salty Parmesan and zesty seasonings make this a refreshing but still filling dinner for the family to enjoy.  I hope you enjoy this as well and that it, or some variation of it, can also be used as a staple to get you through some of those crazy busy days or nights!

So here you go, the recipe for my Italian Zoodles & Shrimp.

Happy Fueling!

Taylor


ITALIAN ZOODLES & SHRIMP!

Recipe Serves about 2 - 3 people (or 2 people and leftovers for lunch the next day)

INGREDIENTS:

Zucchini.JPG
  • 3/4 pound raw shrimp

  • 1/2 - 3/4 cup Italian dressing (whichever is your favorite!)

  • 3 medium zucchini

  • 1 tablespoon olive oil

  • 2 cloves garlic, minced (I used a garlic press)

  • 2 cups sliced white button mushrooms

  • 1/4 teaspoon salt

  • 3 tablespoons lemon juice

  • Zest from 1 medium lemon

  • 1/4 cup grated Parmesan cheese + more for serving

  • 1 tablespoon Italian Seasoning

Directions:

Zucchini Peeled.JPG
Zoodles.JPG
  1. Pour Italian dressing and shrimp into a sealable plastic baggie (like Ziplock). Seal and place in the refrigerator to marinate for about 2 hours or more.

  2. Peel off the skin of each zucchini (use a vegetable peeler or a knife) and slice the ends off of each zucchini.

  3. Using a hand-held spiralizer or one that attaches to a Kitchen-Aid (I used a mini hand-held that you can see in the pic here and it worked great), spiralize your zucchini into a large mixing bowl. This should make about 6 to 7 cups of "zoodles".

  4. In a large skillet heat olive oil on medium heat.

  5. Add minced garlic and saute in the olive oil about 3 minutes, making sure not to burn the garlic.

  6. Add the marinated shrimp to the skillet (I had larger shrimp so had to cook them in two batches). Don't add the marinade to the skillet - only add the shrimp.

  7. Cook the shrimp about 3 minutes per side (may vary depending on size of the shrimp). Remove shrimp from the skillet and set side, covered, while you prepare the zoodles. Leave any juices / spices in the pan.

  8. In the same skillet where you just cooked the shrimp, add the mushrooms and cook about 5- 7 minutes until they start to soften.

  9. Add the "zoodles" and cook for about 10 minutes until they start to soften. Add the lemon juice and lemon zest about halfway through cooking, sprinkle with salt and gently toss to incorporate all ingredients.

  10. After the zoodles have softened, add the Parmesan cheese and Italian seasoning, toss to combine all ingredients and get all of those great flavors mixed together.

  11. Add the shrimp to the skillet, toss and serve!


NUTRITION NOTES:

Zucchini -  fiber; fluid; some vitamin C

Mushrooms - riboflavin, niacin, copper, vitamin D (varying levels depending on the mushroom);

Shrimp - protein; niacin; B12; iron; phosphorus; selenium

Garlic - an allium with a rich phytochemical composition that may help reduce atherosclerosis & the risk of stomach and colon cancer 

Lemon - vitamin C

Mediterranean Lunch Wrap

On a mission to keep lunches fueling and interesting yet easy, I started to brainstorm ideas for something I don't have many recipes for - wraps.  Always a fan of veggies, I loaded this week's wraps full of a variety of veggies, included some source of protein and added additional components to give it lots of flavor and keep it from being dry.

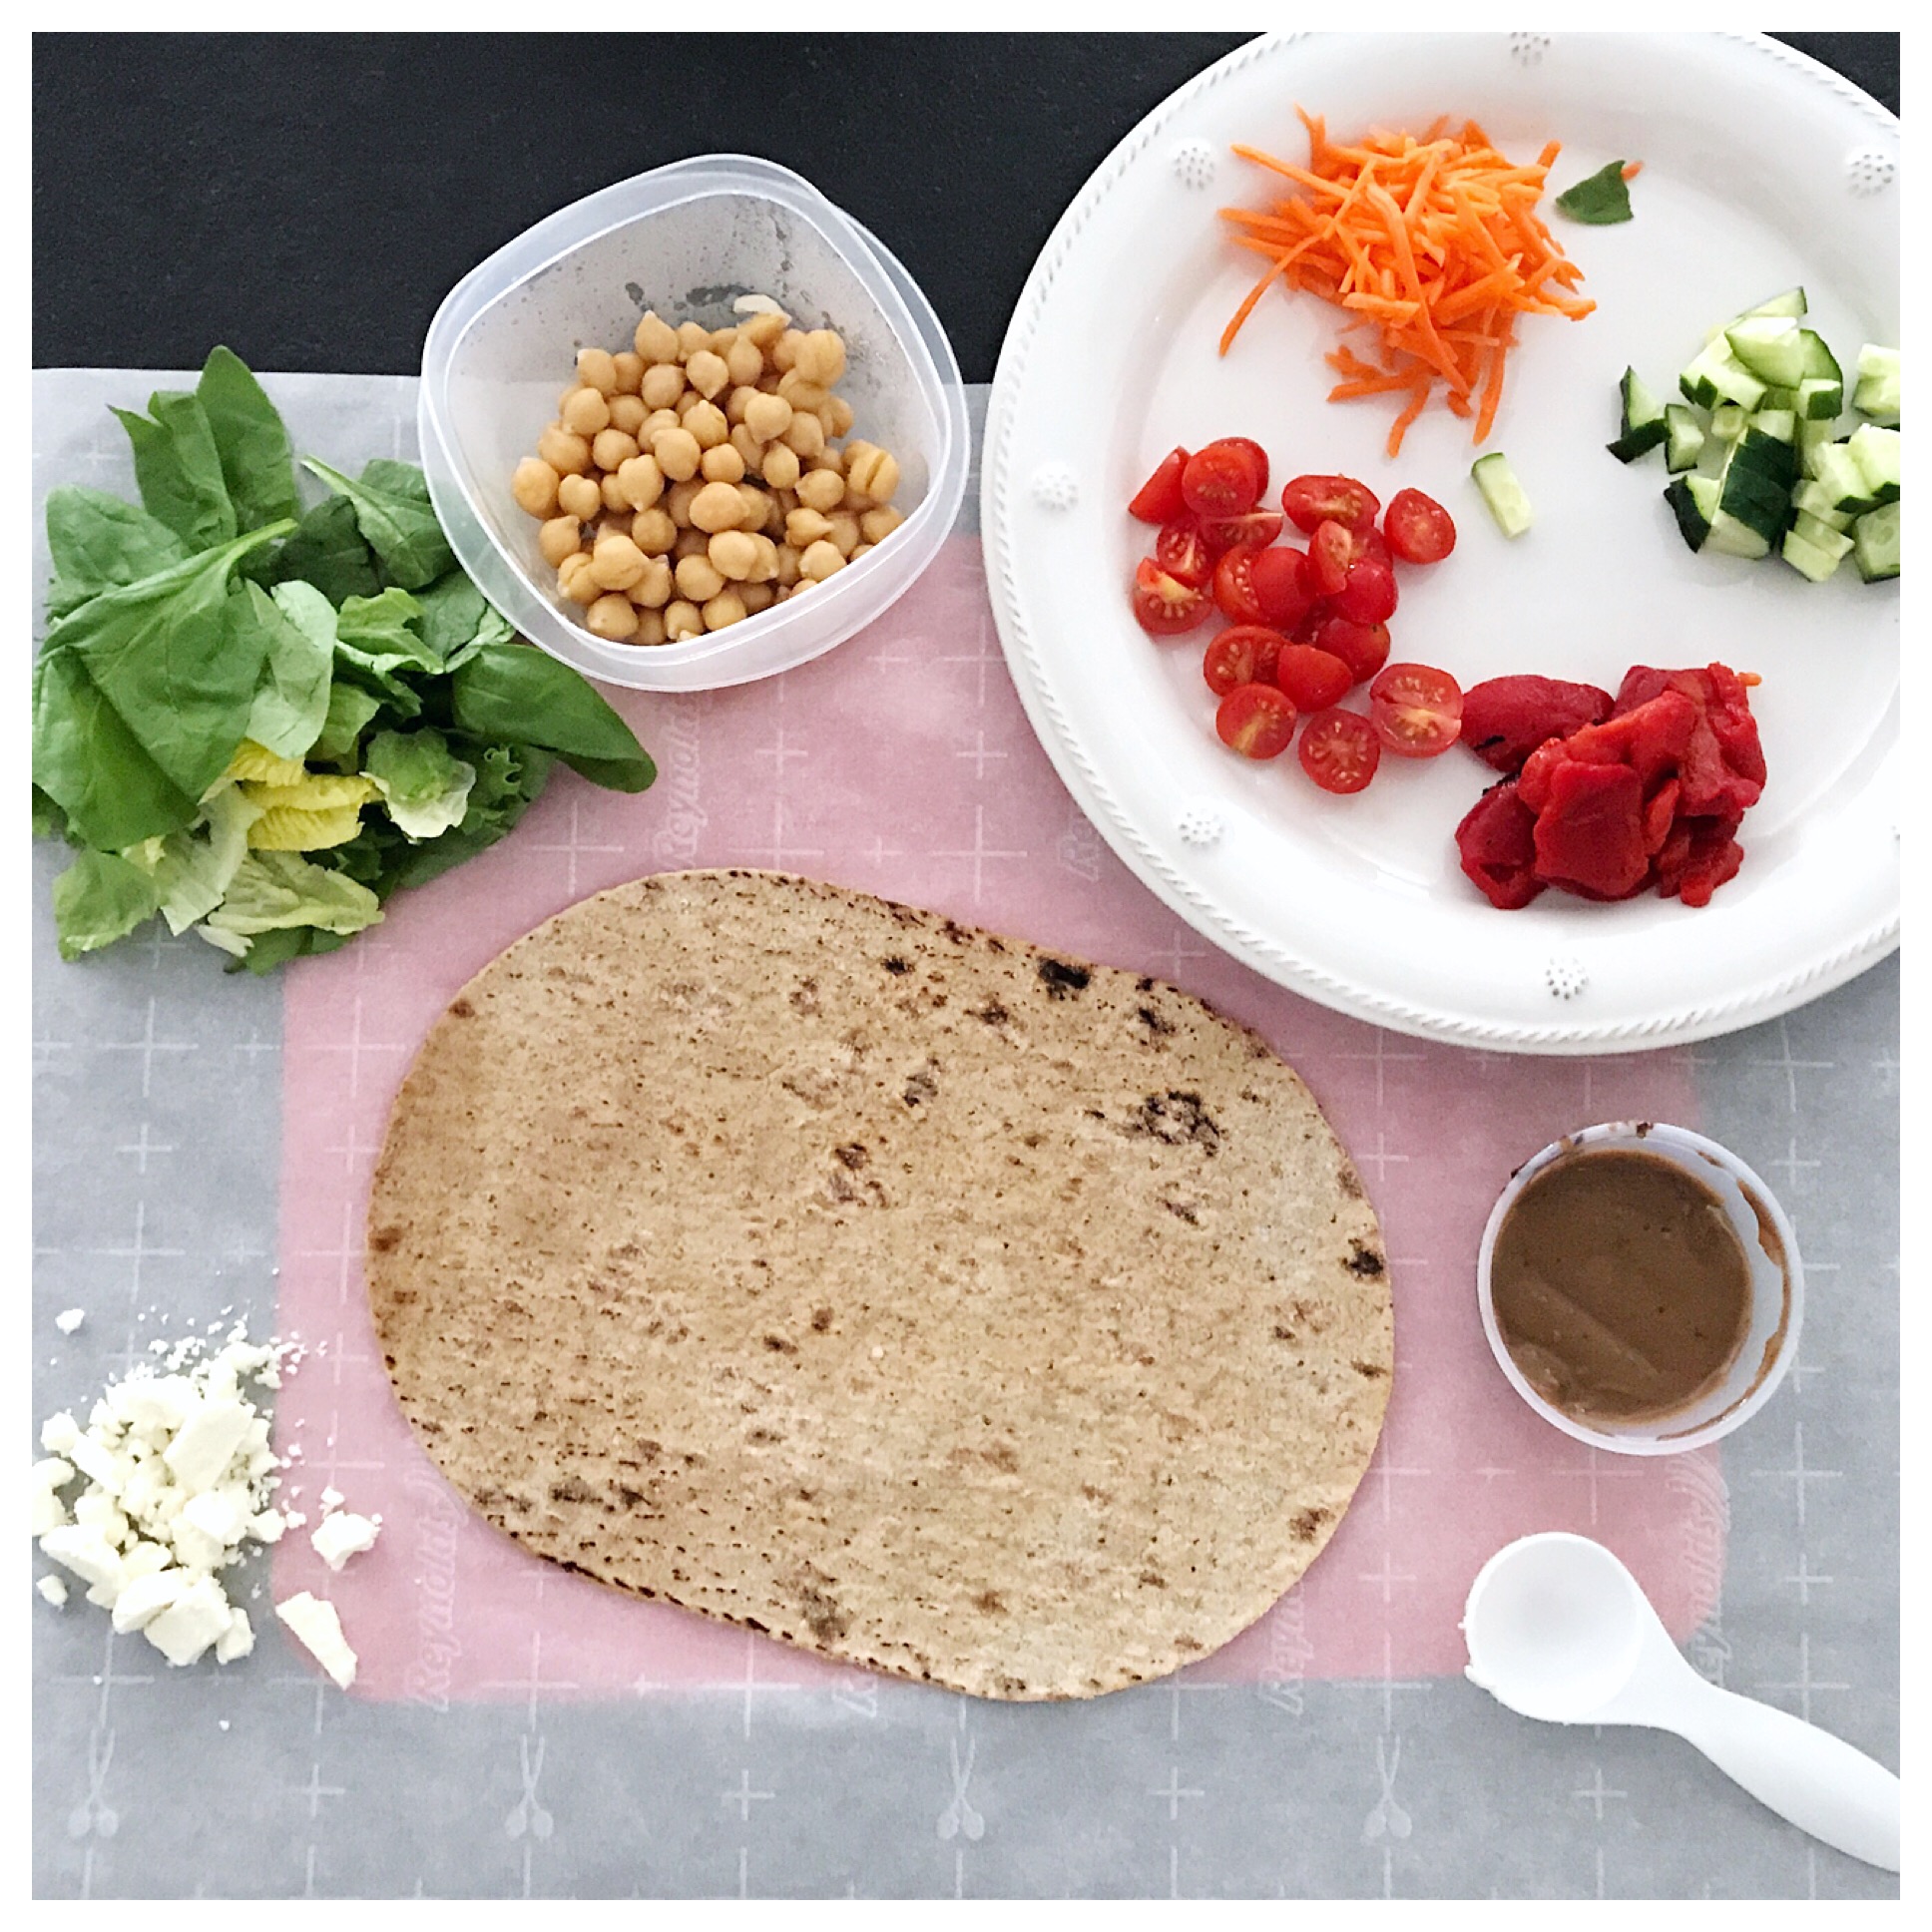
This wrap is loaded with so much goodness you should definitely give it a try.  The combination of carrots, and chickpeas, cucumber and lettuce give it that satisfying crunch that is then balanced by the smooth roasted red peppers and creamy hummus.  And that crumbled feta is the perfect salty counterpart to the sweet roasted red peppers and drizzles of balsamic vinaigrette.  

Fun fact - studies have found that the human brain's reward system is more stimulated when there are more senses being stimulated in a food.  Looking at sweets - it's why we tend to go for the more decadent desserts like the salted caramel toffee nut crunch ice cream..... with the hot and cold,  smooth and crunchy, sweet and salty - there is so much going on here! (To learn more about this you can check out the book Mindless Eating by Brian Wansink.  I find it extremely interesting!)    To me, this wrap does all of those things, but in a meal that fuels the body, the workday, and your workouts.

I hope this gives you a new fueling recipe to add to your collection or, as always, I hope that it at least inspires you to make some version of your own.

Happy Fueling!

Taylor


MEDITERRANEAN LUNCH WRAP

INGREDIENTS:

Mediterranean Lunch Wrap Prep.JPG
  • 1 whole wheat wrap (The warp pictured here is the Multi Grain with Flax variety from FlatOut)

  • 1/4 cup plain hummus (I used the Original Whole Foods variety. It's my fave!)

  • 1/4 cup shredded carrots

  • 1/4 cup quartered cherry tomatoes

  • 1/4 cup sliced & quartered cucumbers

  • 1/4 cup chopped roasted red peppers

  • 1/2 - 1 cup spinach & romaine mix

  • 1/4 cup canned chickpeas (rinsed and drained)

  • 1 - 1/2 tbs. crumbled feta

  • 1 tbsp. balsamic vinegar or balsamic vinaigrette

  • OPTIONAL: ~2 oz. of your choice (1 - 2 chopped hardboiled eggs / 2 oz. chopped, shredded, or rotisserie chicken / cooked lean ground beef or lean ground chicken breast, or tofu)

Mediterranean Lunch Wrap 2.JPG


DIRECTIONS:

  1. Lay parchment paper out on a flat surface like your kitchen counter (need enough paper so that you can wrap your sandwich wrap in it).

  2. Lay wrap out flat onto parchment paper.

  3. Spread hummus evenly across middle area of wrap.

  4. Top wrap with the carrots, tomatoes, cucumbers, peppers, spinach, and chickpeas - centering ingredients in the center of wrap.

  5. Top with crumbled feta cheese.

  6. Drizzle with balsamic.

  7. Roll up your wrap, cut in half and enjoy!

  8. To keep it from being super messy, or when I'm preparing this and then packing it for lunch that day, I wrap it in parchment paper to keep all the ingredients from spilling out before I get to eat it. I'm thinking a tutorial on how to wrap these wraps is soon to follow.... Enjoy!

NUTRITION NOTES:

Along with complex carbohydrate (mostly from the wrap & chickpeas), protein (from your protein of choice, chickpeas & whole-wheat wrap), and little fat (from your hummus & feta), this wrap provides you with some....

Roasted Red Peppers: vitamin C, fiber, vitamin A

Spinach:  vitamin C, folate, iron, calcium

Carrots:  vitamin A, fiber

Chickpeas (and hummus):  fiber, protein, iron, folate, magnesium, phosphorus, manganese

Cucumber: fluid and fiber

Feta:  protein, calcium, phosphorus